
Extraordinary dishes prepared with ordinary vegetables!!
This recipe has been in my book since I was in school in the early 70’s, which was shared by Irene Vaz. In those days “Dalda” a brand of hydrogenated vegetable oil, was an household name for an affordable ‘ghee’ substitute, made famous by Lintas the company responsible for their advertising. One of their vigorous campaigns was a recipe contest and the winning recipes were published. A must ingredient in every recipe was Dalda! Have your ever seen a recipe calling for ‘Parachute’ rather than ”Coconut Oil’? But with Dalda it was the brand that was made famous rather than the product (vanaspati). Vanaspati is a thick vegetable oil NOT Ghee, but was commonly used instead of ghee.

Musallam Phool Gobi is from this recipe contest. Although I had it since the 70’s I tried it only in the 90’s when we invited two of our friends and their families over for Lunch as their parents were visiting Kuwait. The parents were strict vegetarians and wanting to impress them I prepared this dish, but they didn’t believe that it was home-cooked and kept insisting that it was certainly ordered from a restuarant. So that’s how delicious it turns out!
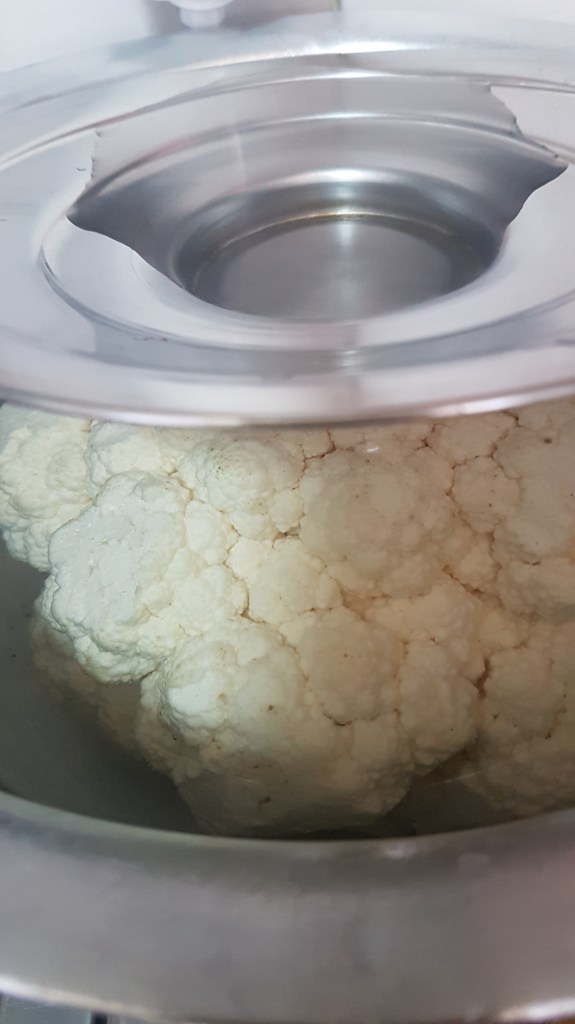
To prepare Musallam Phool Gobi, clean cauliflower and remove the leaves. Wash whole flower well and soak it in warm salted water to 10 to 15 minutes. Drain and rinse.

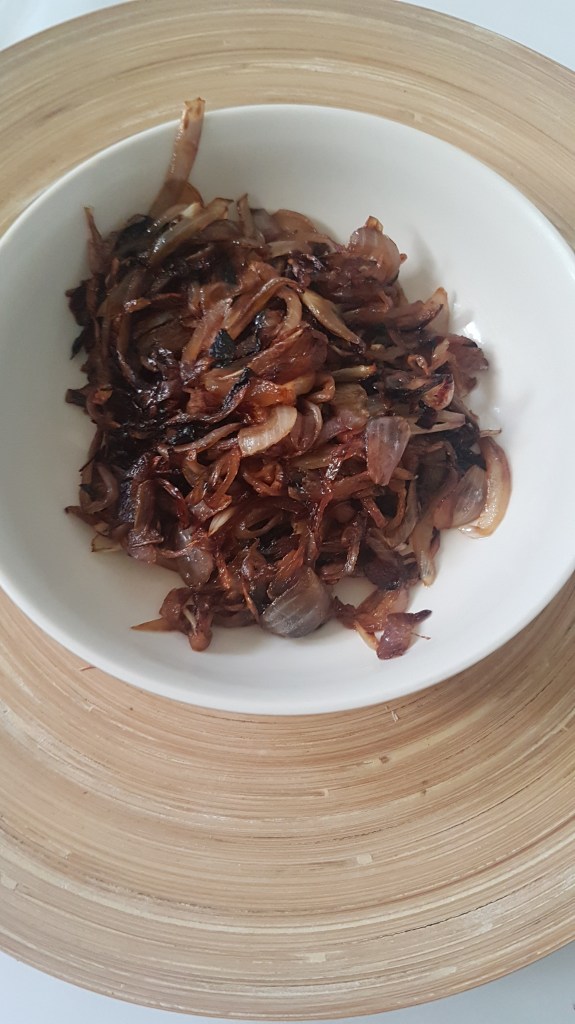
Wash and cut tomatoes into fours. Slice onions finely. Grind the ingredients from garlic to salt. Heat 2 tbsp. ghee in a pan and fry the onions till golden brown, remove and set aside.

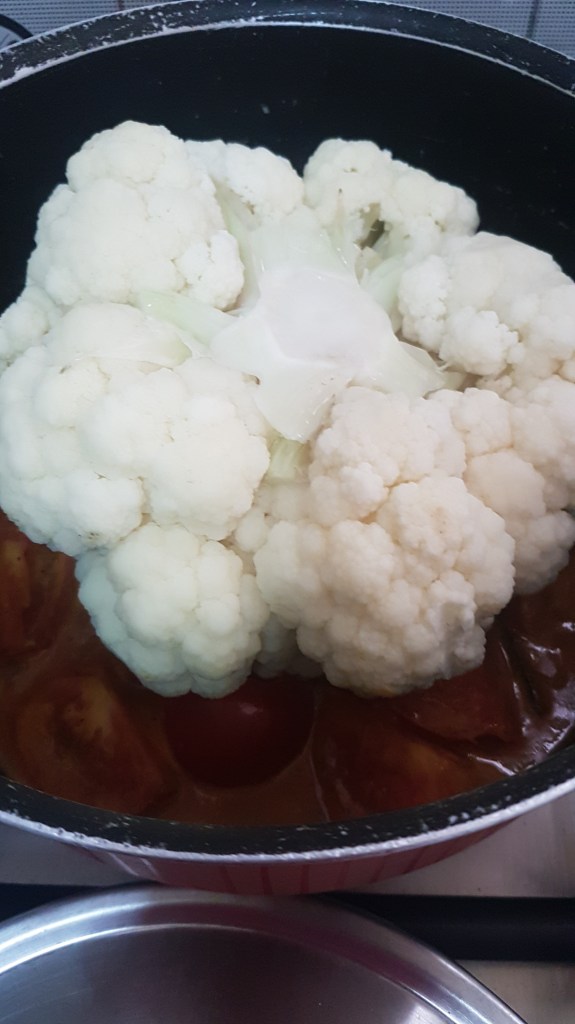
While the onions are frying, take a deep broad vessel and add 2 tbsp. ghee, when hot, add the cardamoms, cinnamon and bay leaves. Add the ground paste and fry for a few minutes. Add the tomatoes and cook for five minutes. Then add the whole cauliflower, stem side up.

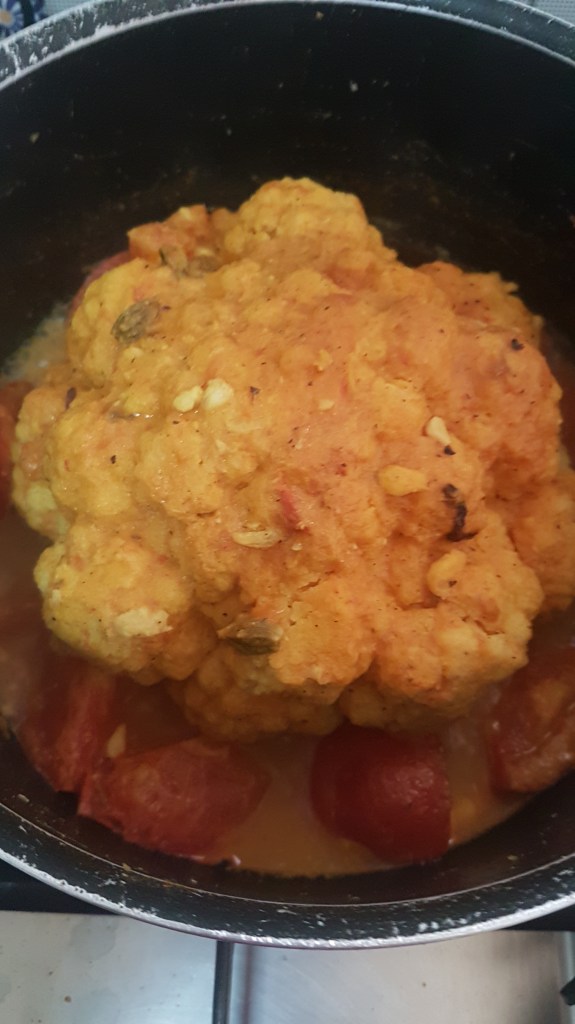
Cook on low heat till half done. Turn over and cook till tender and light brown. Do add any water. Garnish with the browned onions and serve hot with parathas or chapaties or any Indian bread of your choice.
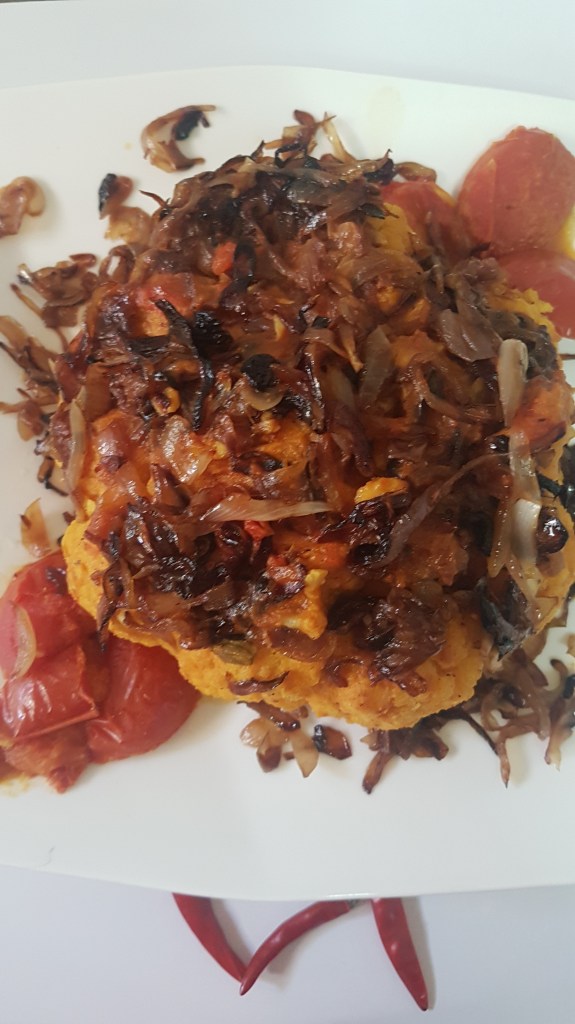

Musallam Phool Gobi
Ingredients
- 1 medium cauliflower
- 4 large tomatoes
- 4 large onions
- 10 flakes garlic
- 1” pc ginger
- ½ tsp. turmeric powder
- ½ tsp. chilli powder or to taste
- 1 tbsp. poppy seeds (can be substituted with cashewnuts)
- 2 tbsp. dry coconut
- 8 groundnuts
- Salt to taste
- 4 tbsp. Ghee
- 8 cardamoms
- 1” cinnamon
- 2 bay leaves
Method
- Clean cauliflower and remove the leaves. Wash whole flower well and soak it in warm salted water to 10 to 15 minutes. Drain and rinse.
- Wash and cut tomatoes into fours.
- Slice onions finely.
- Grind the ingredients from garlic to salt.
- Heat 2 tbsp. ghee in a pan and fry the onions till golden brown, remove and set aside.
- While the onions are frying, take another deep broad vessel and add 2 tbsp. ghee. When hot, add the cardamoms, cinnamon and bay leaves.
- Add the ground paste and fry for a few minutes.
- Add the tomatoes and cook for five minutes.
- Then add the whole cauliflower, stem side up.
- Cook on low heat till half done.
- Turn over and cook till tender and light brown. Do not add any water.
- Garnish with the browned onions.
- Serve hot with parathas or chapatis or any Indian bread of your choice.
Extraordinary dishes prepared with ordinary vegetables. Also check out Aloo Chutneywale and Imam Bayildi.


Recent Comments