
- A quick reference list of recipes for easily available ingredients to prepare simple nutritious meals.
Pursuant to my ‘COVID-19 Break’ post on the 16th of March 2020, we were little aware of the seriousness of the pandemic at the time and that the Lockdown directives would continue to be operative even after over a month and a half. We have realised the numerous ways people are trying to cope with the lockdown with no relaxation in sight although many data driven predictions have been made.
The Lockdown has created a shortage of food supplies and while some do have regular supply, many are having to struggle for their daily meals with their means of subsistence being suddenly non-existant due to loss of jobs, restrictions on movement, etc. As a result of which we need to manage our kitchens with ingredients at hand and adjust our meal plans accordingly. With this in mind, I have prepared a list of recipes using the least number of main ingredients (mainly grains and pulses) for your ease of reference.
All recipes are available on this site and by clicking on the name the corresponding link will take you to the recipe page.
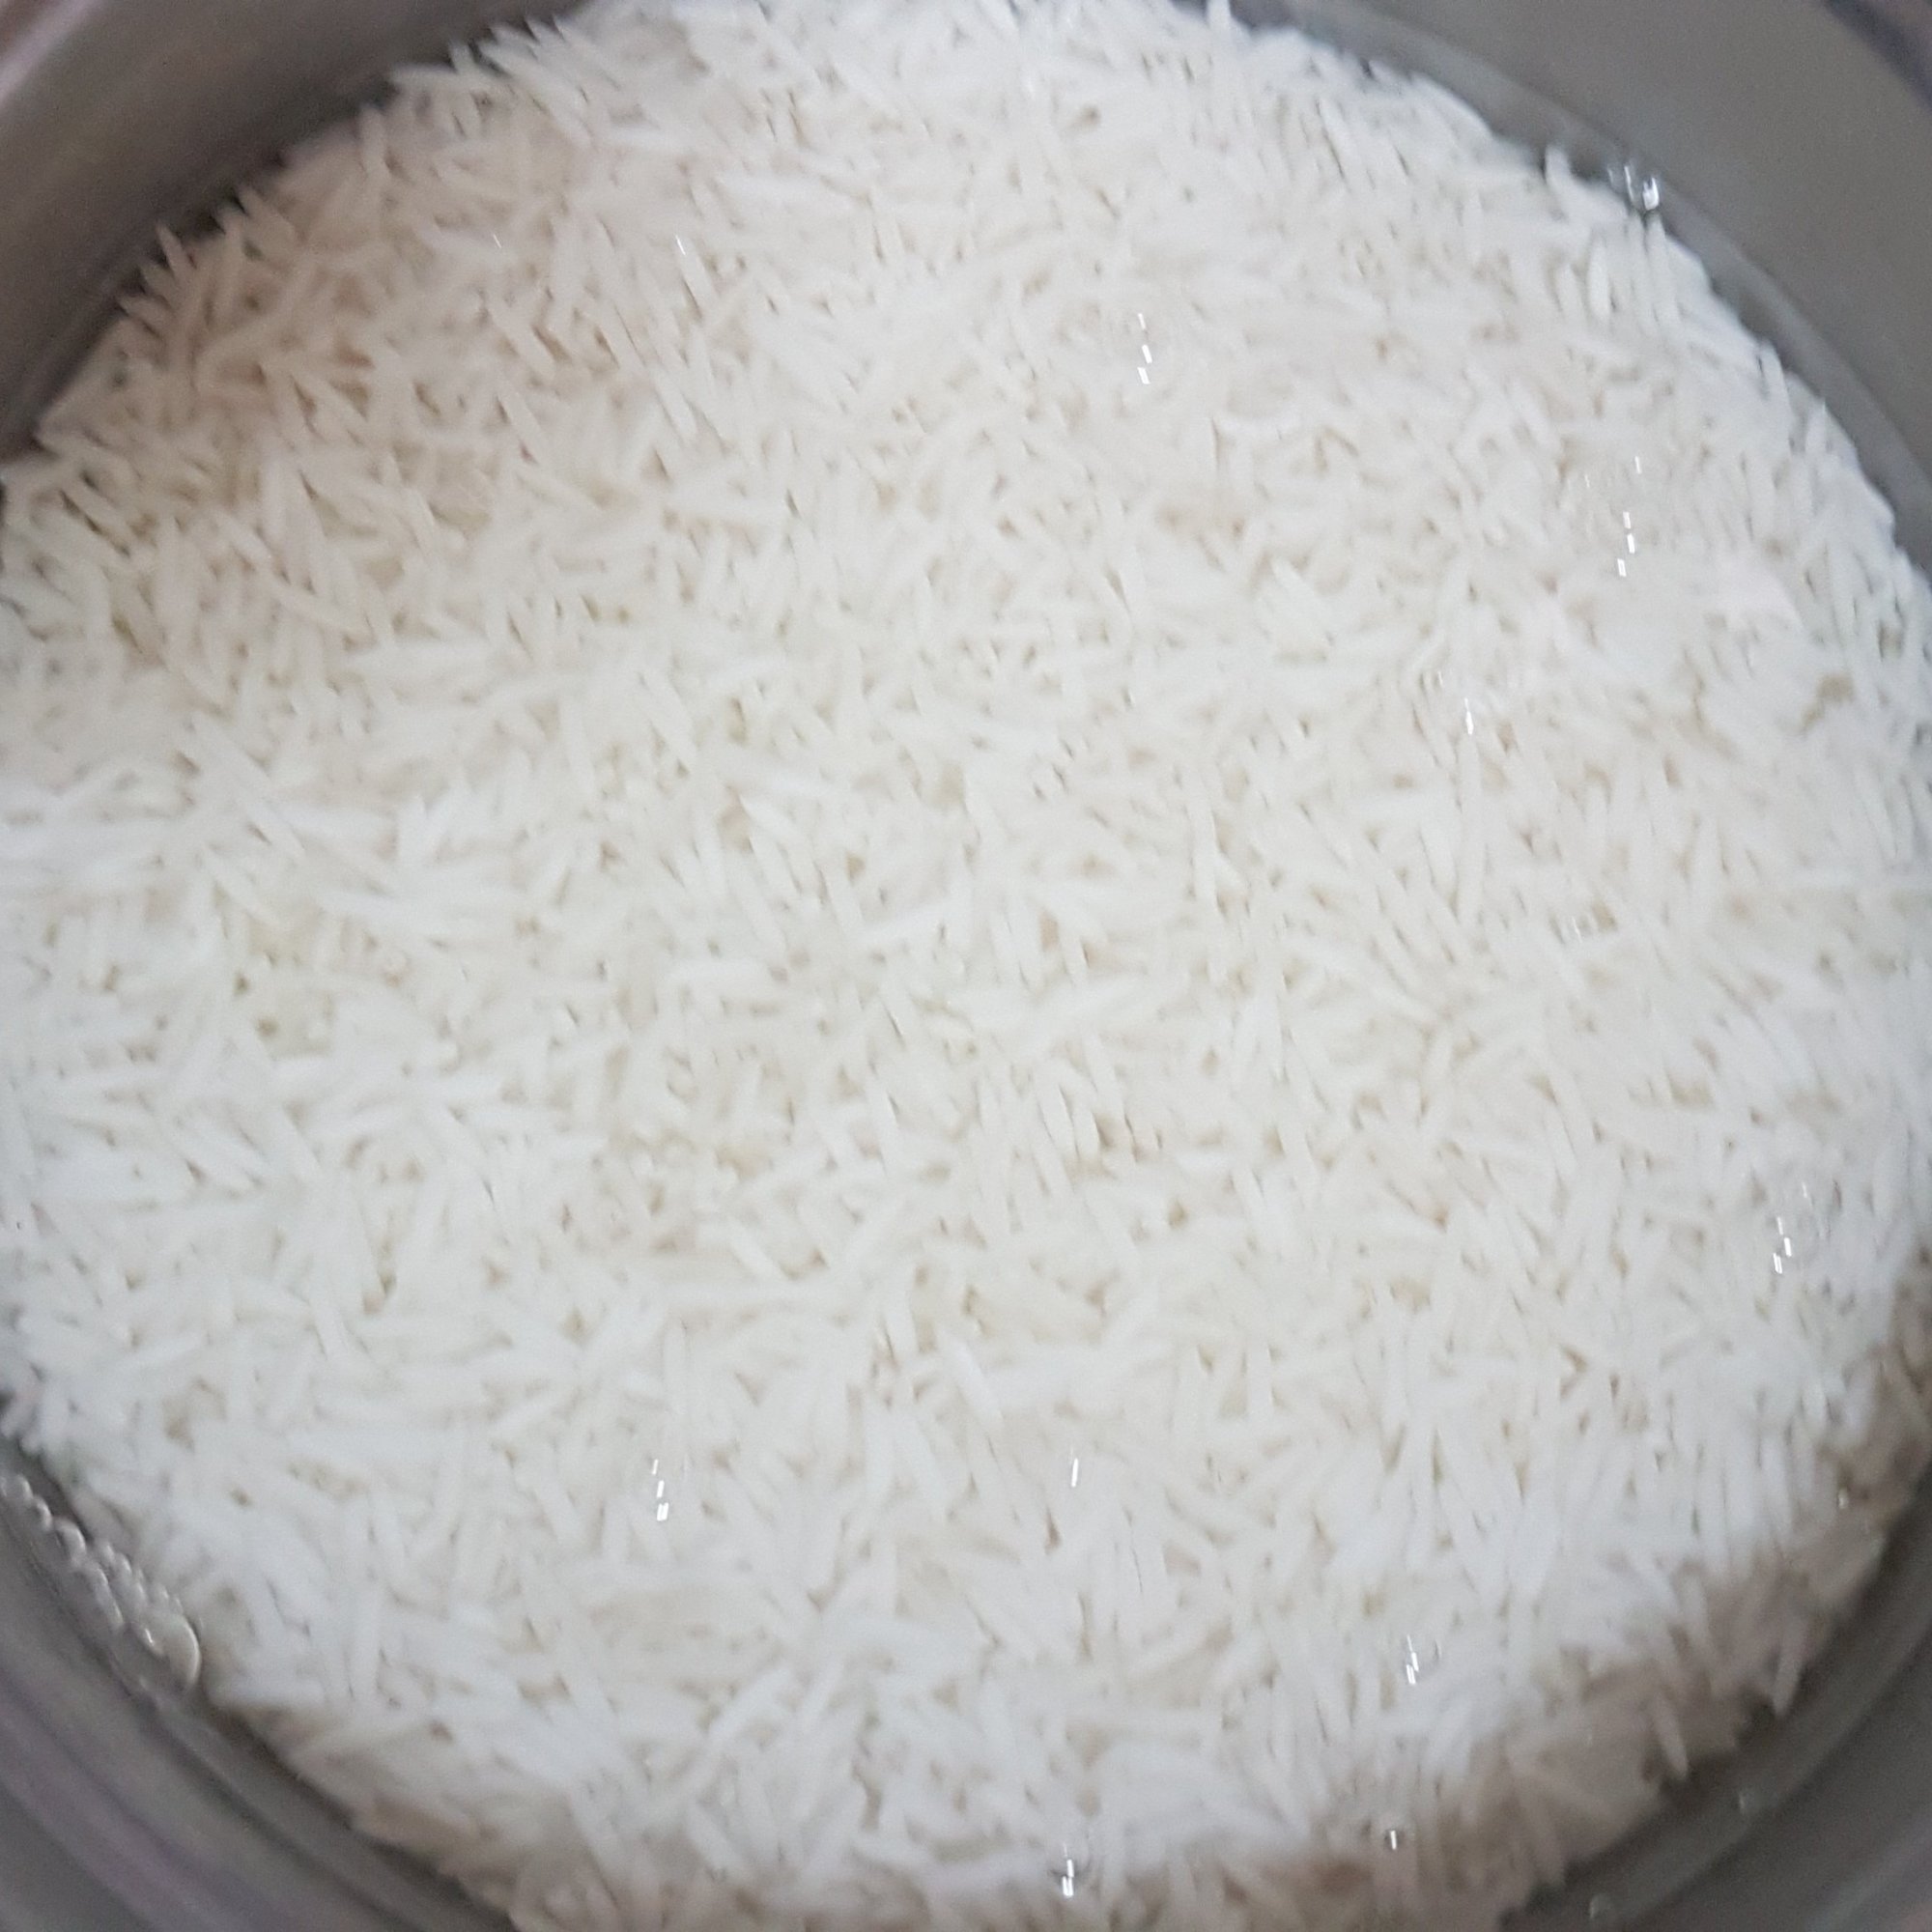
I. RICE
Menu Item Main ingredients
- Rice
- Rice
- Rice Poha
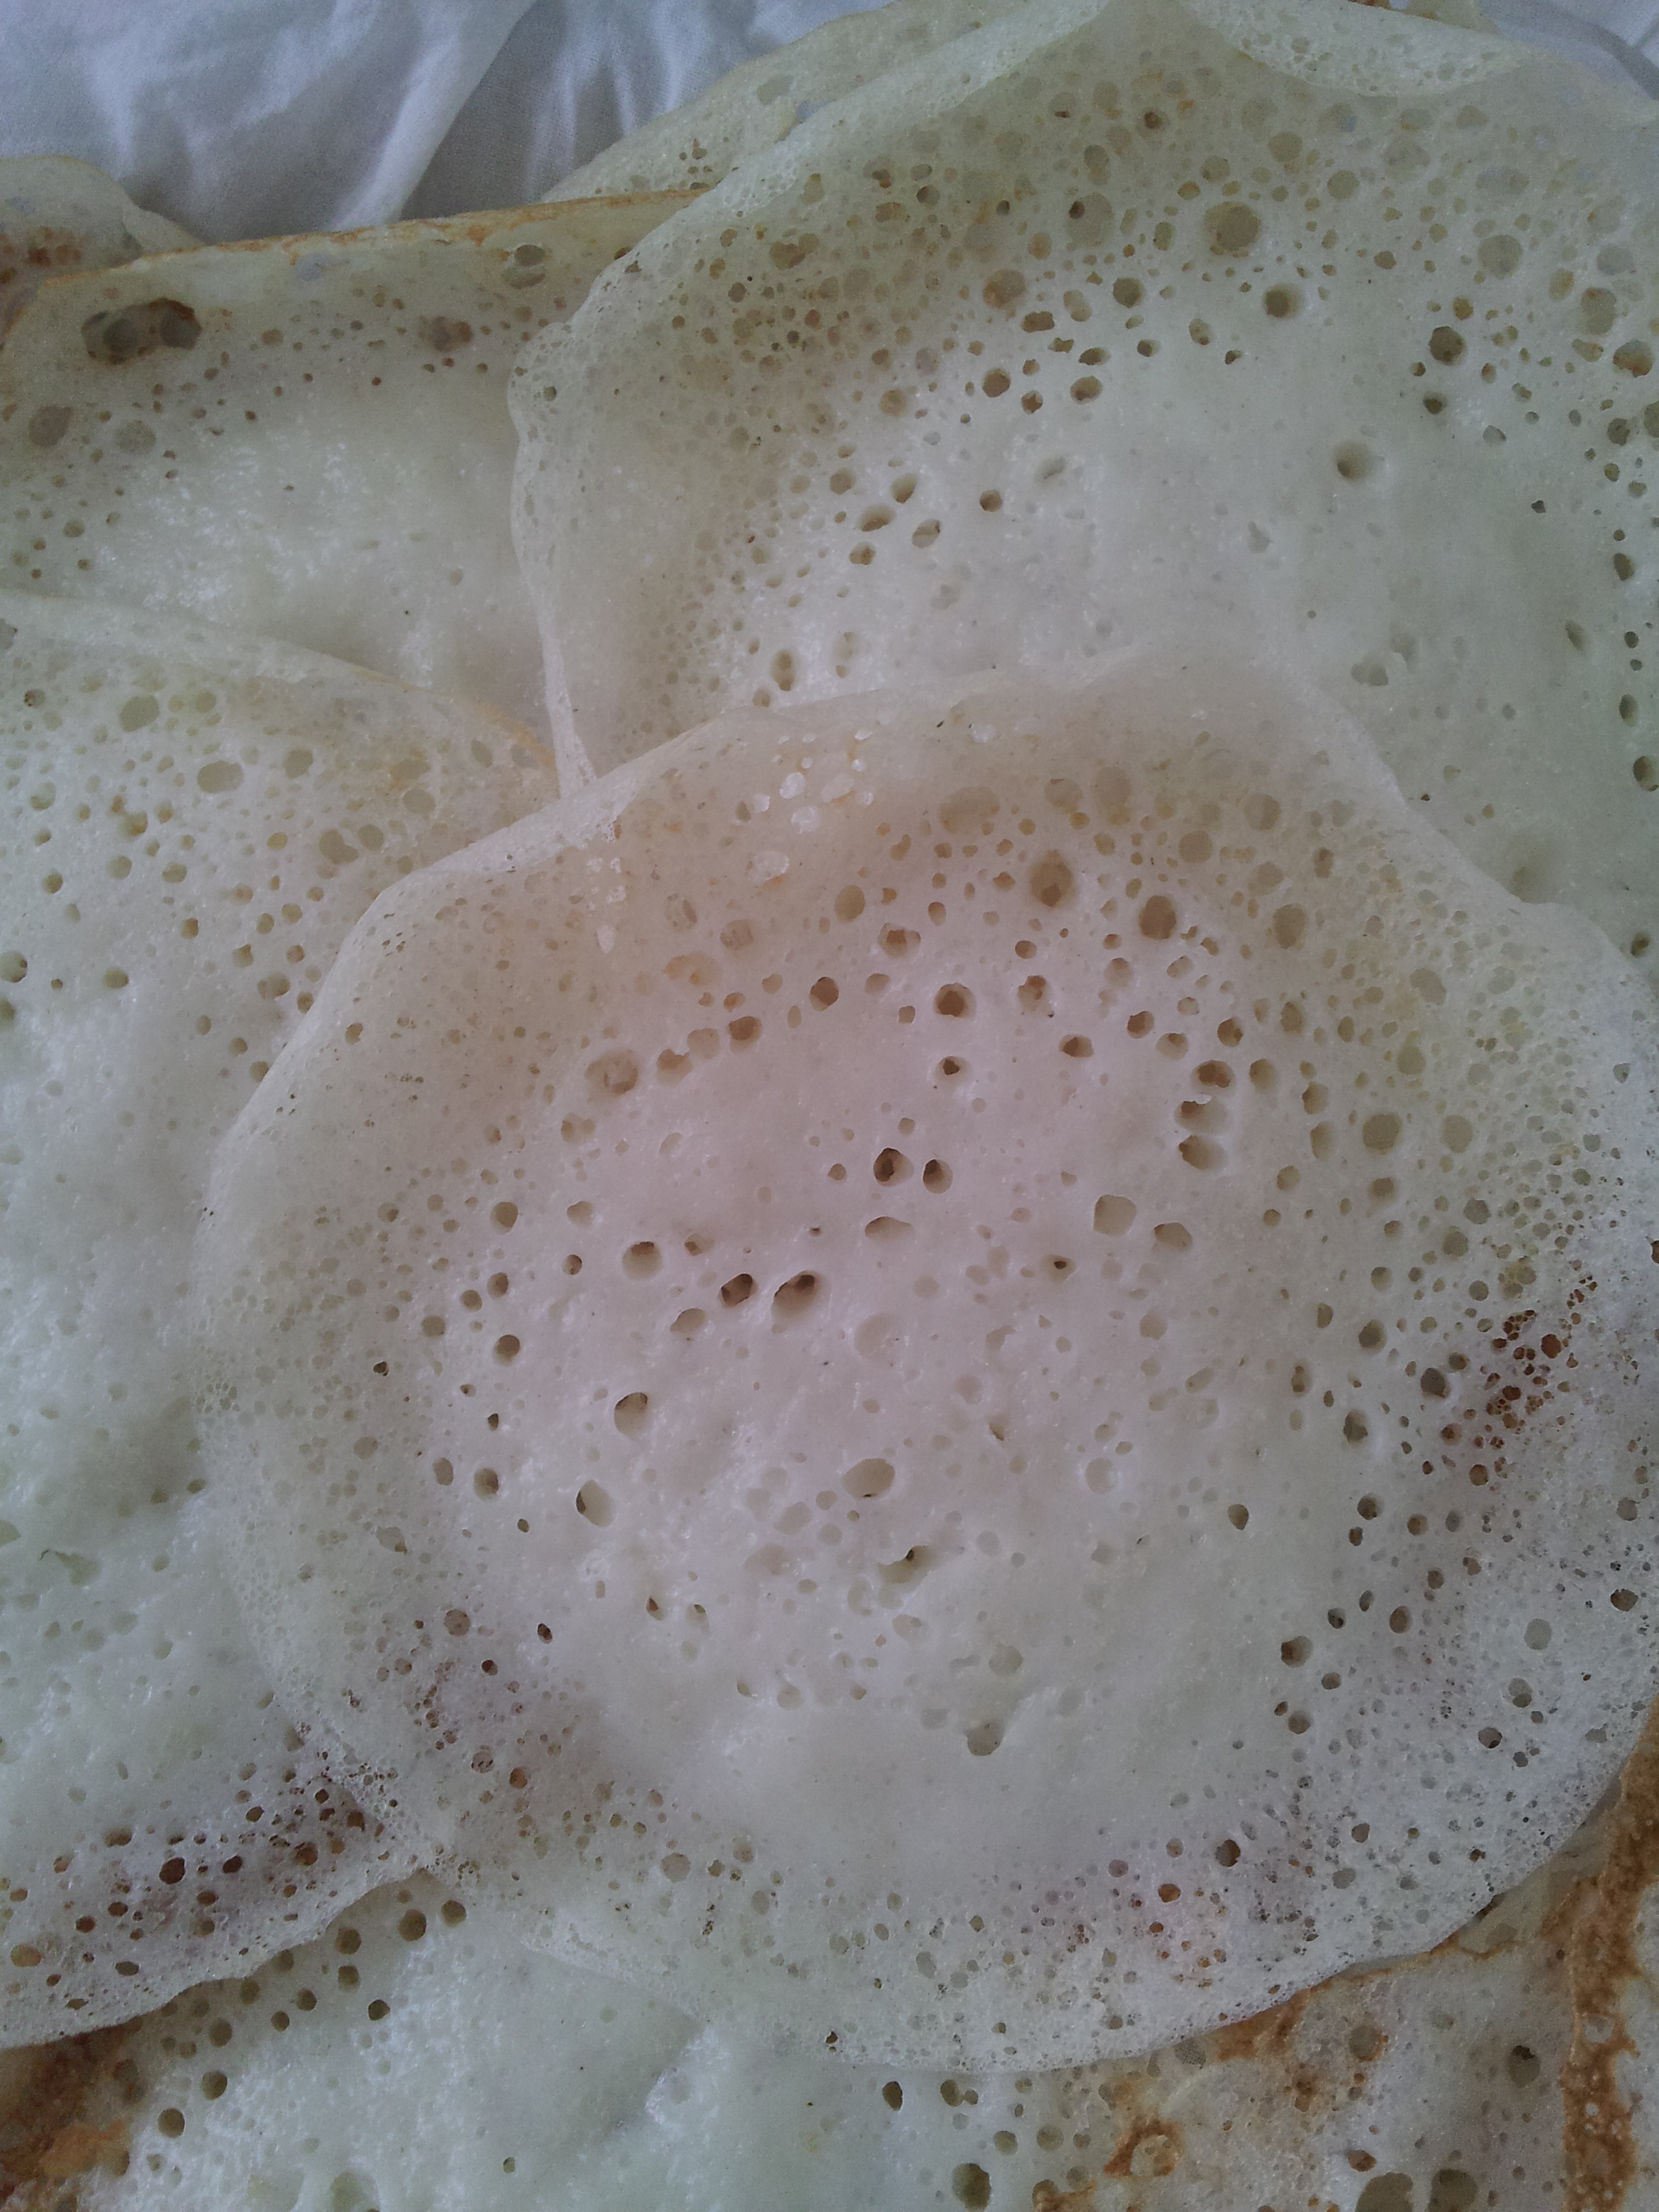
- Rice flour + Rava
- Rice + Urad dal
- Rice + Urad dal
- Rice + Urad Dal + tomatoes
- Rice + Urad dal + Onion
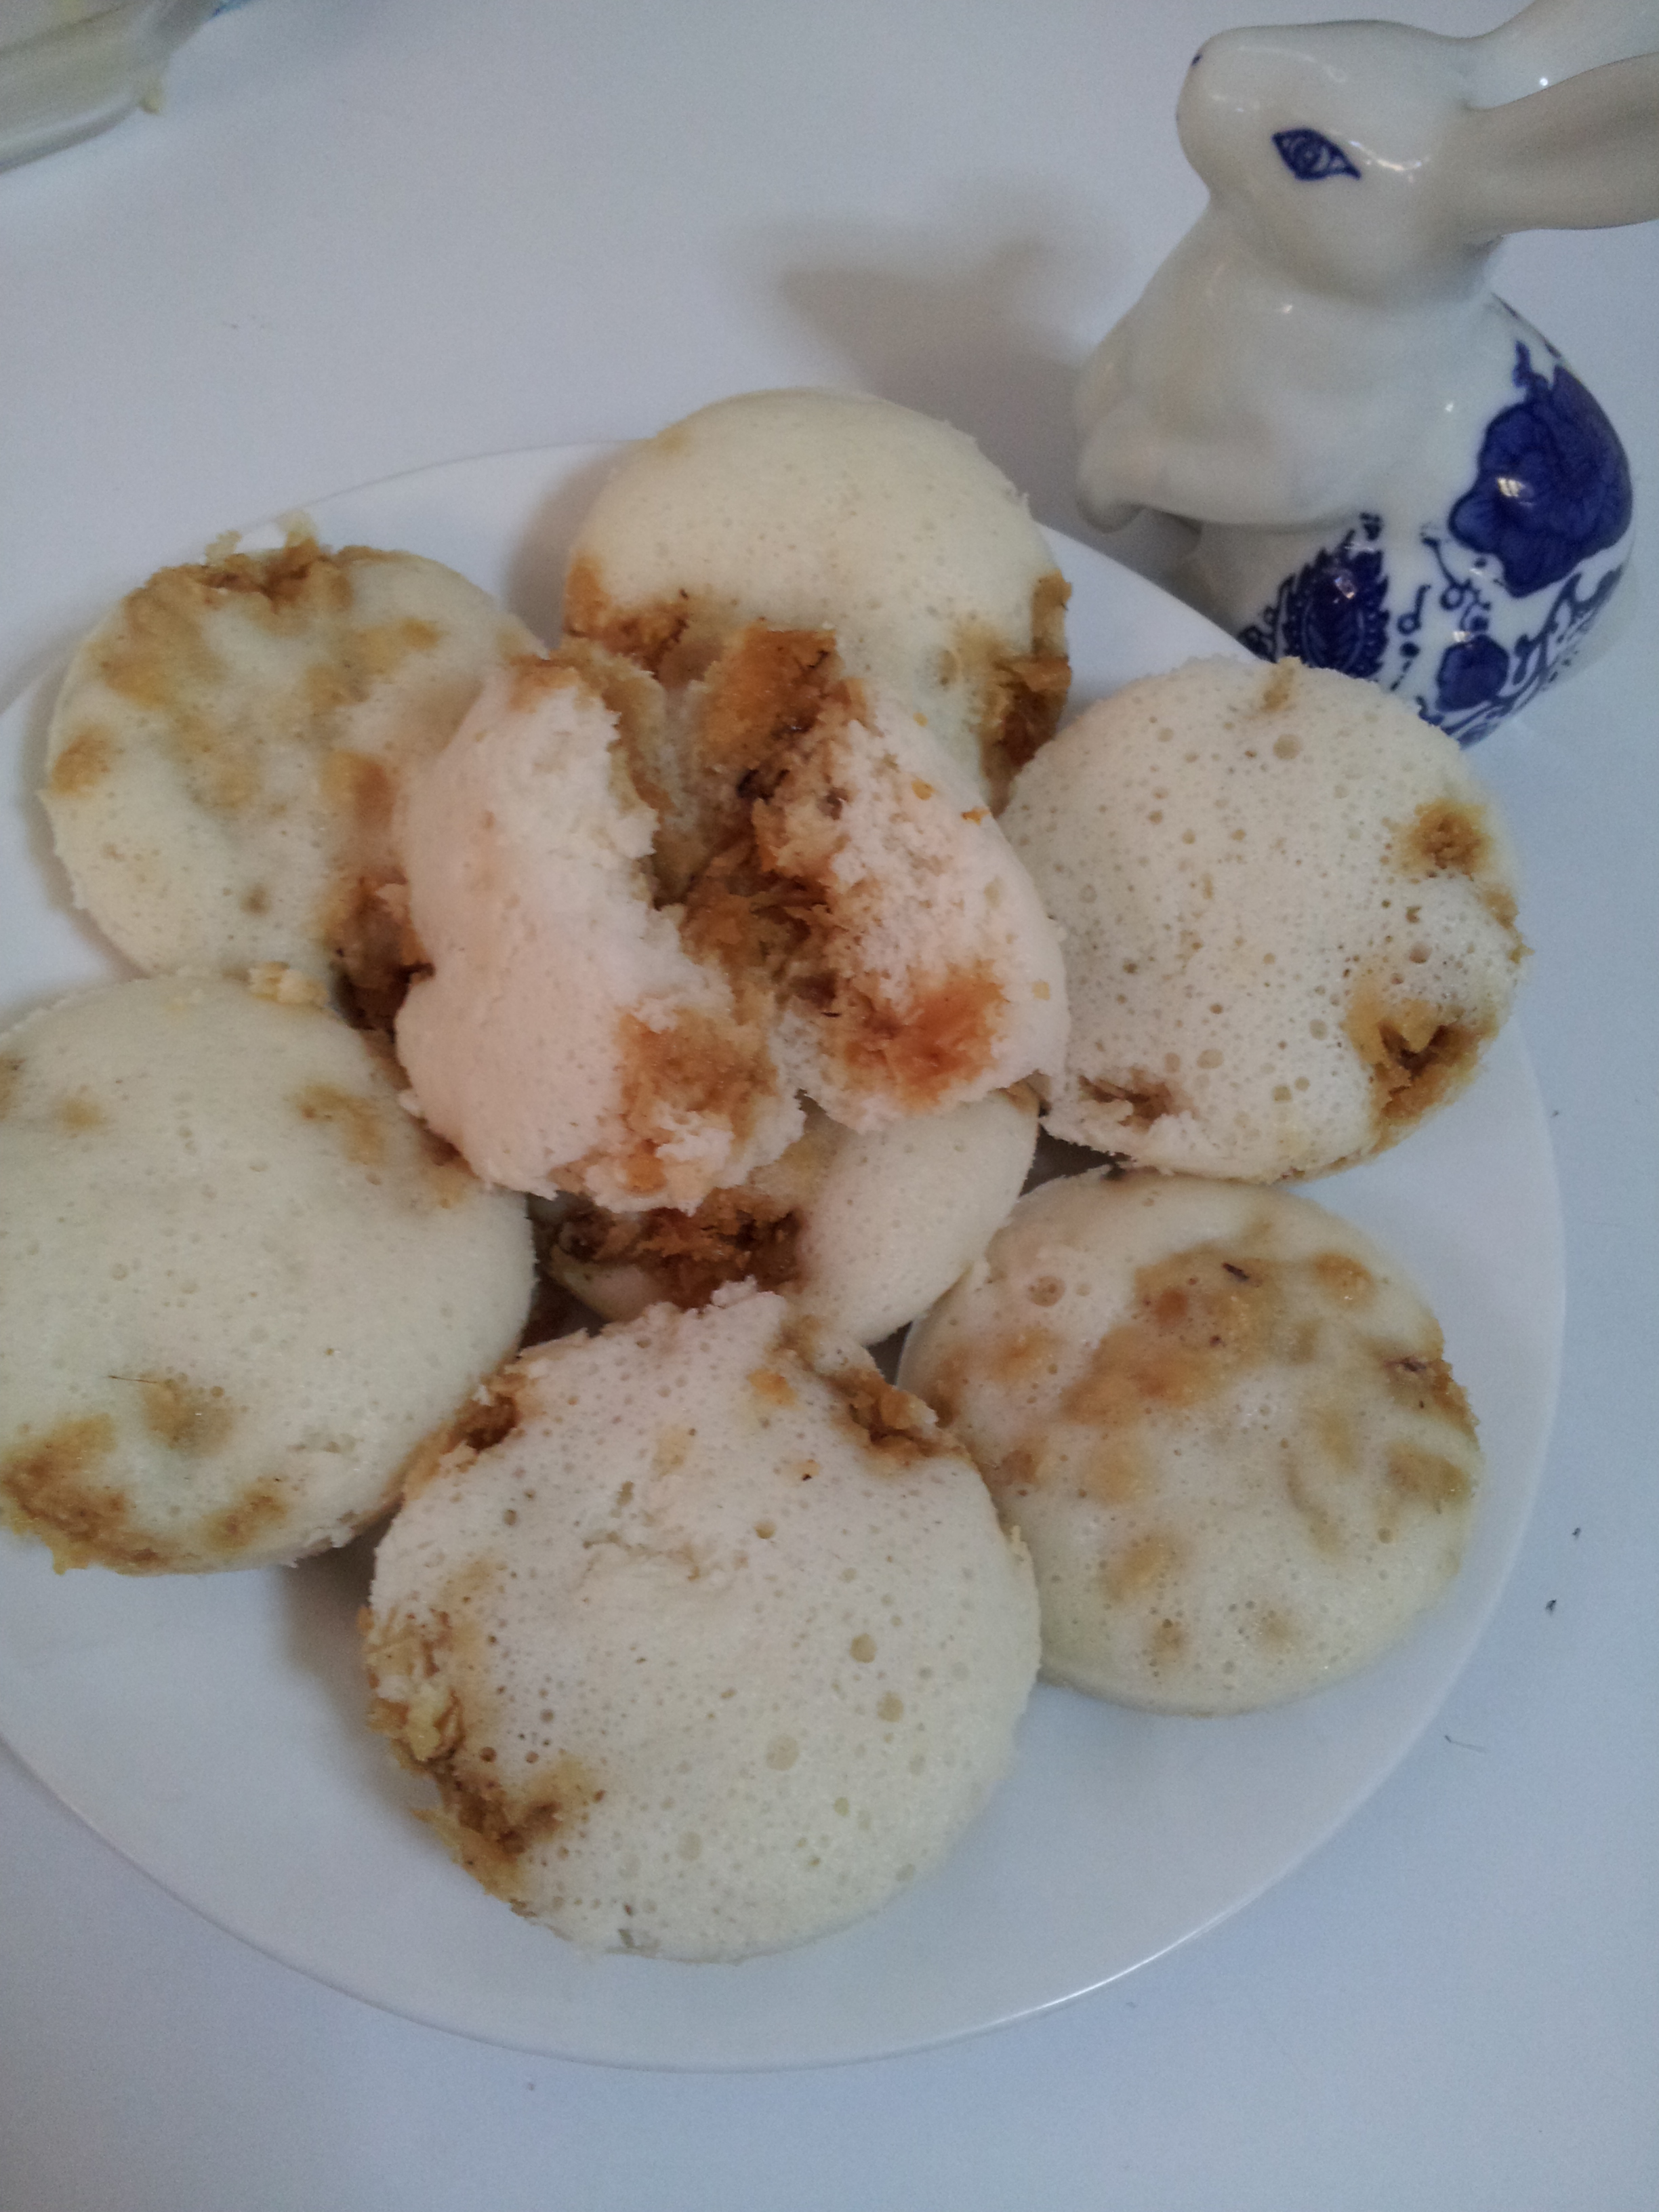
- Idli (Rice) rava + Urad dal
- Idli (Rice) rava + Cucumber
- Rice + Coconut
- Rice + Urad dal very small quantity
- Rice + Cumin/Jeera small quantity
- Rice + peas or any available veggies
- Rice + Moong or Masoor dal
- Rice (leftover) + Besan/Gram flour small qty
- Rice + peas/capsicum or as available
- Rice + Red kidney beans
- Rice + Cabbage, capsicums as available
- Rice + some sugar
- Beaten rice (thin) + fresh coconut + jaggery
TIP: If you don't have Idli or sanna molds,
     use a round steel pan or cake tin and
     steam in a pressure cooker or ordinary
     vessel, then cut into desired shapes.

II. Wheat/All Purpose Flour/Gram flour
- Wheat flour
- Wheat flour
- Wheat flour + Potatoes
- Wheat flour + Cabbage/Paneer, either if both not available
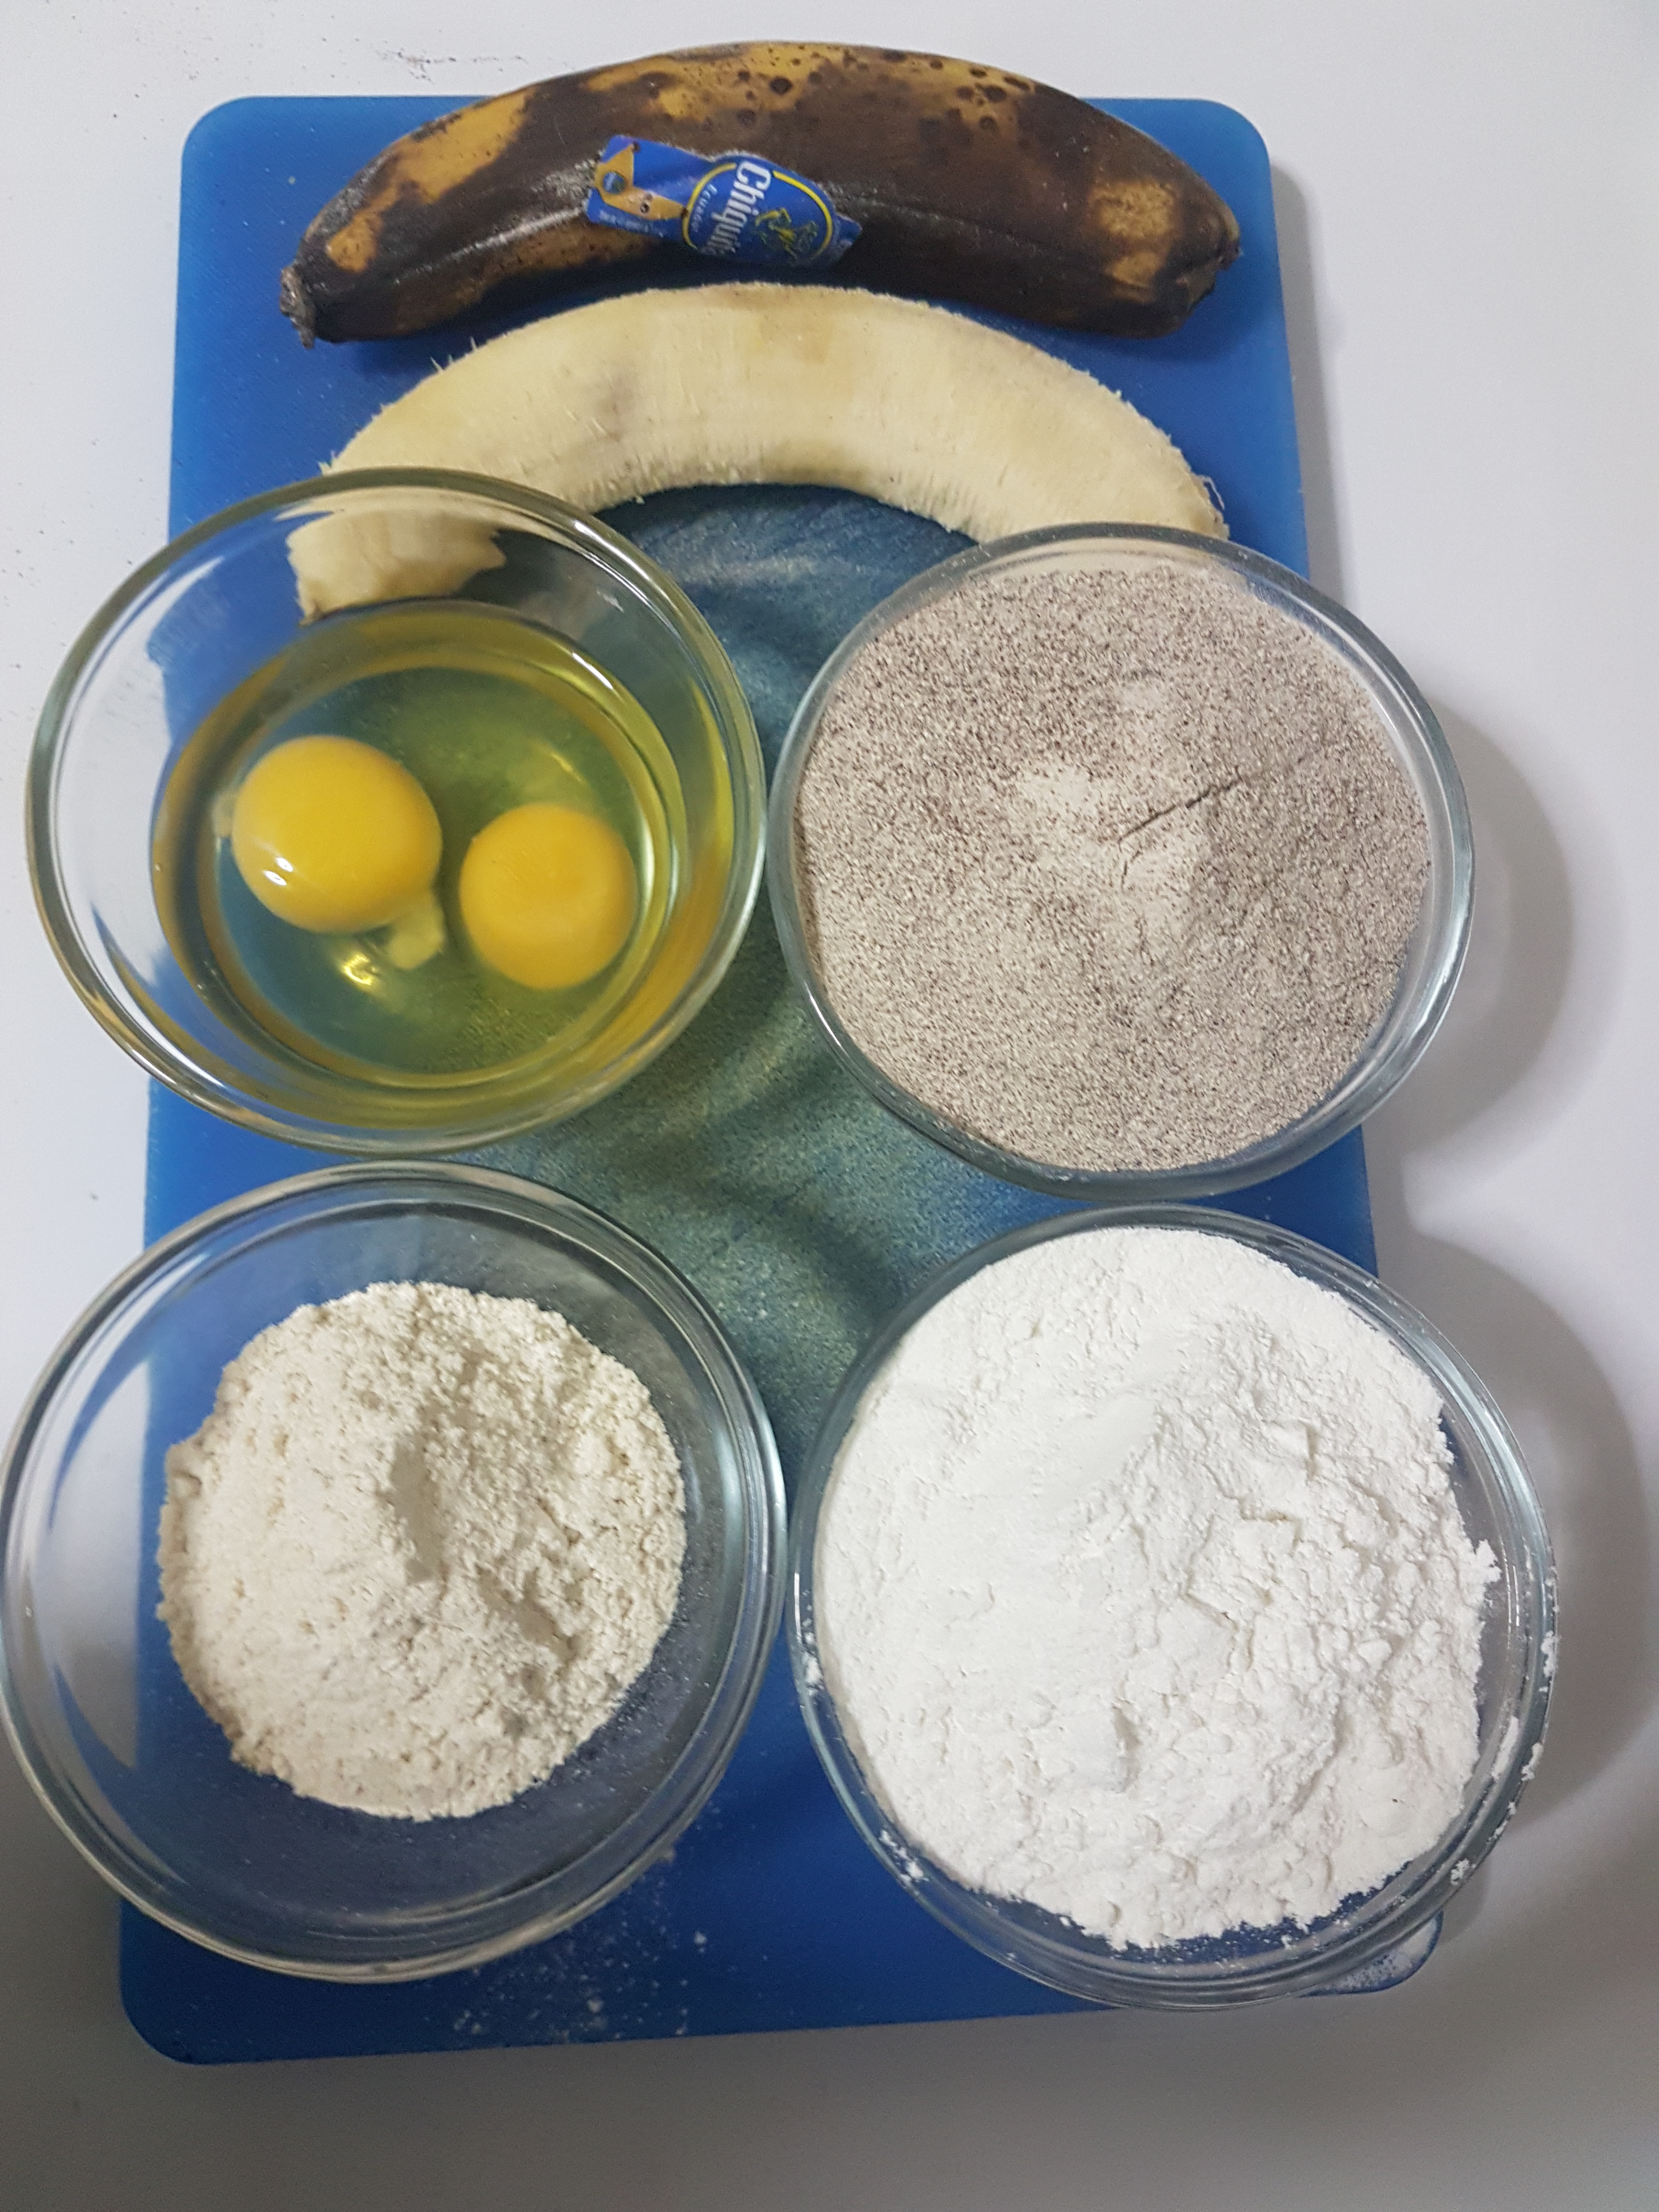
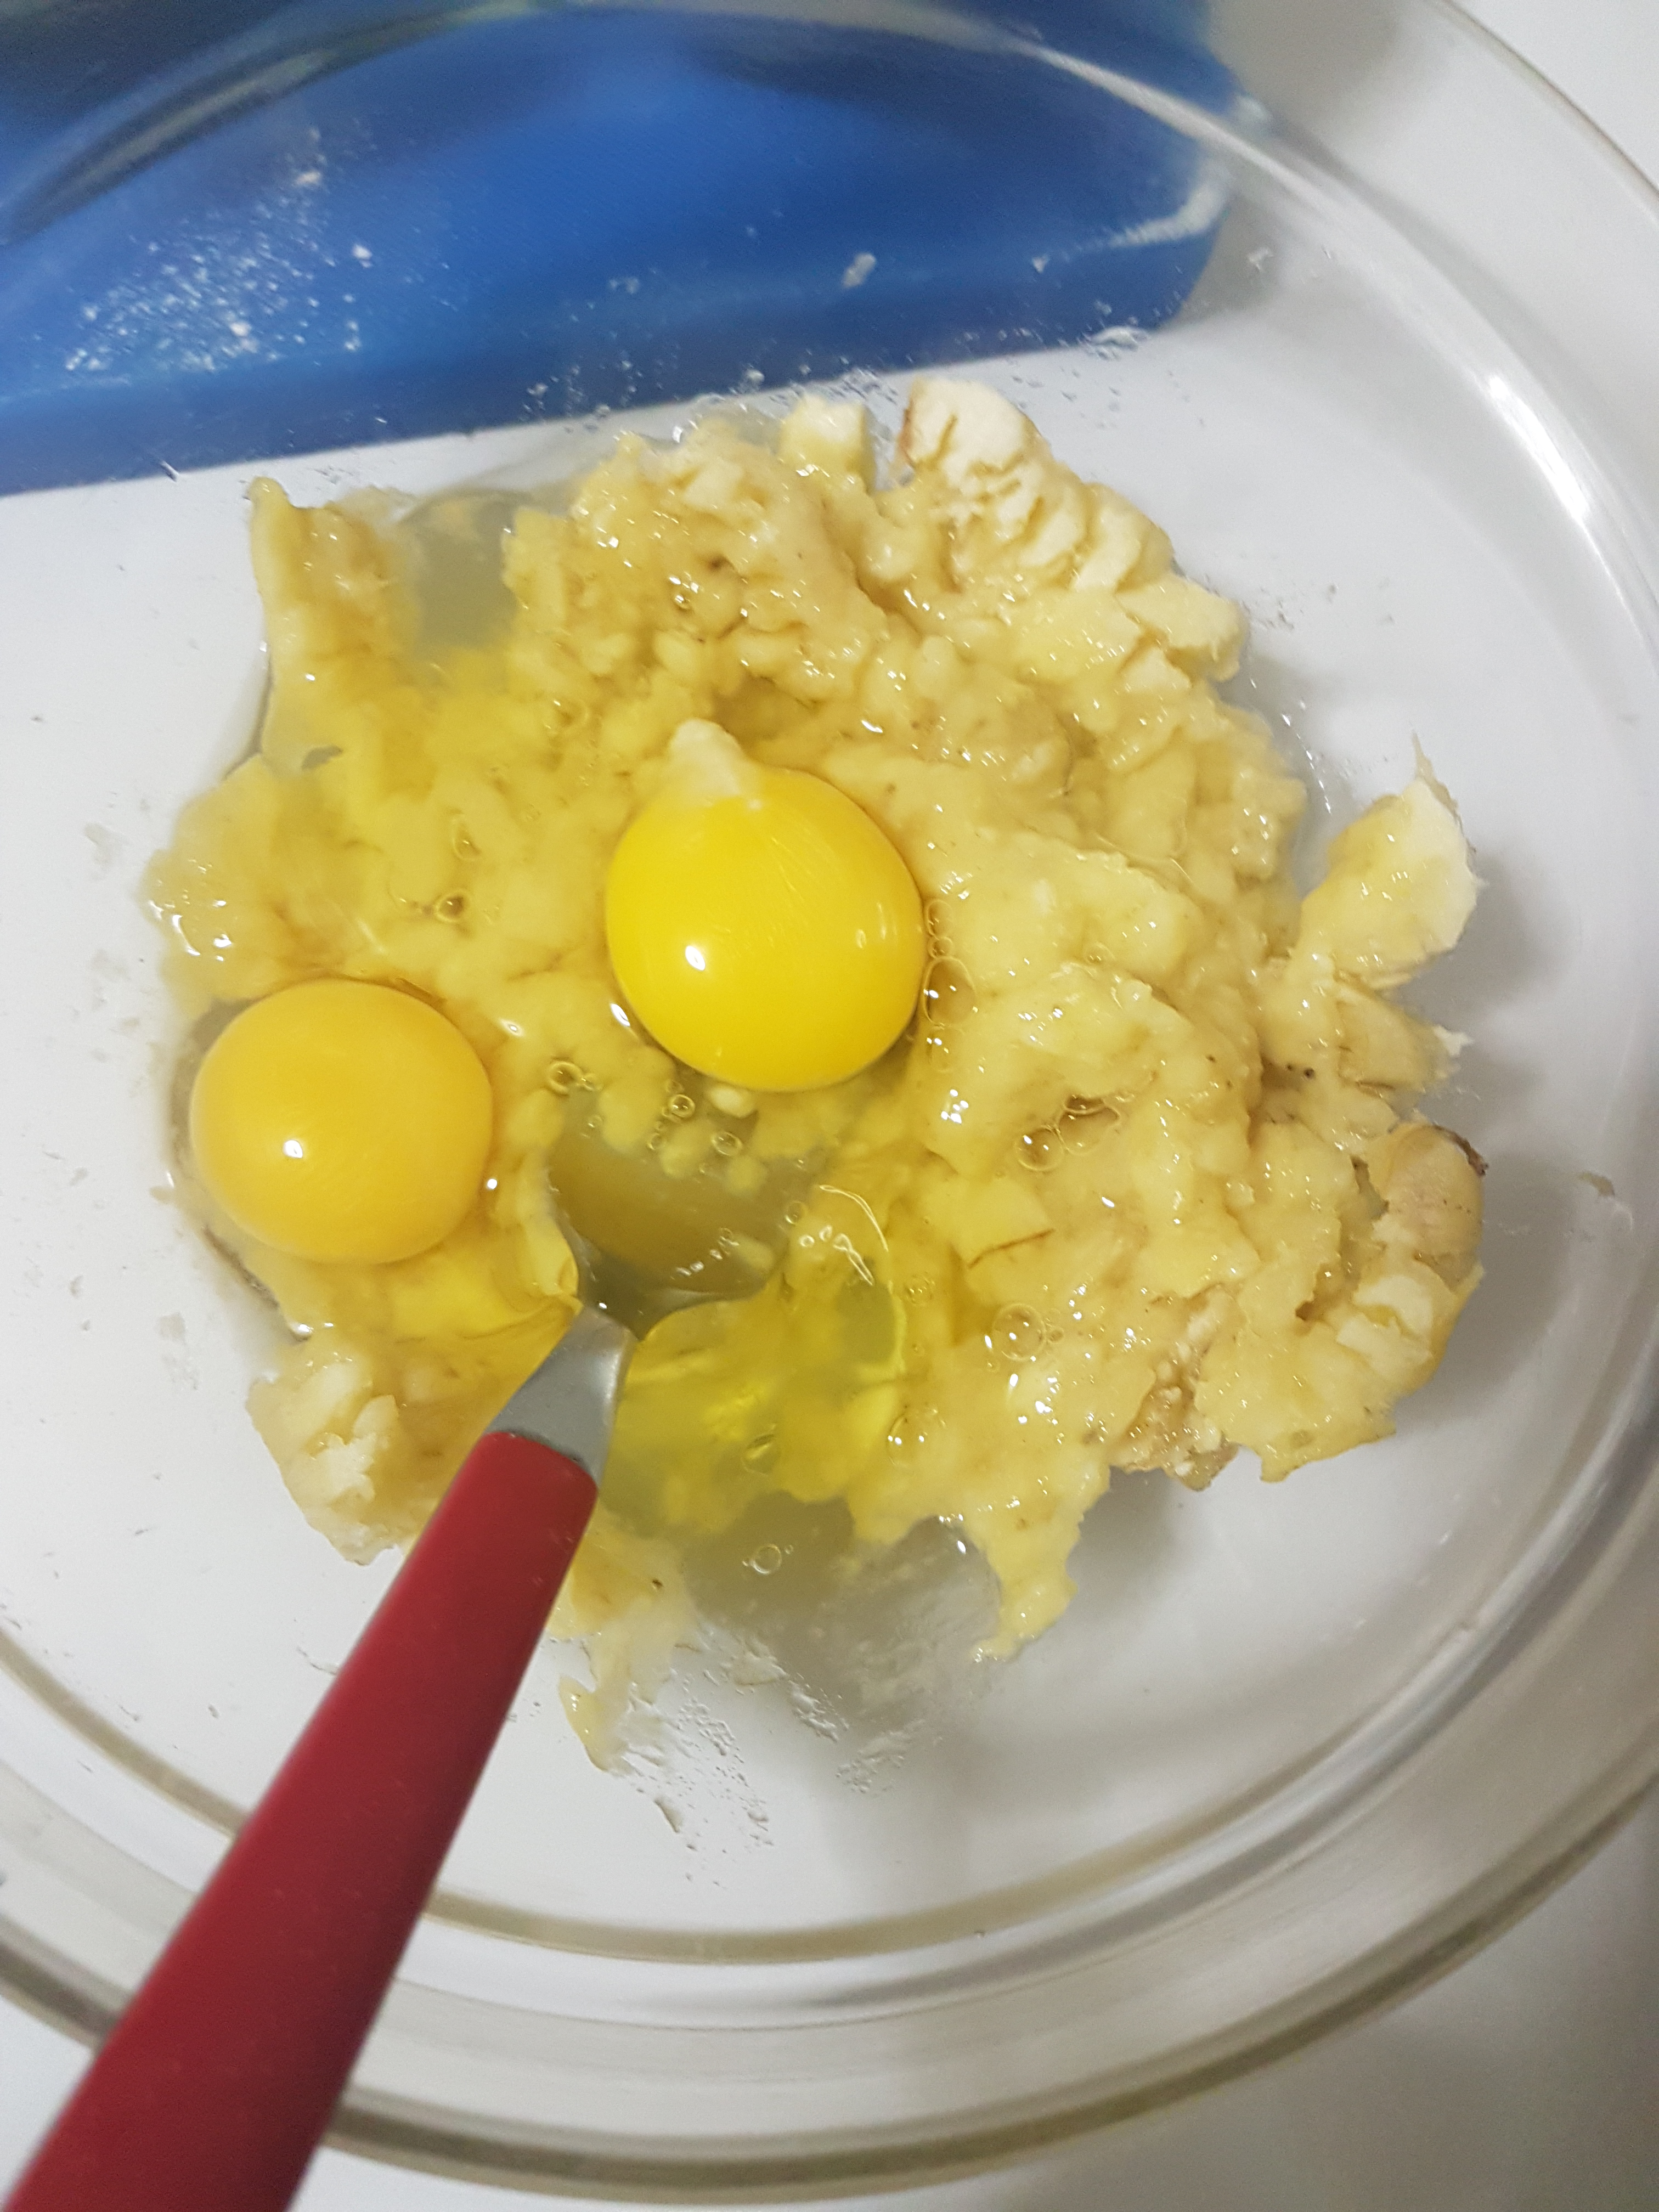
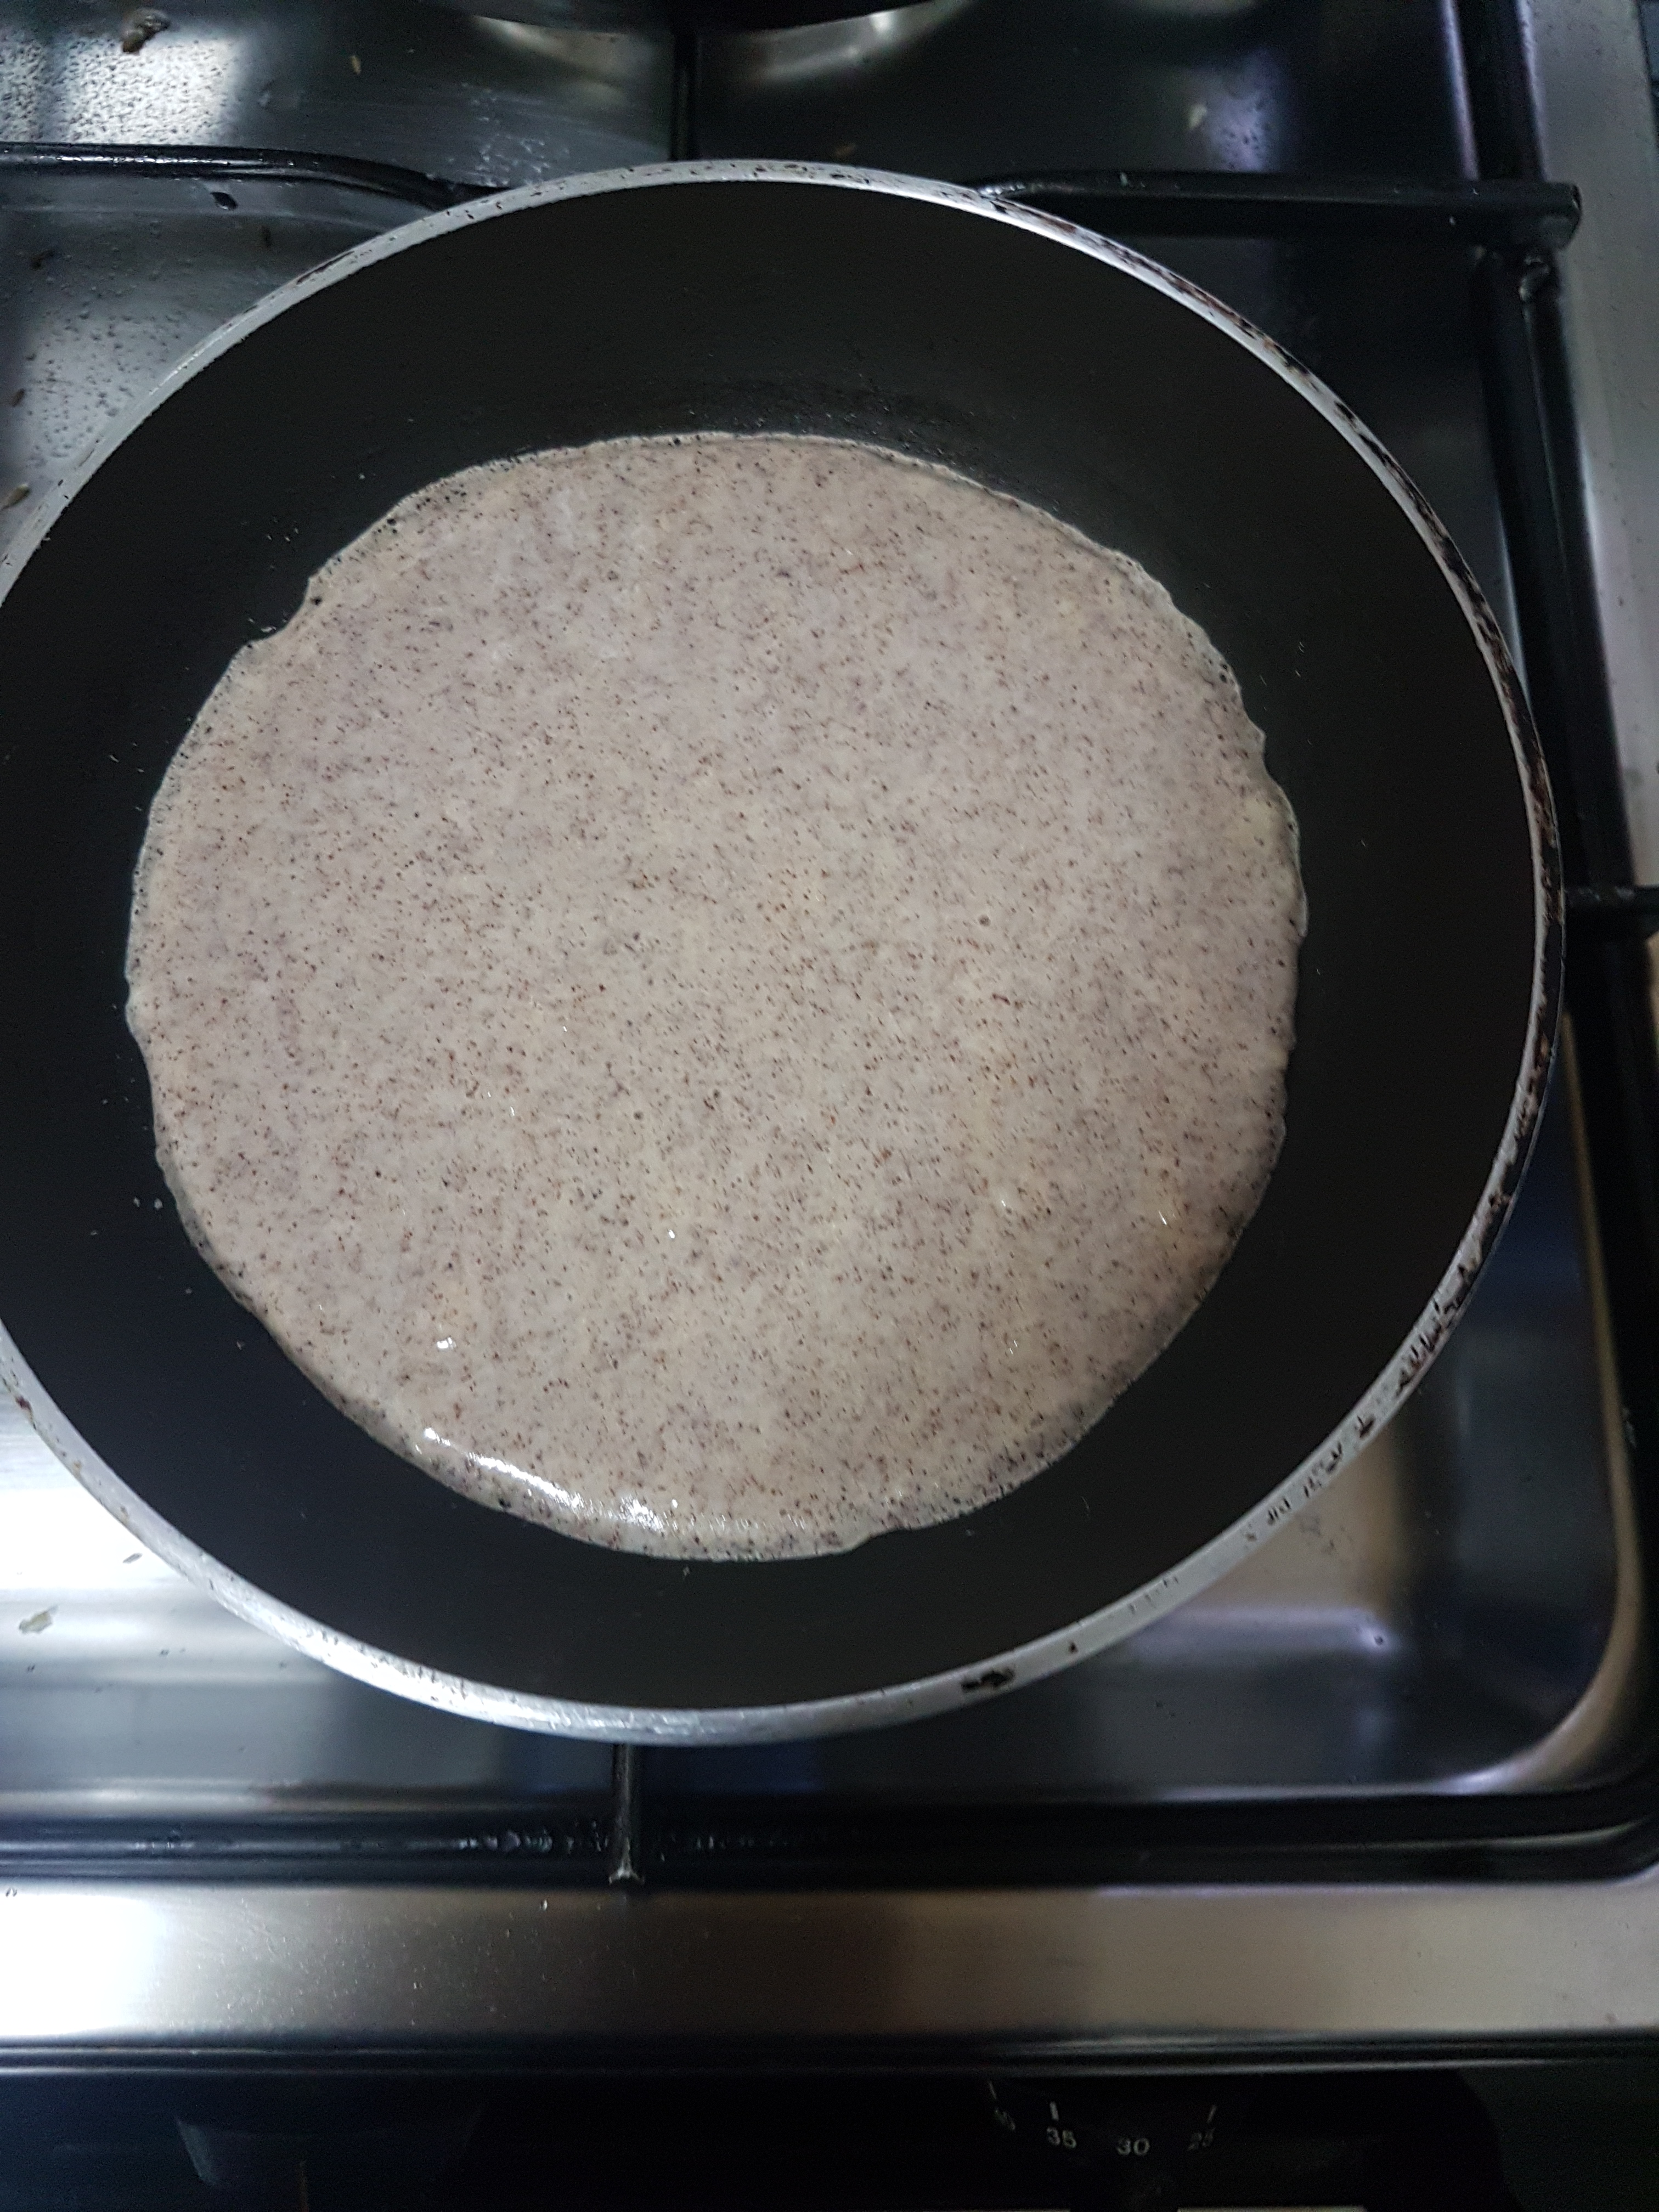
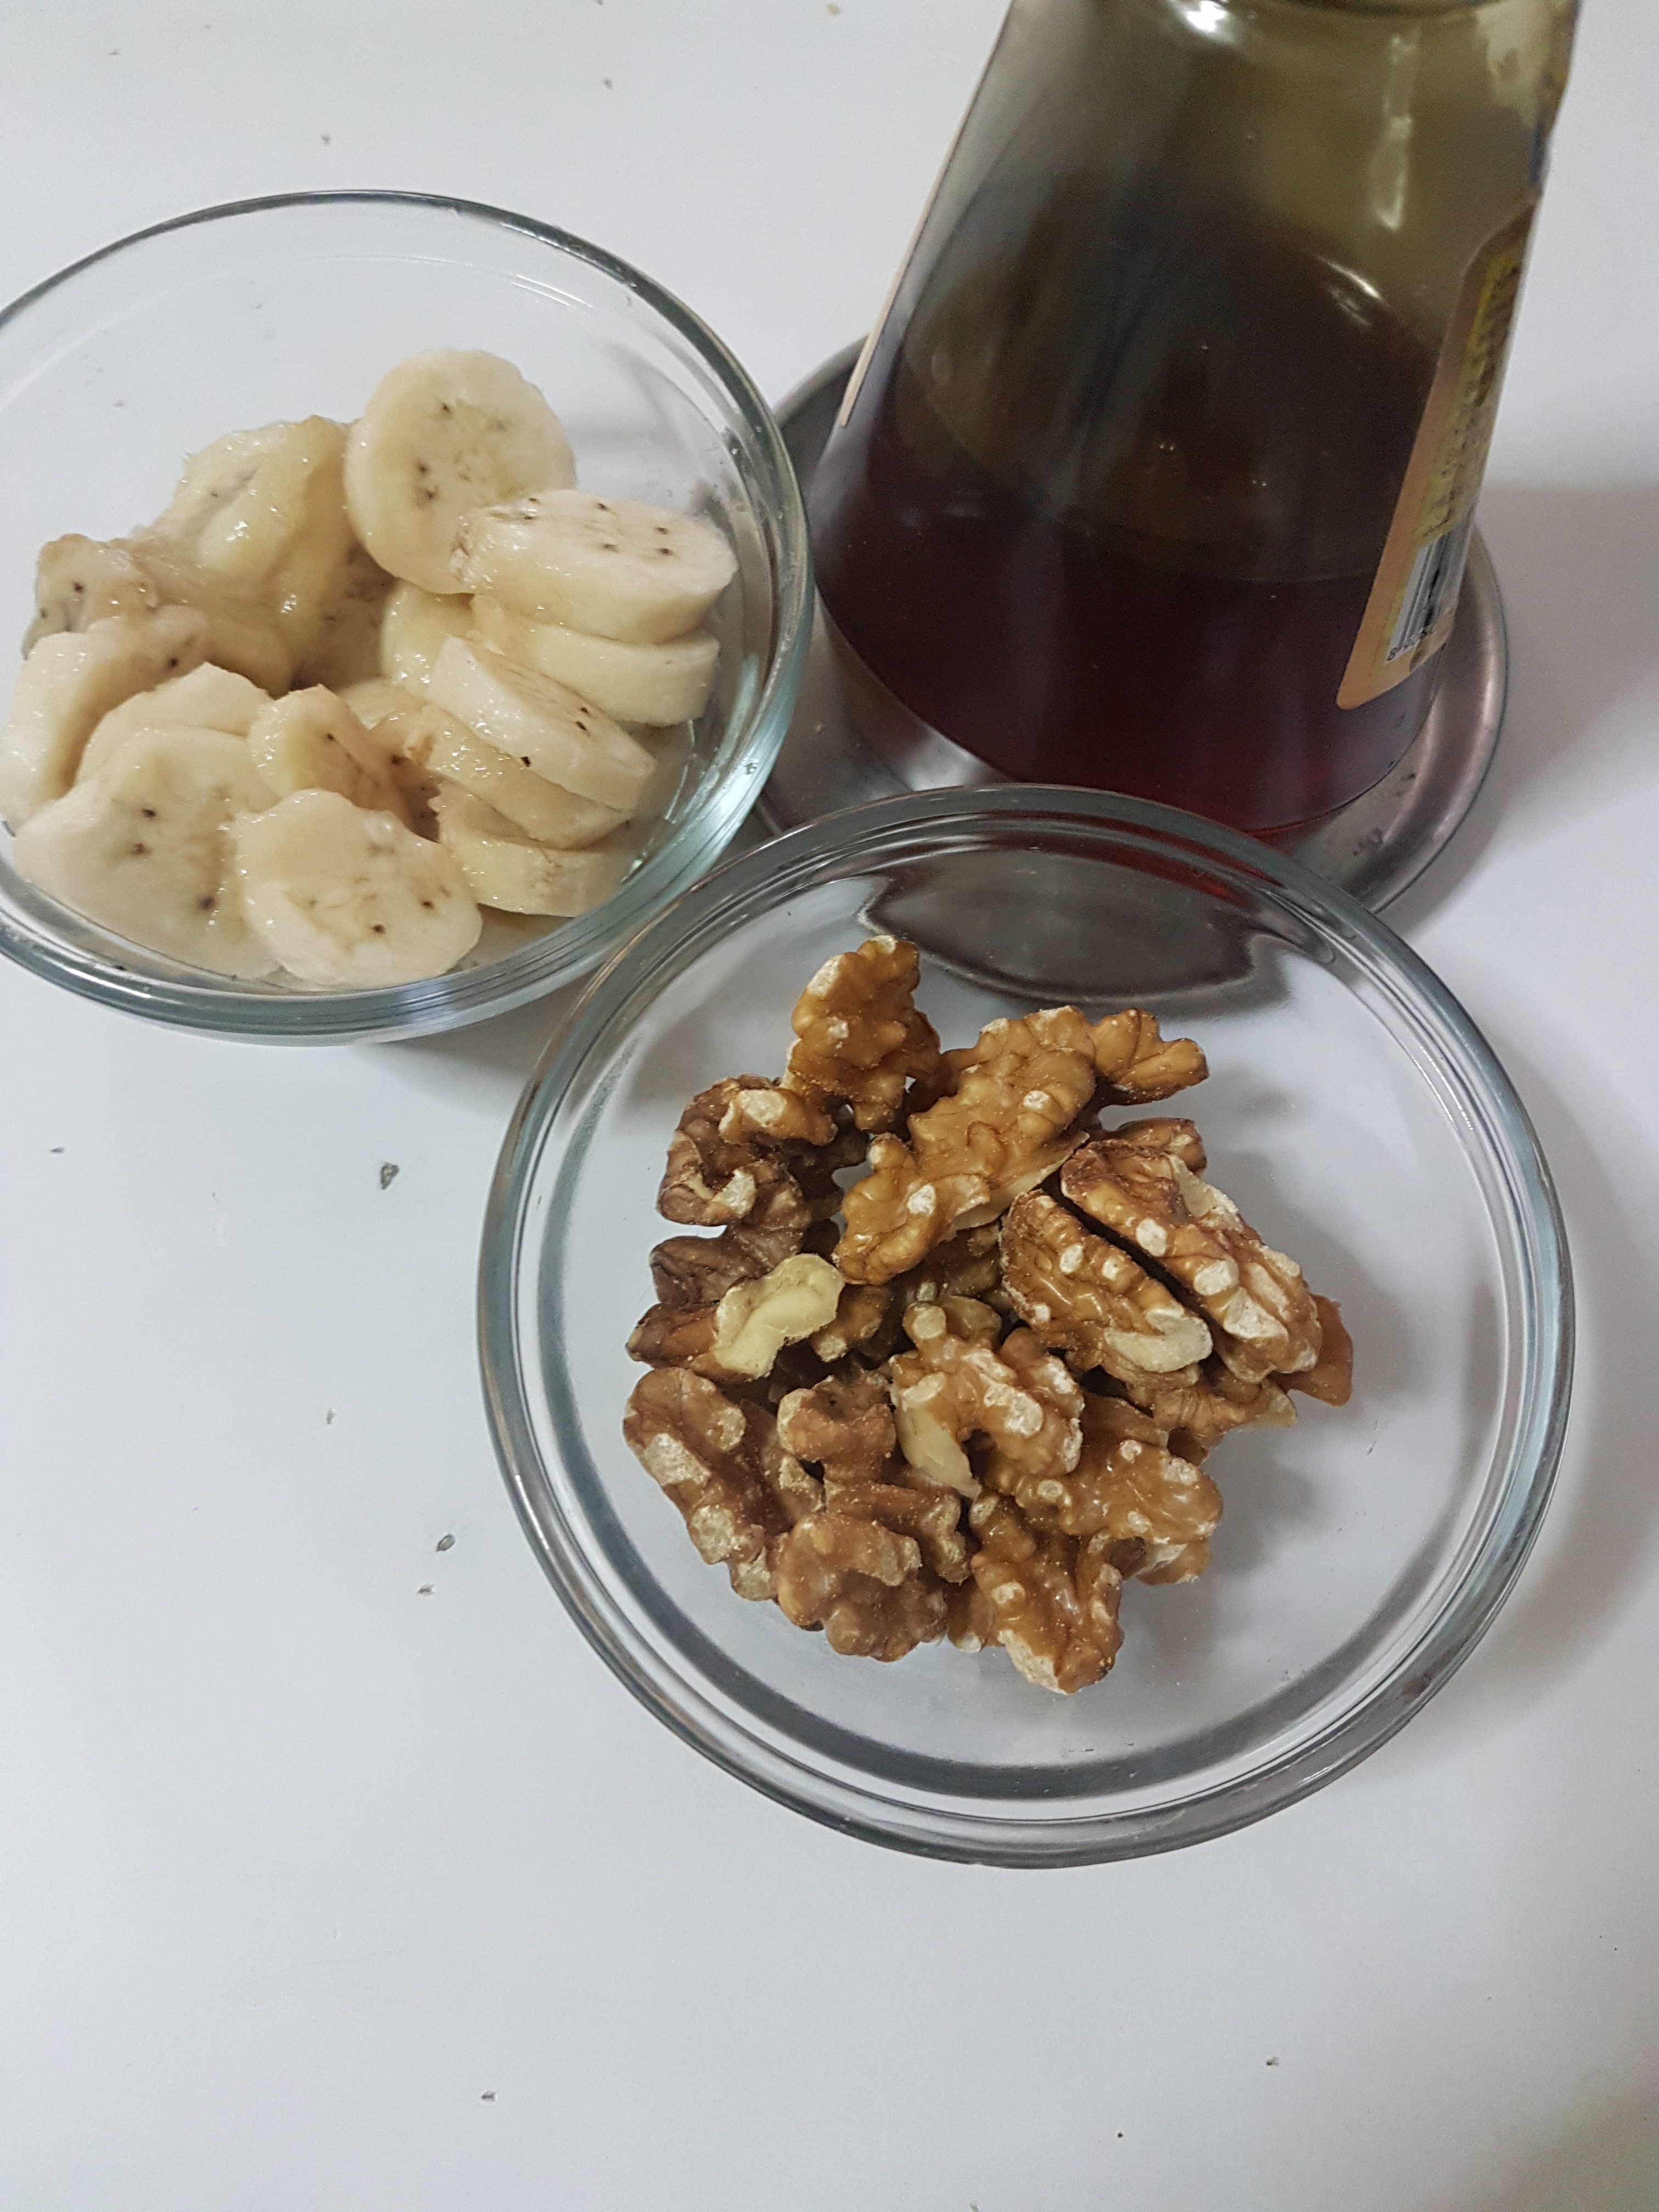
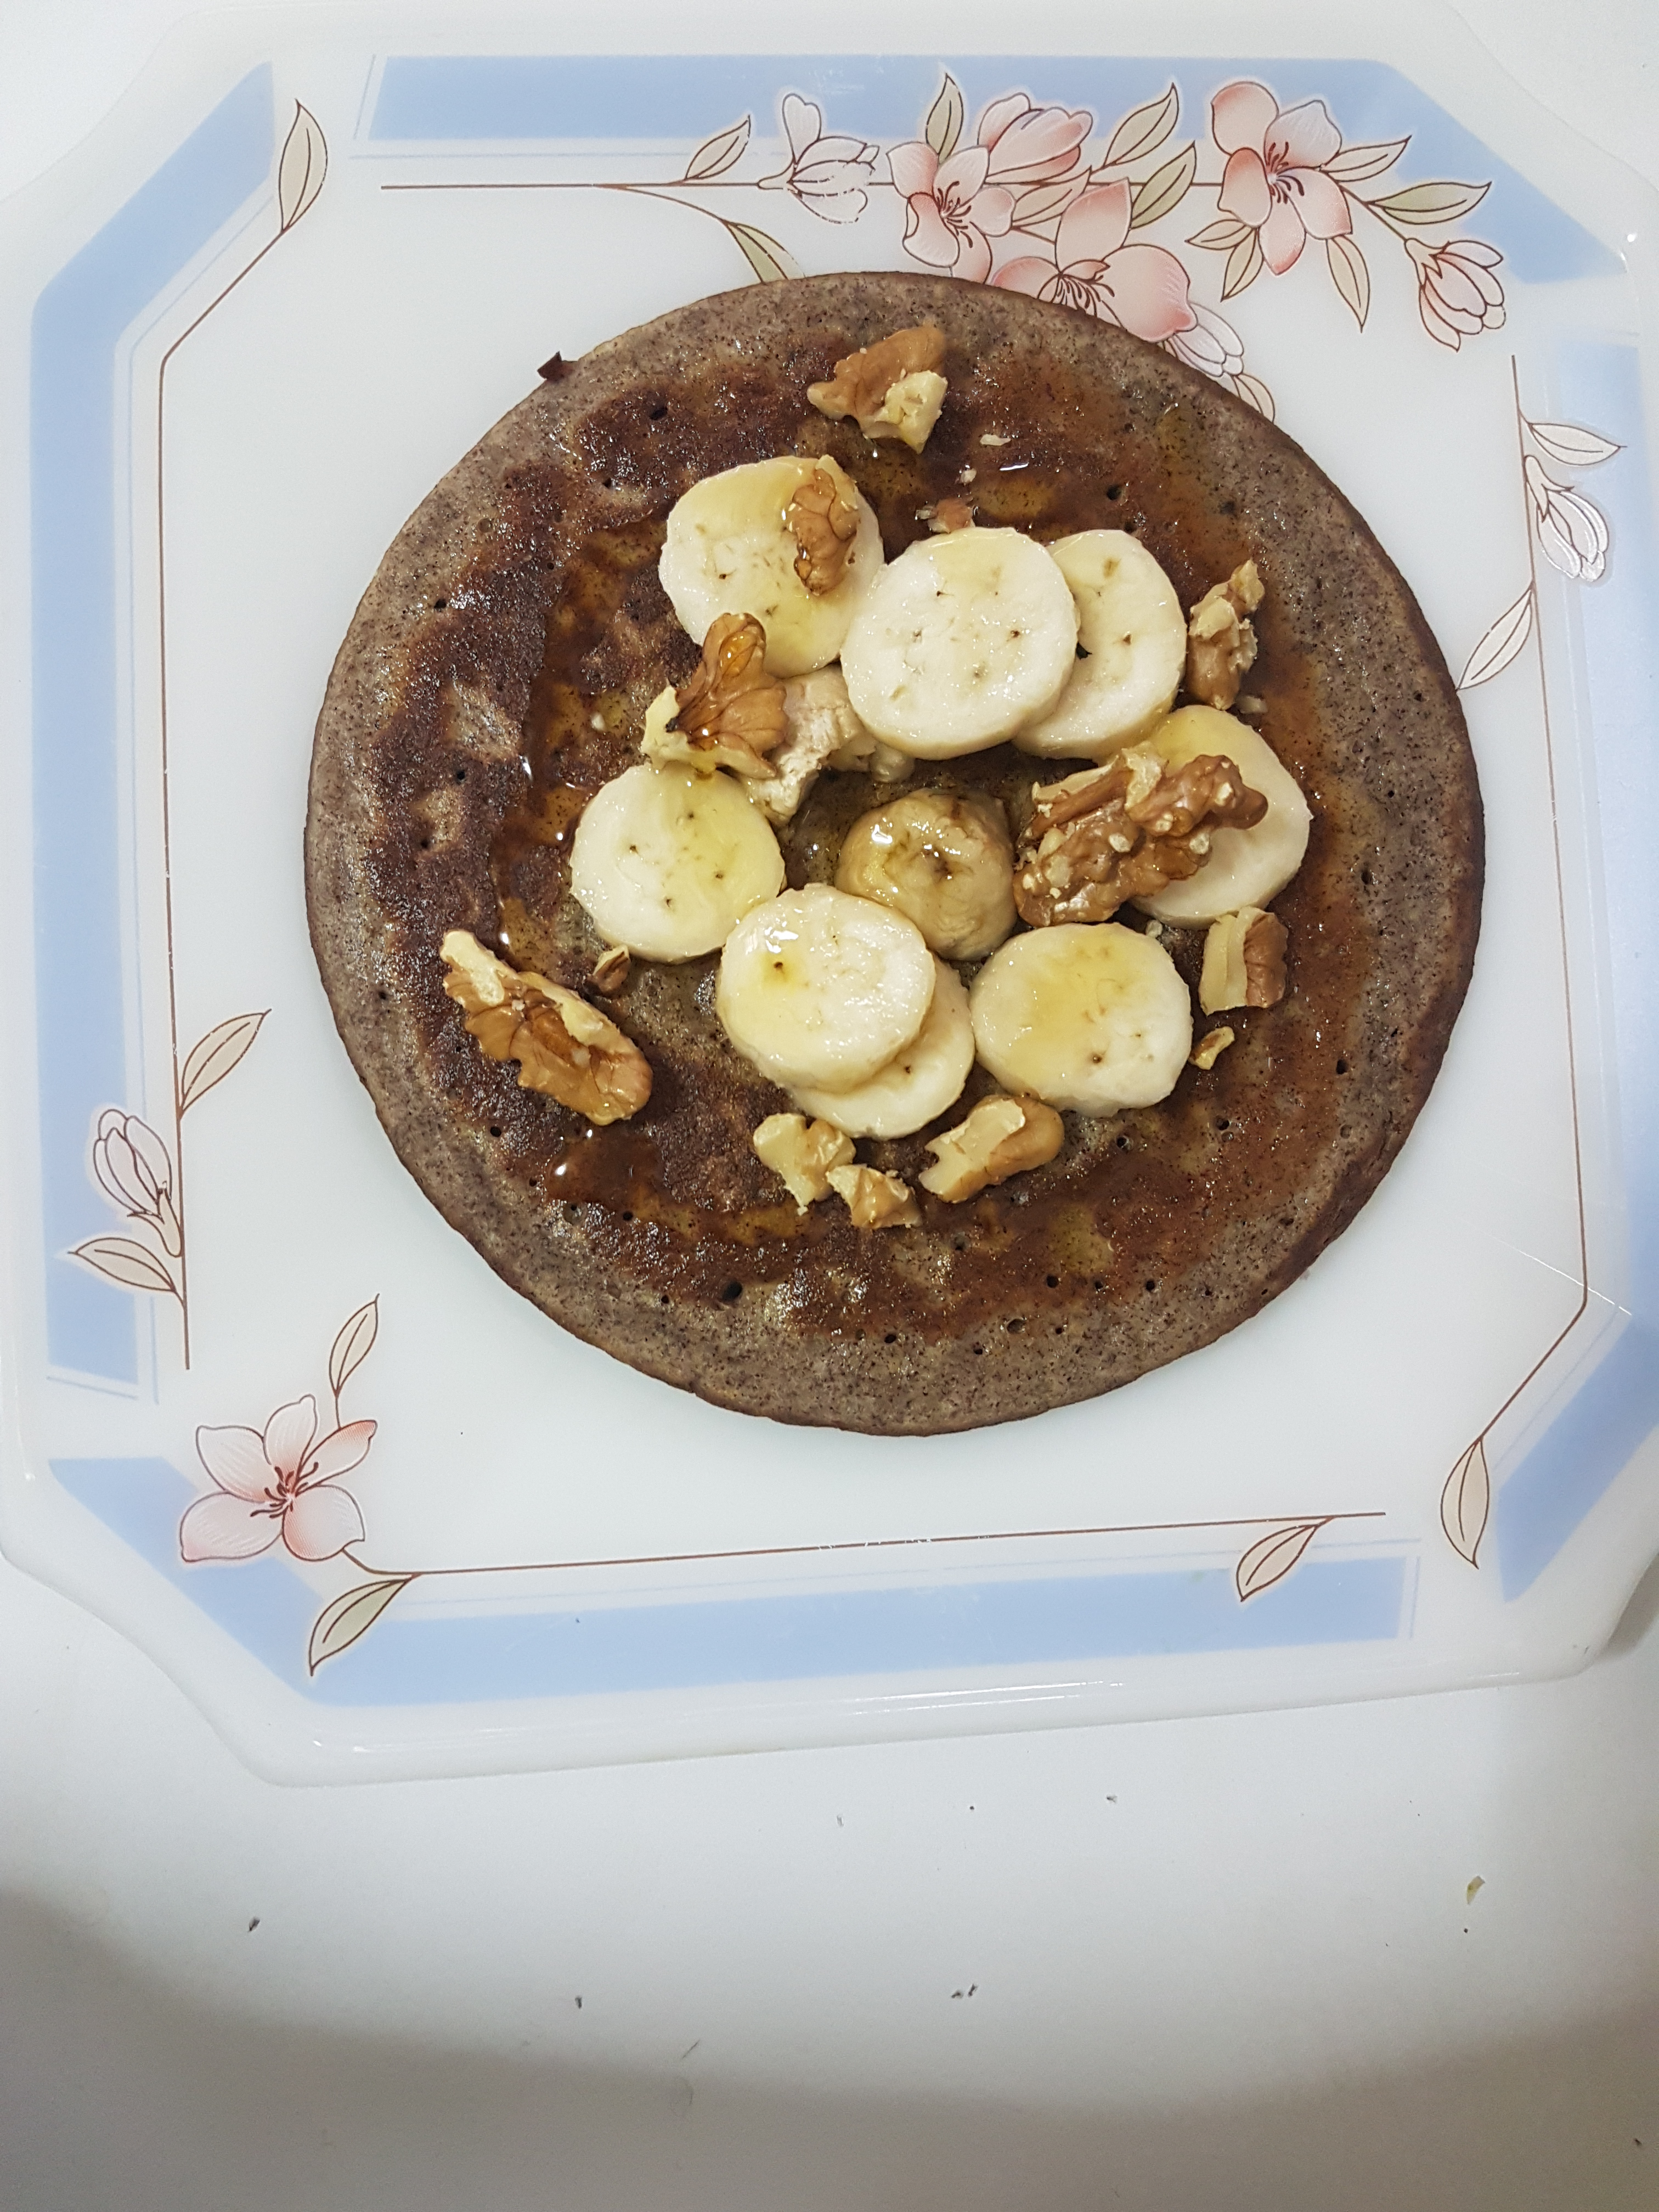
- Flour +eggs/blueberries/bananas as available
- Wheat flour + Doodhi(pumpkin)
- Flour + Rice flour small qty + yogurt
- Wheat flour + eggs
- Flour + yeast
- Flour + Olive Oil + yeast
- Gram flour
III. Eggs
- Eggs + Bread roll or use chappatis
- Eggs + Sliced bread
- Sliced bread + eggs + milk
- Eggs + Onions
- Eggs + Cherry or regular tomato
- Eggs + Mayonanaise + Bread
- Eggs + Milk + Bread
- Eggs
- Eggs + Onion + Tomatoes/paste
IV. Potatoes
- Potatoes + wheat flour
- Potatoes + wheat flour
- Potatoes
- Potatoes + Yougurt + gram flour
- Potatoes + gram flour
- Potatoes + minced meat
V. Chana/Chick Peas
- Chick Peas + Bhature – flour, rava, yogurt
- Chick Peas + Potatoes
- Black chana
- Chick Peas + Olive oil
VI. Dals – Tur/Masoor/Moong (Yellow)/Moong (green with skin)
- Dal + Onion + tomatoes if available
- Tur dal + veggies as available
- Moong dal with skin
- Rice + urad dal + channa (gram) dal
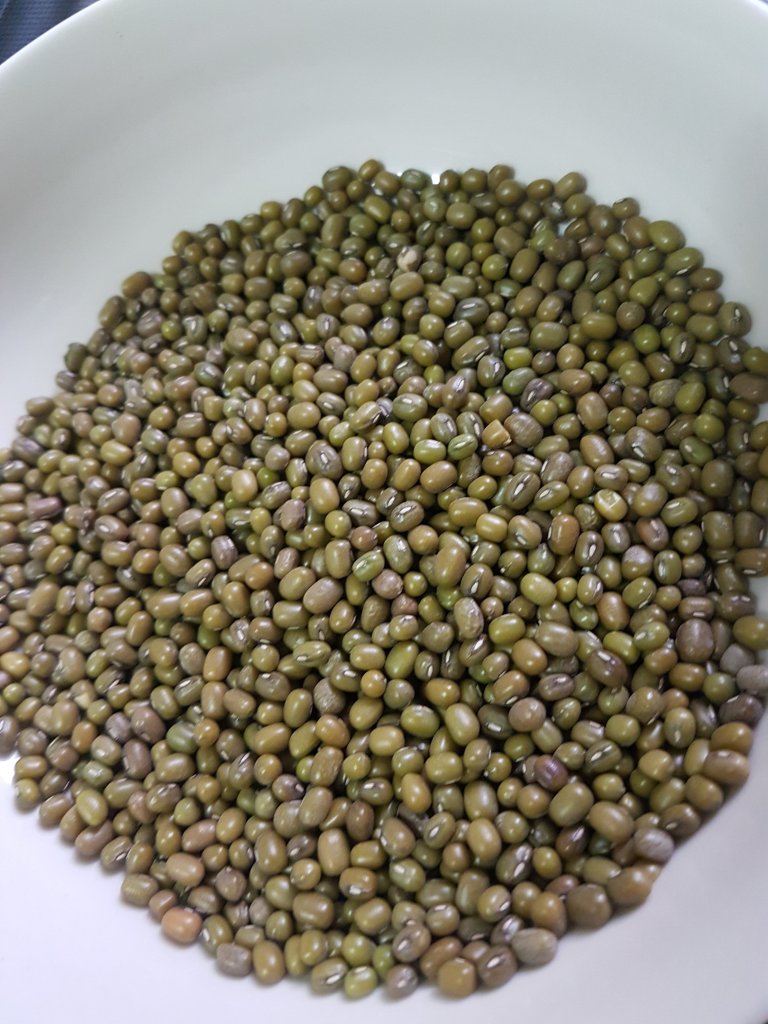
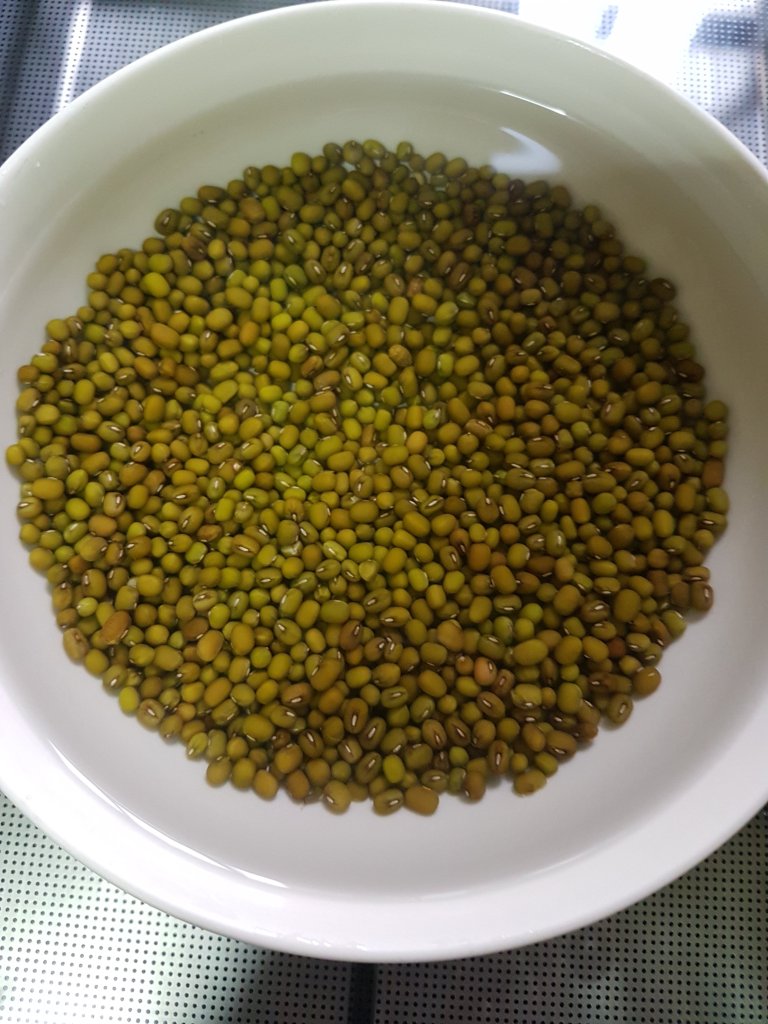
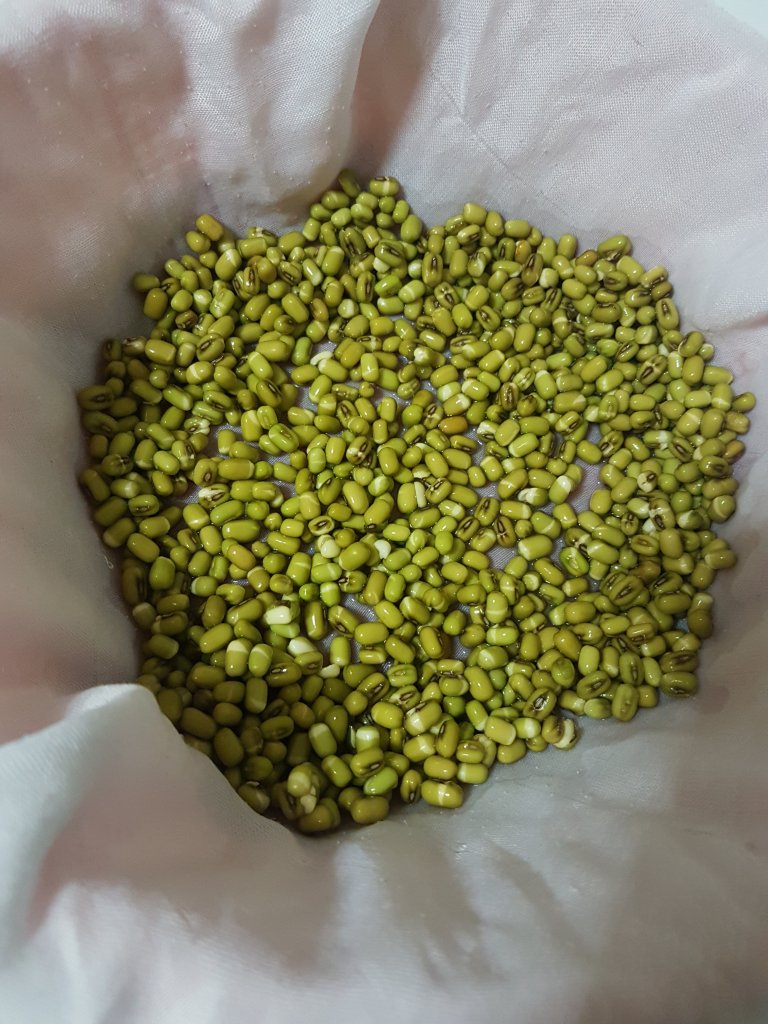
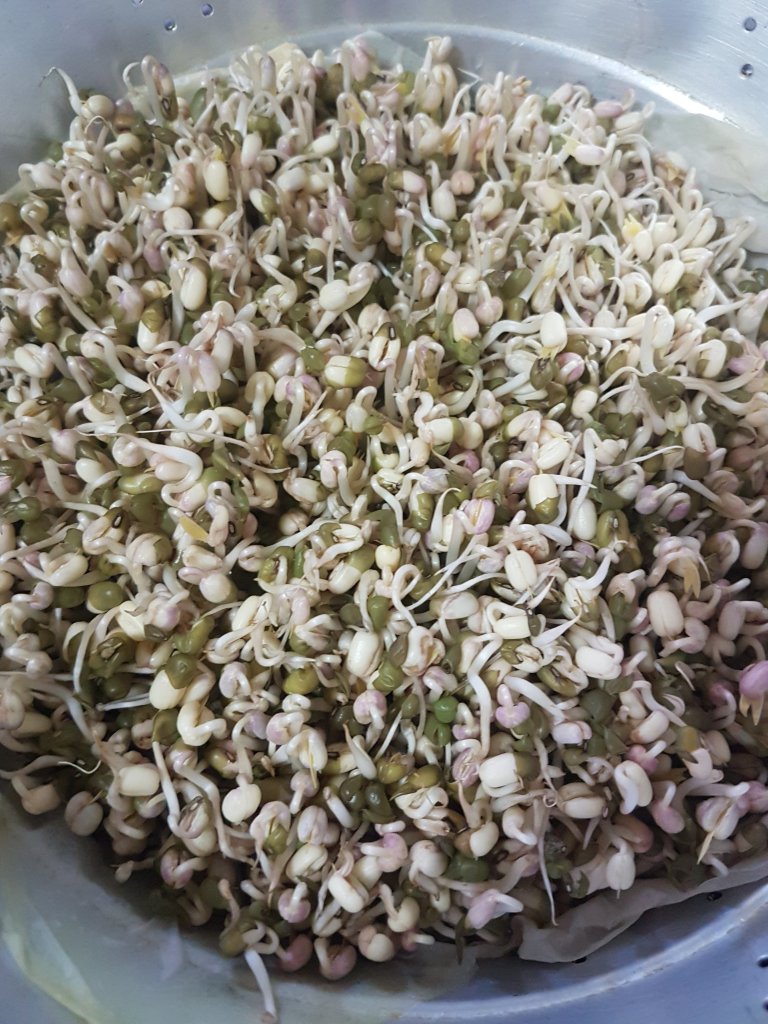
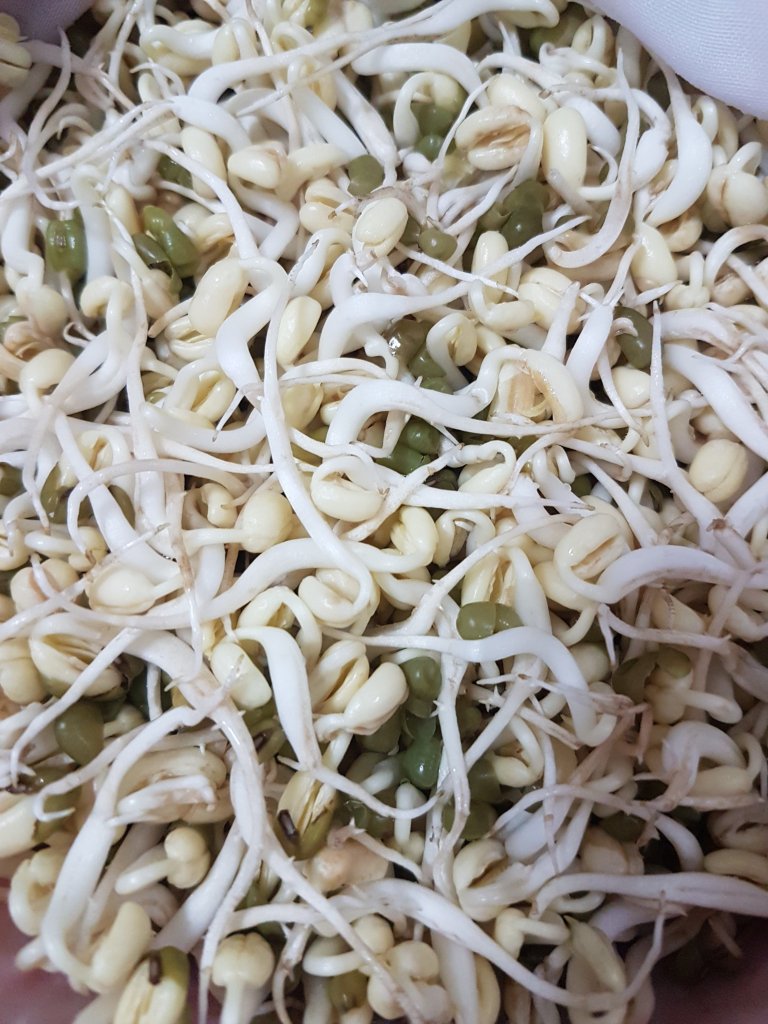
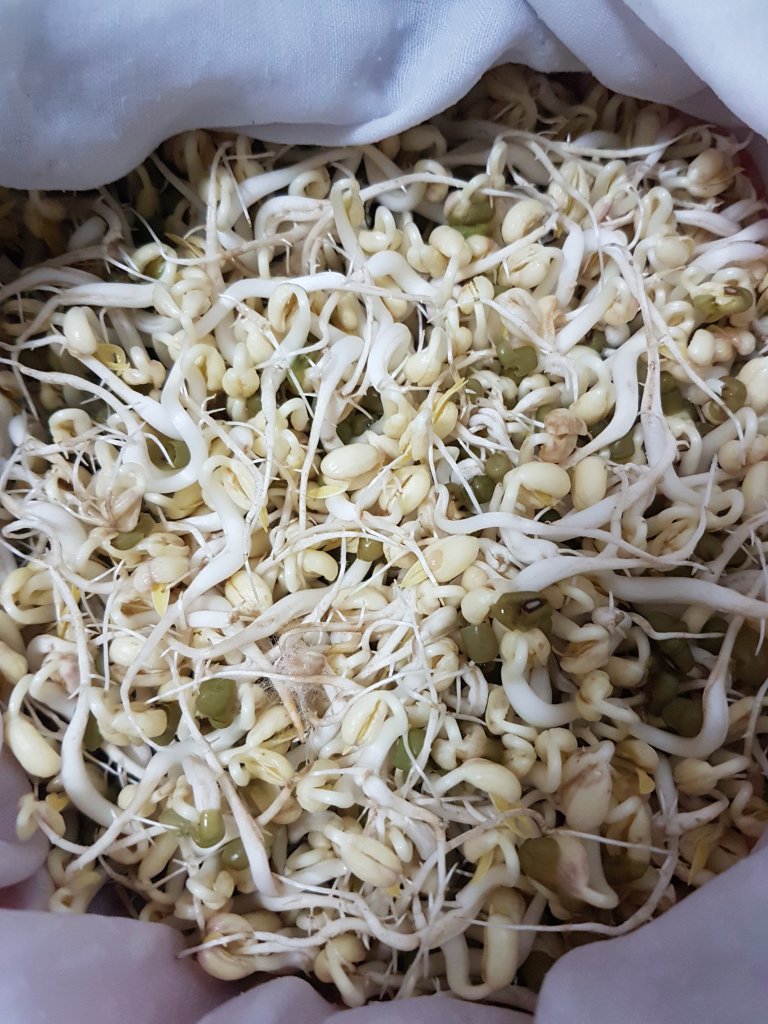
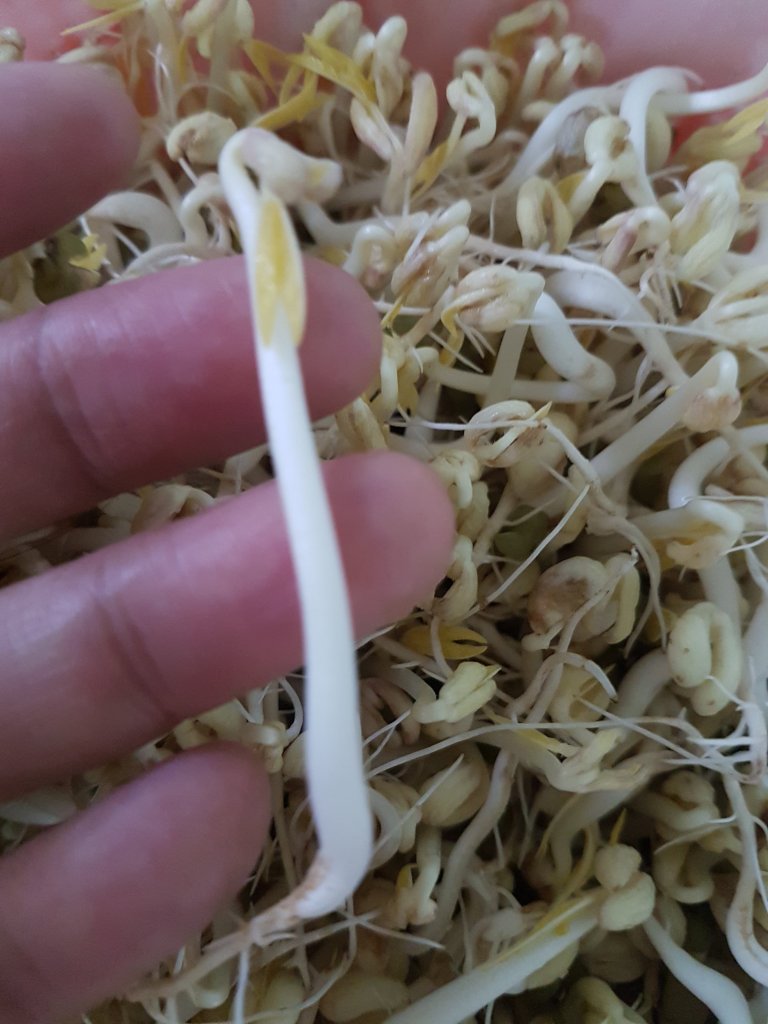
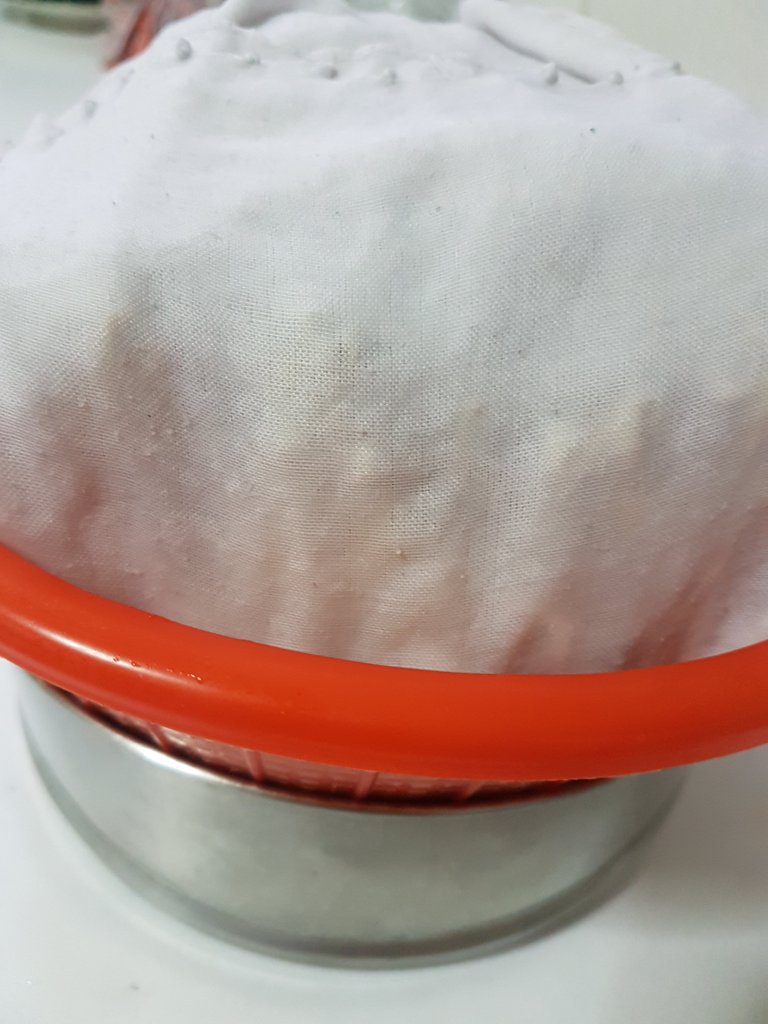
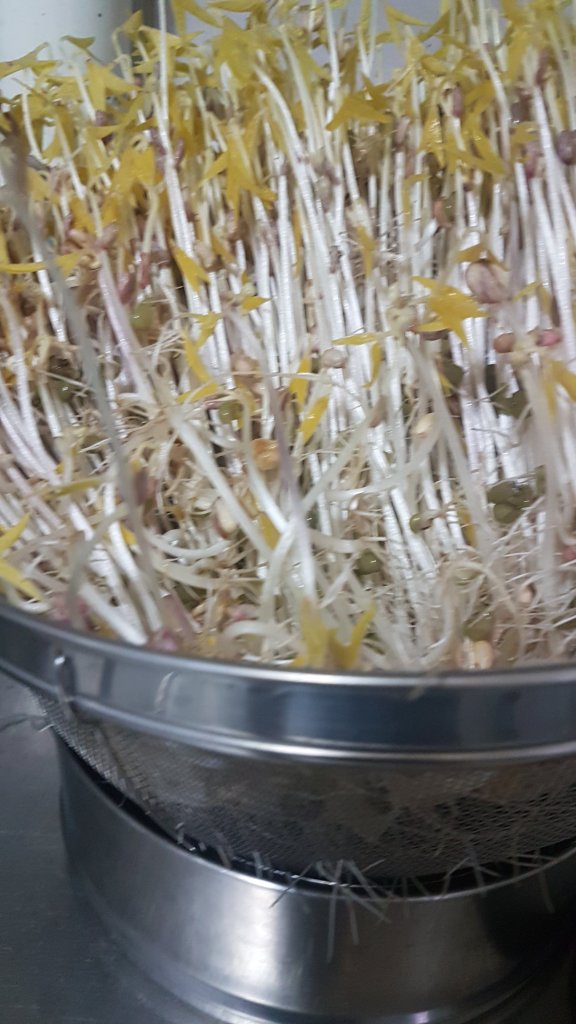
VII. Whole Moong beans
- Moong + grated coconut
- Sprouted moong + potatoes
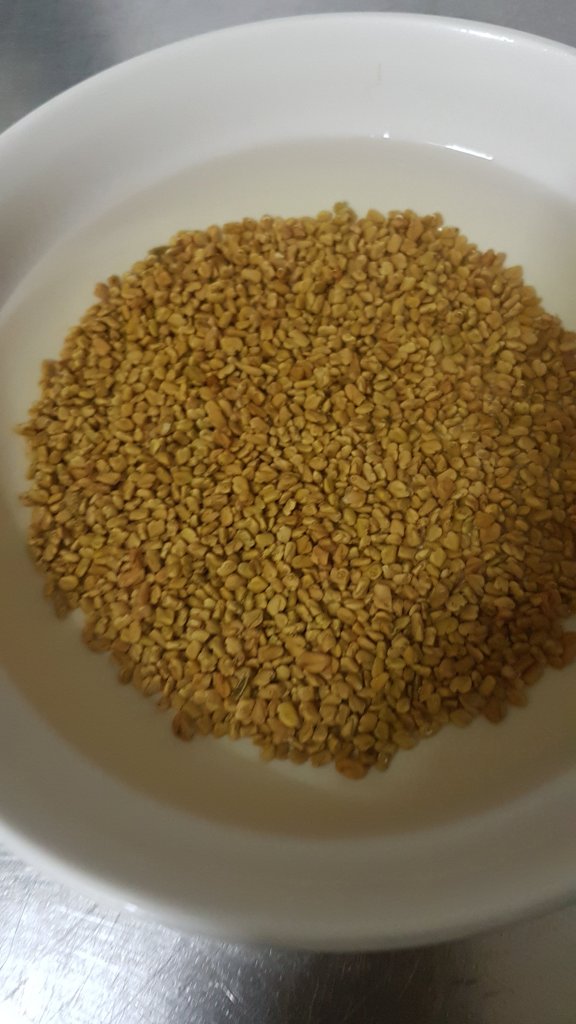
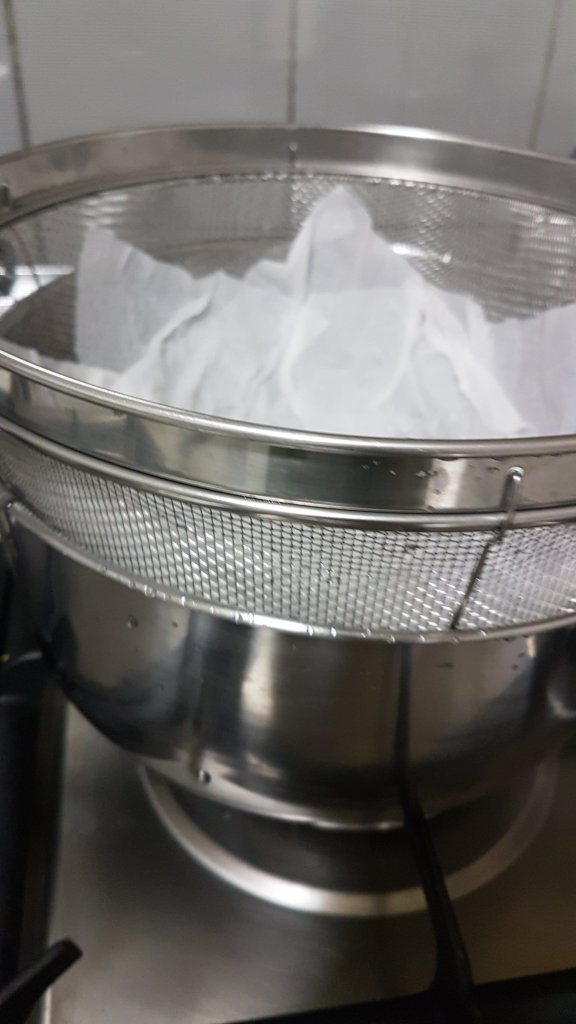
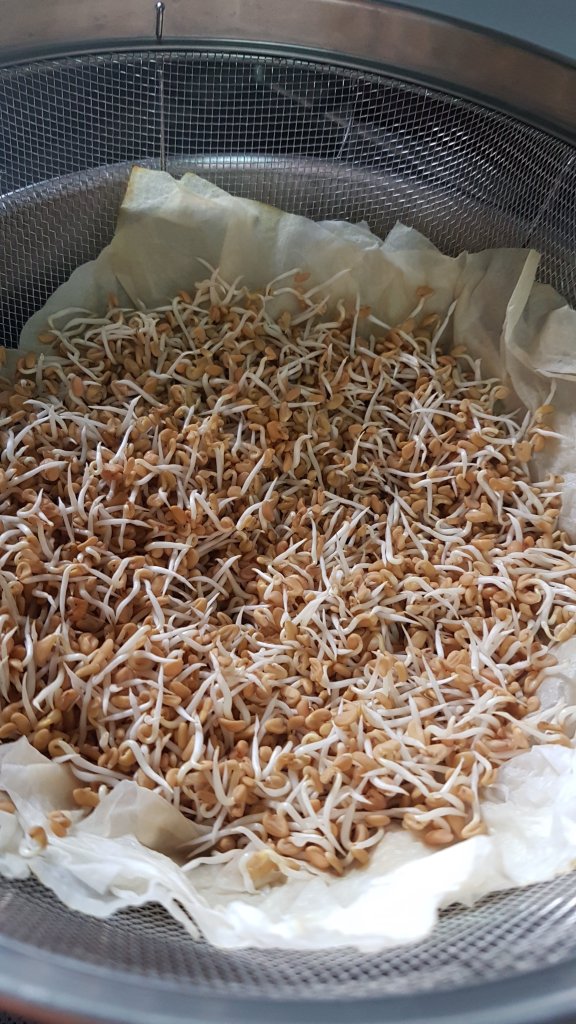
- Sprouted moong + methi sprouts if available
VIII. Black Eyed beans & Red Kidney beans
- Black eyed peas + grated coconut
- Black eyed peas + Palak/pumpkin
- Rice + red kidney beans
- Red kidney beans + Onions + tomatoes
IX. Rava (Semolina)
- Rava + Ghee + Sugar
- Rava + Rice flour + Butter milk or yogurt
- Rava + Rice flour
The above list includes mainly non-perishable ingredients. For more recipes explore the following links and continue to refer to the book Mai’s Recipes, which most of you must be having:-
- Indian cooking
- Traditional cooking
- Chinese & Asian cooking
- Continental cooking
- Breakfast Diaries
- Middle Eastern Cooking
- Sweets & Desserts
- Soups
- Sandwiches
- Salads
Experiment with new recipes if supplies like vegetables, meat, fish, chicken, etc. are freely available and indulge your family and yourself. Make use of the time available productively. Take care, stay safe, stay happy! 🙂


")
")
")
")
")
")
")
")
")
")
")

")
")
")
")
")

")


")
")


")
")
")
")
")
")
")
")
")
")
")
")
")
")
")
")

")
")

")
")


")
")


")
")
")
")
")
")


")
")
")
")
")
")
")
")
")
")


![136 vorn[3]](https://cooklikececilia.com/wp-content/uploads/2016/03/136-vorn3.jpg?w=300)


Recent Comments