
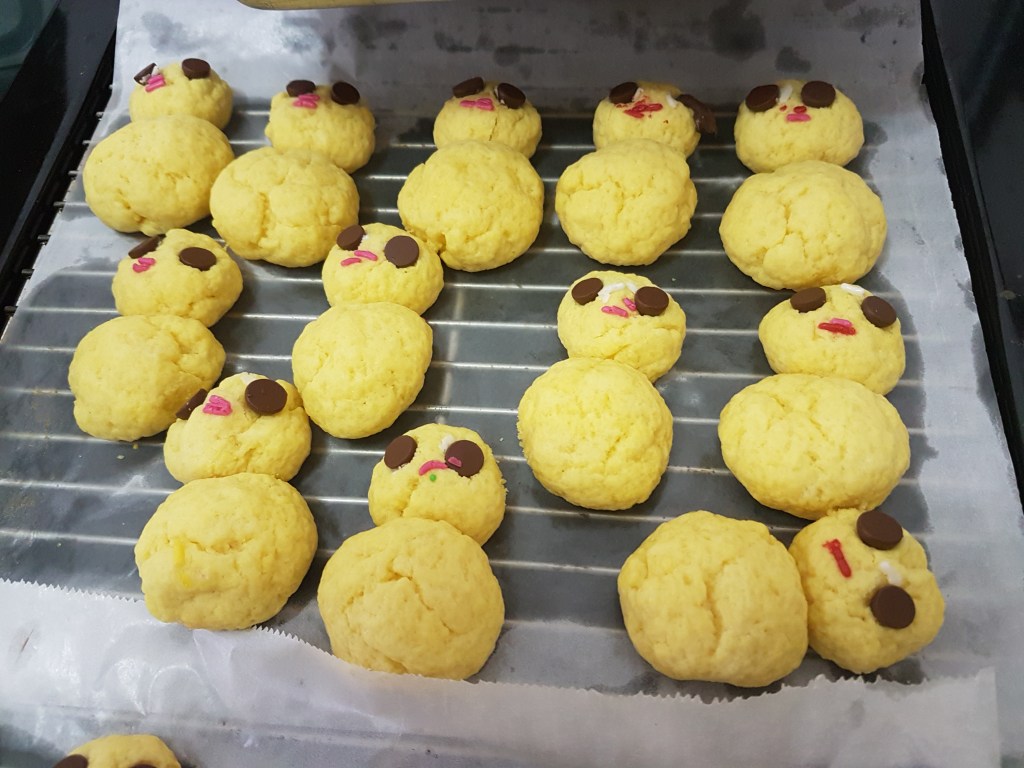
This post is inspired by my eldest grandson Rhys, all of four years, who one day very sweetly and shyly requested “Grandma can you make Strawberry cookies”? And very thoughtfully enquired “Do you have strawberries”? This was enough to melt my heart. Not that he loves strawberries or wants them in the cookies but he loves anything red and associated the red strawberry colour with the cookies he wanted. Little does he know that you don’t require fresh strawberries for Strawberry cookies. When he saw the cookies, he asked for Blueberry cookies for his brother! That set the ball rolling……… There’s no way I can turn down my grandchildren!!
These cookies can be enjoyed anytime of year, celebrate them with family and friends!! Click on the title for the recipe page.


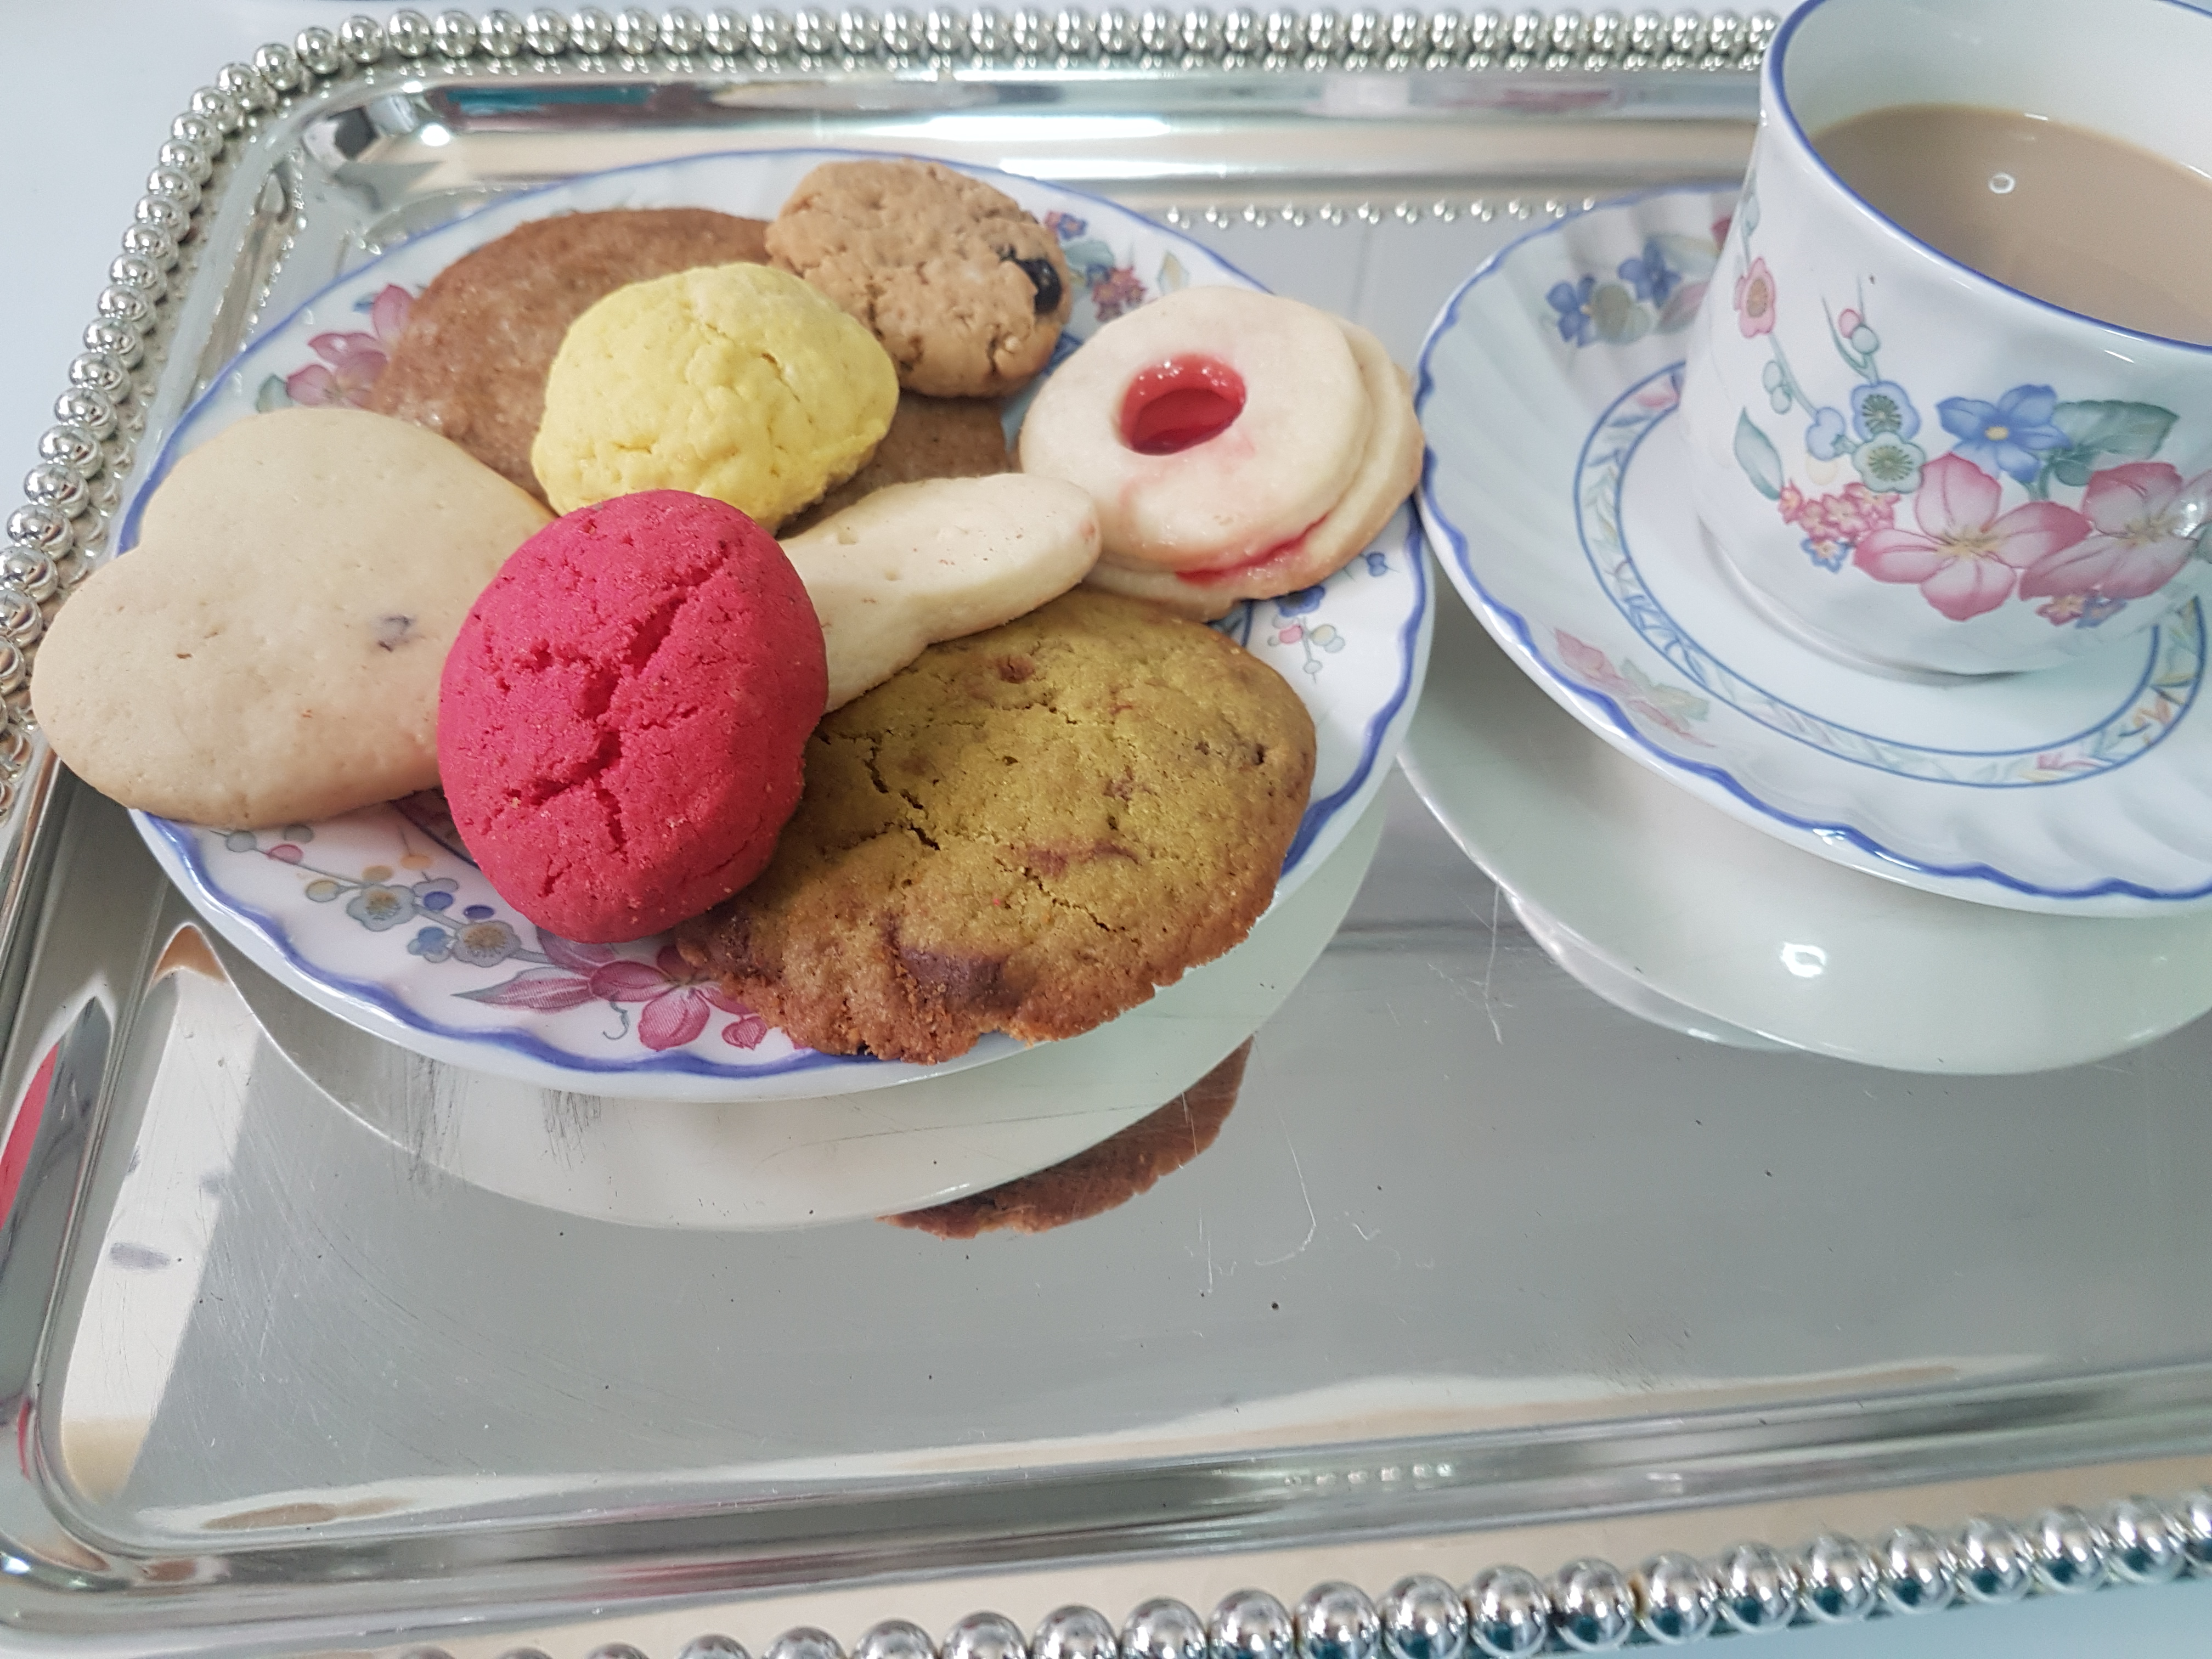
Nowadays as we spend more time working from home, teaching from home, learning from home and managing the household, etc, frequent intermittent breaks more from quarantine fatigue, have become necessary and a break with a cup of tea or coffee just makes everything better! Pair that with a couple of cookies and it goes to another level. Children also need their regular breaks from their online classes, tuitions, etc. and what can be more satisfying than some baked cookies or biscuits with a glass of milk for a healthy snack!
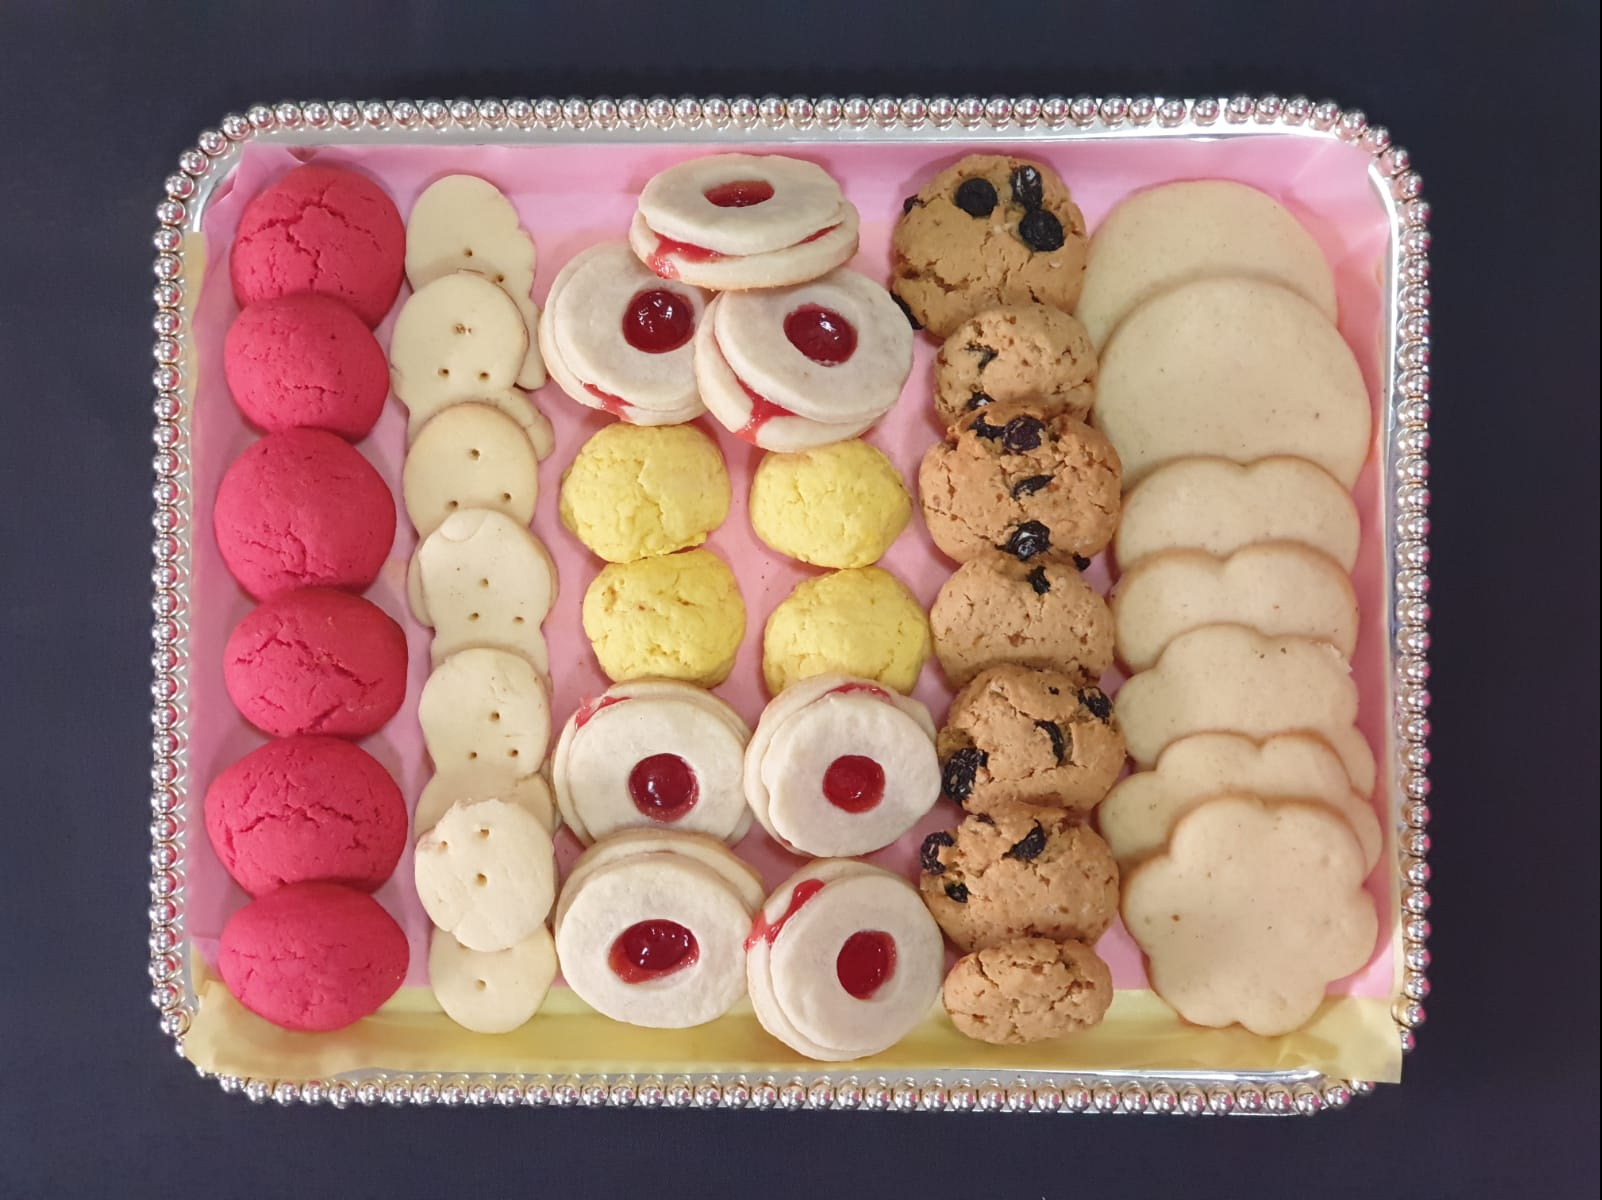
I would recommend you bake several types of cookies back-to-back, not only will you have a variety of cookies and biscuits but it just makes it quicker and easier and you would have cookies that your family can enjoy for weeks. They are also perfect for gifting!
Here are some tips as a guide to baking cookies, specifically for making multiple types of cookies at a time:-
- Prior to Baking
Read the recipes well, several times if necessary. Many a failed recipe is attributed to having overlooked an ingredient or missed a step. Check if you have all the ingredients. If not, check if it can be omitted (i.e. if it does not affect the basic recipe) or if it can be substituted with ingredients on hand.
2. Baking day
To make it easier on yourself, plan on baking several types of cookies back-to-back on the appointed day and set aside a couple of hours i.e. an afternoon or morning if you prefer. Cookies store very well. Alternatively, just bake a quick batch of ‘fresh from the oven’ whenever you feel like cookies!!
3. Ingredients
Gather all your ingredients and make sure everything is at room temperature, eggs, butter, etc. Hence ingredients that are refrigerated must be kept out on the kitchen counter in advance so that they are at room temperature when you begin mixing the ingredients. ‘Flour’ refers to All purpose flour, unless otherwise specified.
4. Measuring cups/spoons

I have used cup measures in most cases i.e. the actual ‘Cup measure’, not yogurt cup or icecream cup, glass, etc. Use exact measurements for best results. I find it is just easier using a cup rather than the scale but do use the scale where necessary.
5. Mixing bowls
Always use two bowls, a medium one for dry ingredients and a larger one for wet ingredients. Also using separate measuring cups and spoons for dry and wet ingredients will just make it easier to bake back-to-back. Since the main ingredients in cookies are basically the same i.e. flour, butter, sugar, eggs, would be less effort to avoid changing the utensils after each batch. Cookies requiring coloring can be made last, as the bowls would then definitely require washing.
6. Baking trays & parchment
The same baking trays can be used for several batches, just change the parchment and after you have baked two or three batches, you will find you don’t need the parchment as the trays will be well greased by then. Just wipe off the residue, if any.
7. To prevent cookies from spreading too much

For cookies other than cut-out cookies (as most cut-out cookies require prior refrigeration) form the cookies by hand or a scoop, place on baking tray and chill in the refrigerator for 10 to 15 minutes before transferring to the oven. This will avoid the cookies spreading too much and running into each other.
8. Cut-out Cookies – customization
Some recipes, mainly cut-out cookies, require the dough to be refrigerated for a specified period. After refrigeration work with small portions of the dough and put the balance dough back in the fridge. Begin with such recipes so that while the dough is getting chilled, you can move on to the next recipe. After rolling, cutting and placing on baking sheet, bake directly.
Cut-out cookie shapes can be customised to suit the occasion or festive season. Use regular cutters like round, flower or anyother shape. For festive occasions use the appropriate cutters. Easter bunnies, chicks, eggs, carrots, rabbits etc. at Easter season and Christmas designs like tree, candy cane, snowflake, santa etc. at Christmas and so on. The cookies can also be decorated with royal icing.
9. Oven Temperature
Always heat oven to 180 deg C or 350 deg F and position rack in the centre of the oven. If using multiple racks, rotate the trays on the lower rack to the upper mid-way through baking, if the cookies are browning too quickly.
10. Storing
Make sure the cookies have cooled completely, preferably on a wire rack before storing. In case you wish to store several types of cookies in one large container, put each type in a separate plastic bag, seal well and place in the box, so the cookies don’t lose their crunch. Will stay fresh for weeks!
Tea & cookies, like milk & cookies or coffee & cookies usually go together. The act of drinking tea or coffee is so ingrained in us that consciously or unconsciously it becomes a necessity at the break of day, mid-morning, early evening and several times in between. I therefore, leave you with this beautiful thought, tea and coffee being interchangeable here (as I am an ‘only coffee’ person) –
If you are cold, tea will warm you; if you are too heated, it will cool you; If you are depressed, it will cheer you; If you are excited, it will calm you.
-William Ewart Gladstone
I have listed the cookies in the order they are to be made, incase you wish to take up my suggestion of making several types in one go. Just click or tap on the name to access the recipe :-
- Cake Toast – Bake the cake, cool completely, slice & toast again in the oven.
- Gingerbread Cookies – Chill the dough for one hour & customise.
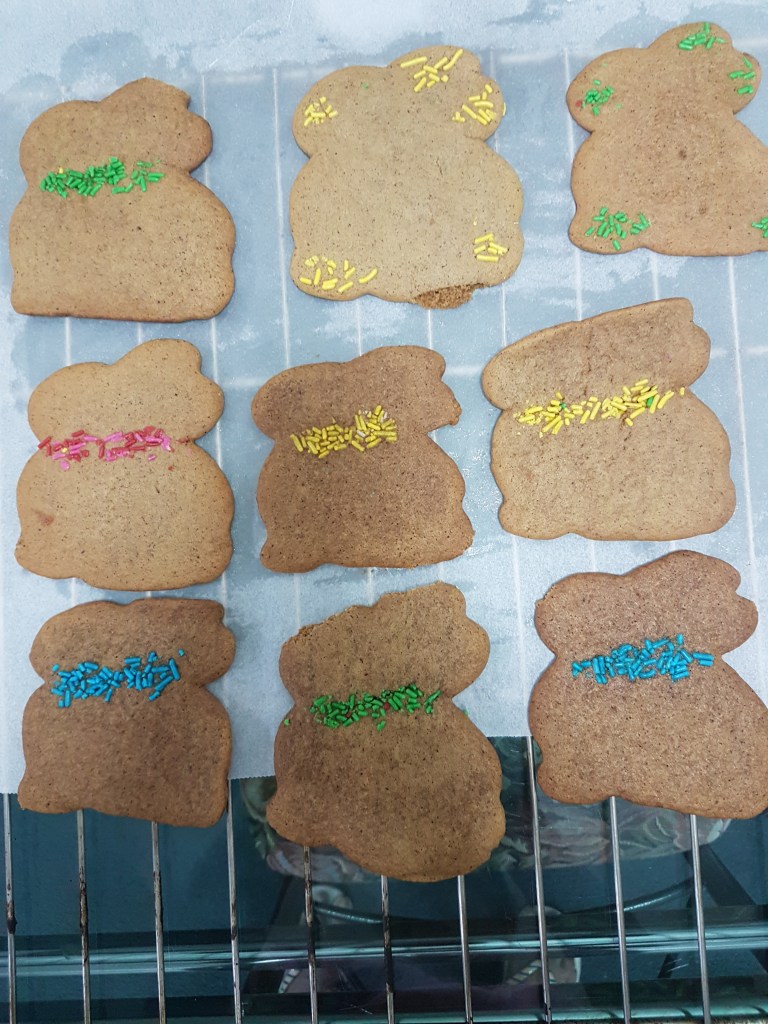
- Easter Bunny Biscuits – Chill the dough for one hour & customise.
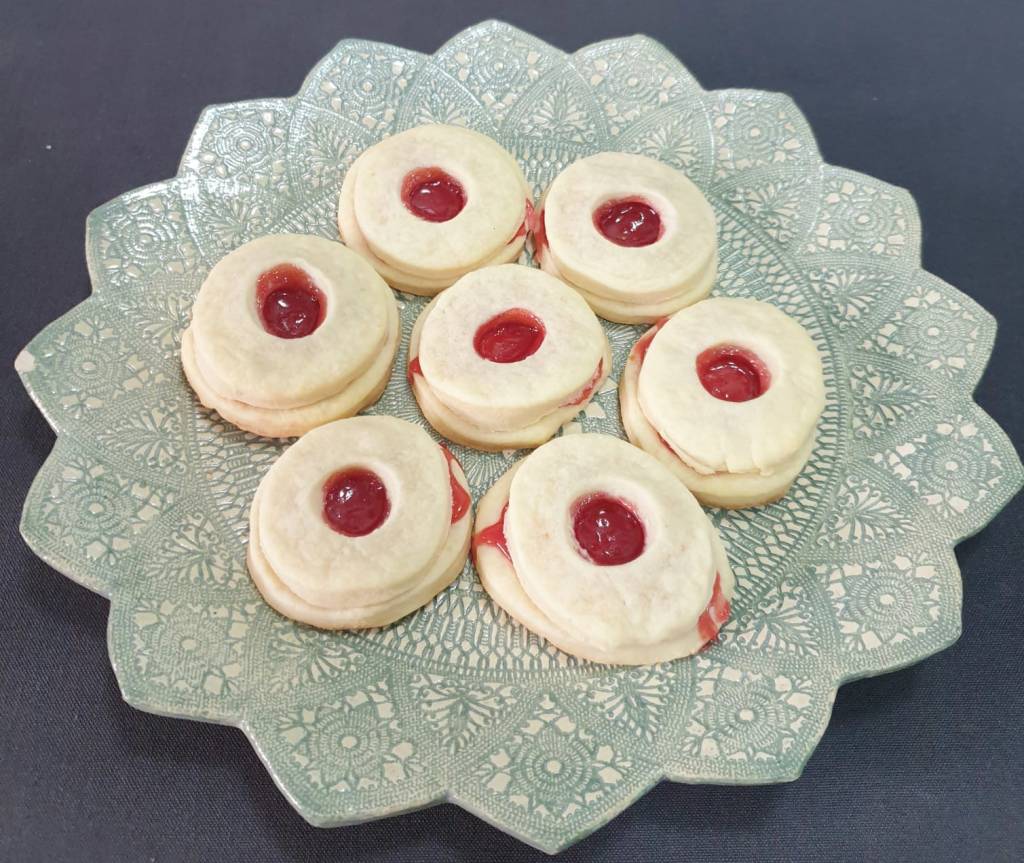
- Jam filled Cookies – Chill the dough for one hour. Cut-outs can be customised.
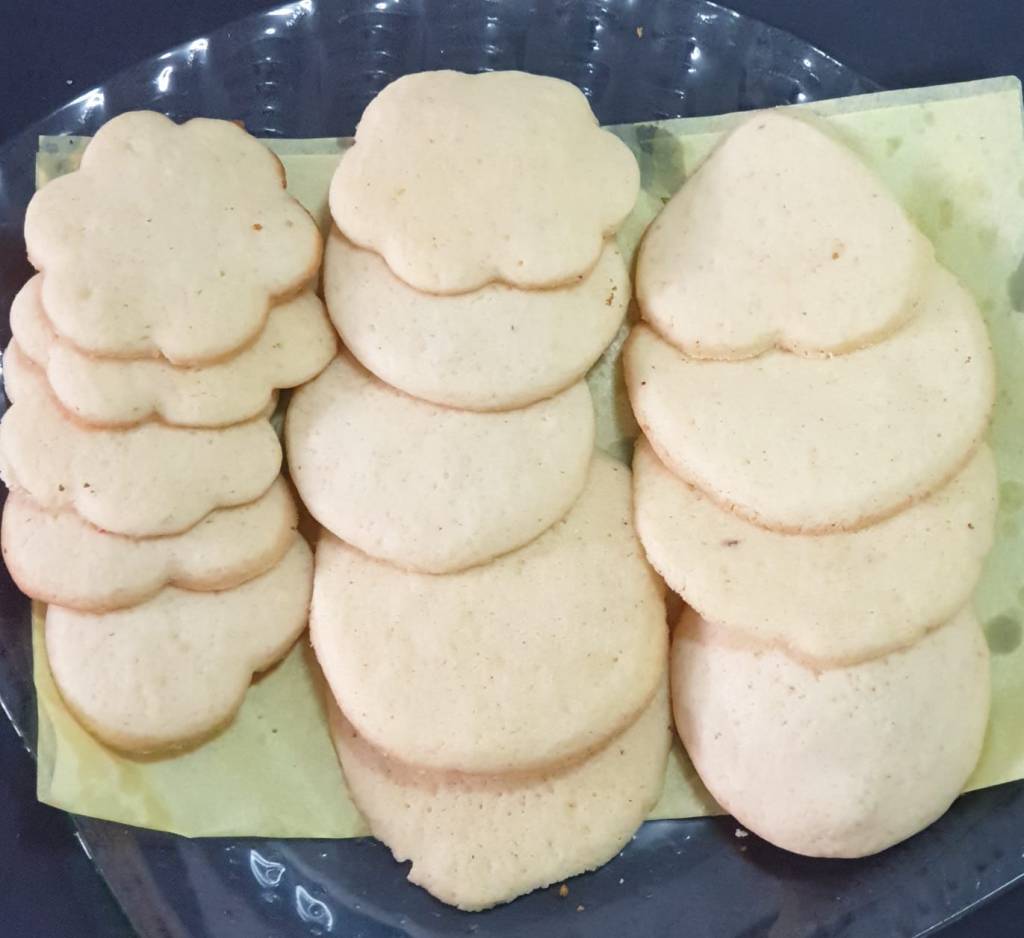
- Tea Cake Cookies – Freeze the dough for 30 mns. Cut-outs can be customised. Chill briefly for 10 mns. before baking.
- Butter Cookies – Roll the dough into cylinder shape between plastic wrap and chill 30 mns. Sliced and bake.
- Strawberry Cookies
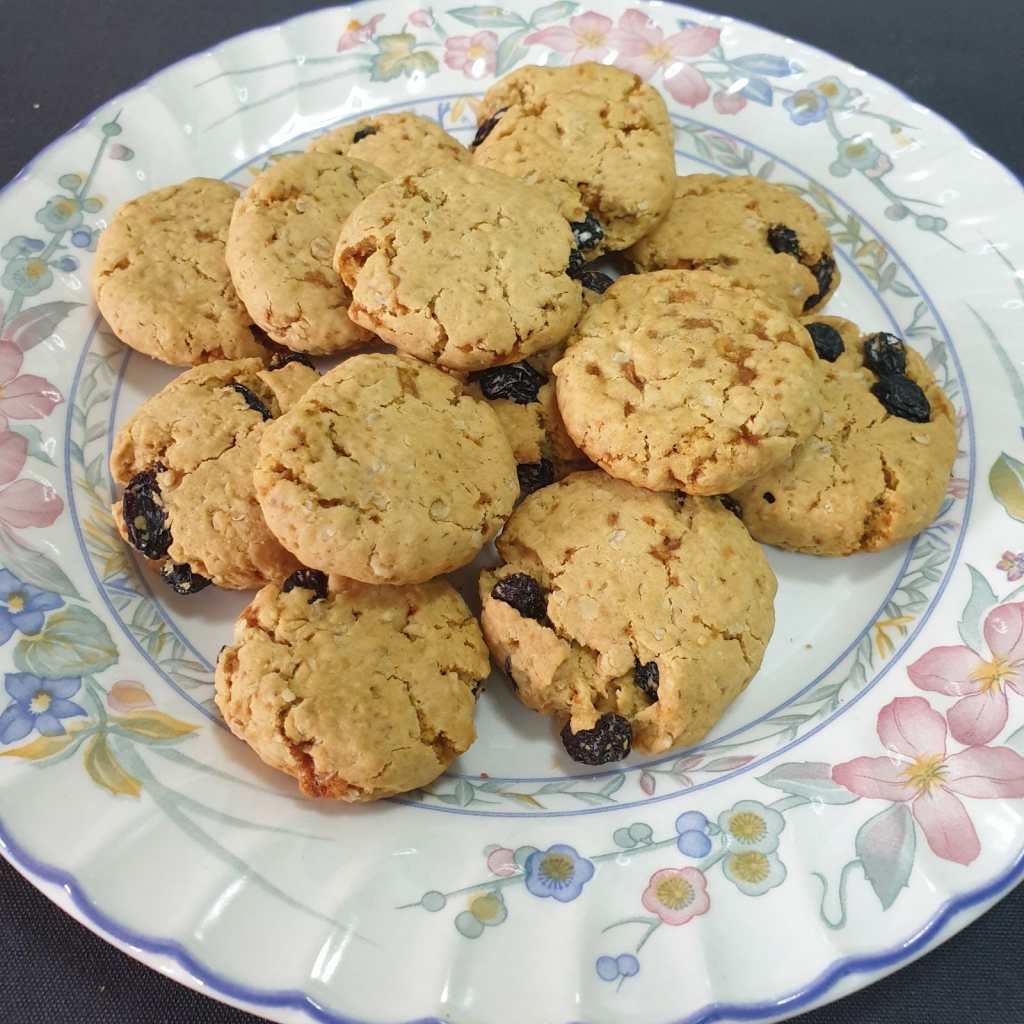
- Oatmeal & Raisin Cookies
- Lemon Cookies
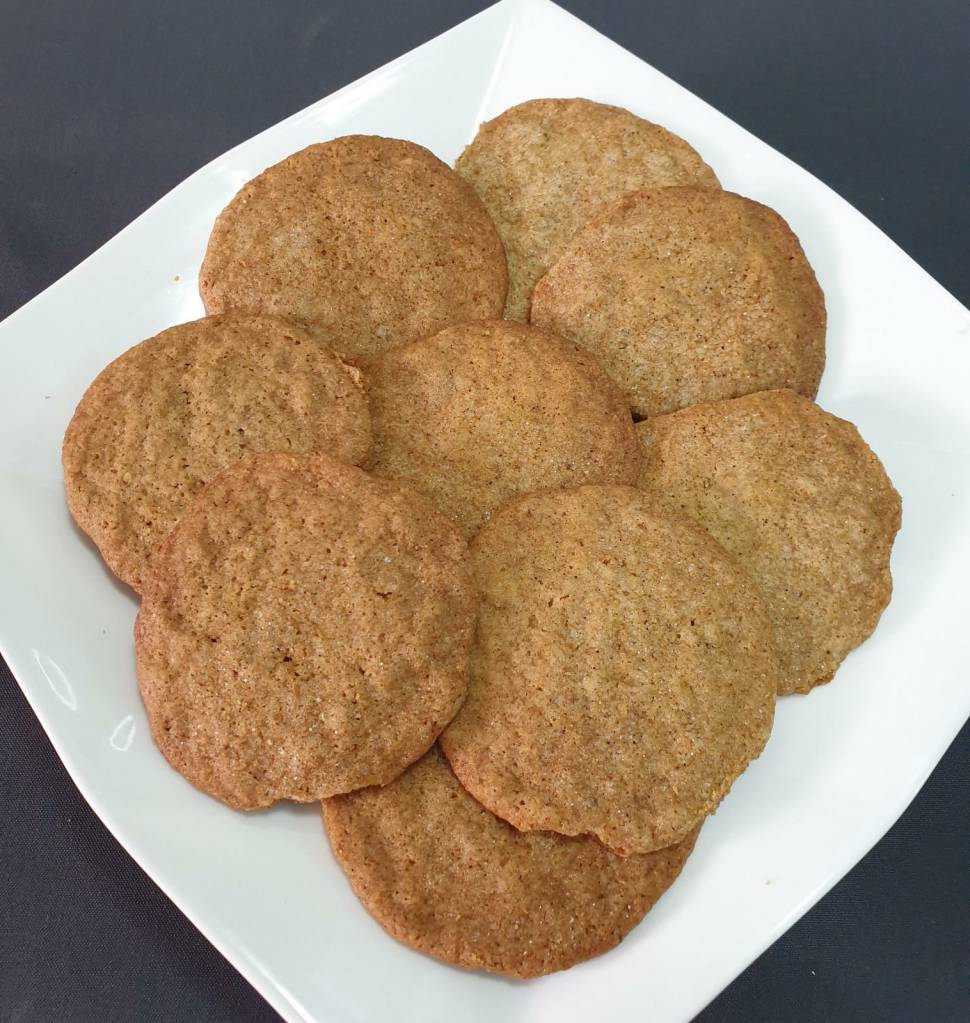
- Ginger Snaps
- Chocolate Chip Cookies
- Last but not the least, my mother’s famous Nankatia Biscuits also called ‘Snowballs’ which has been a christmas tradition since years.


")
")
")
")
")
")
")
")
")
")
")

")
")
")
")
")

")


")
")


")
")
")
")
")
")
")
")
")
")
")
")
")
")
")
")

")
")

")
")


")
")


")
")
")
")
")
")


")
")
")
")
")
")
")
")
")
")


Recent Comments