
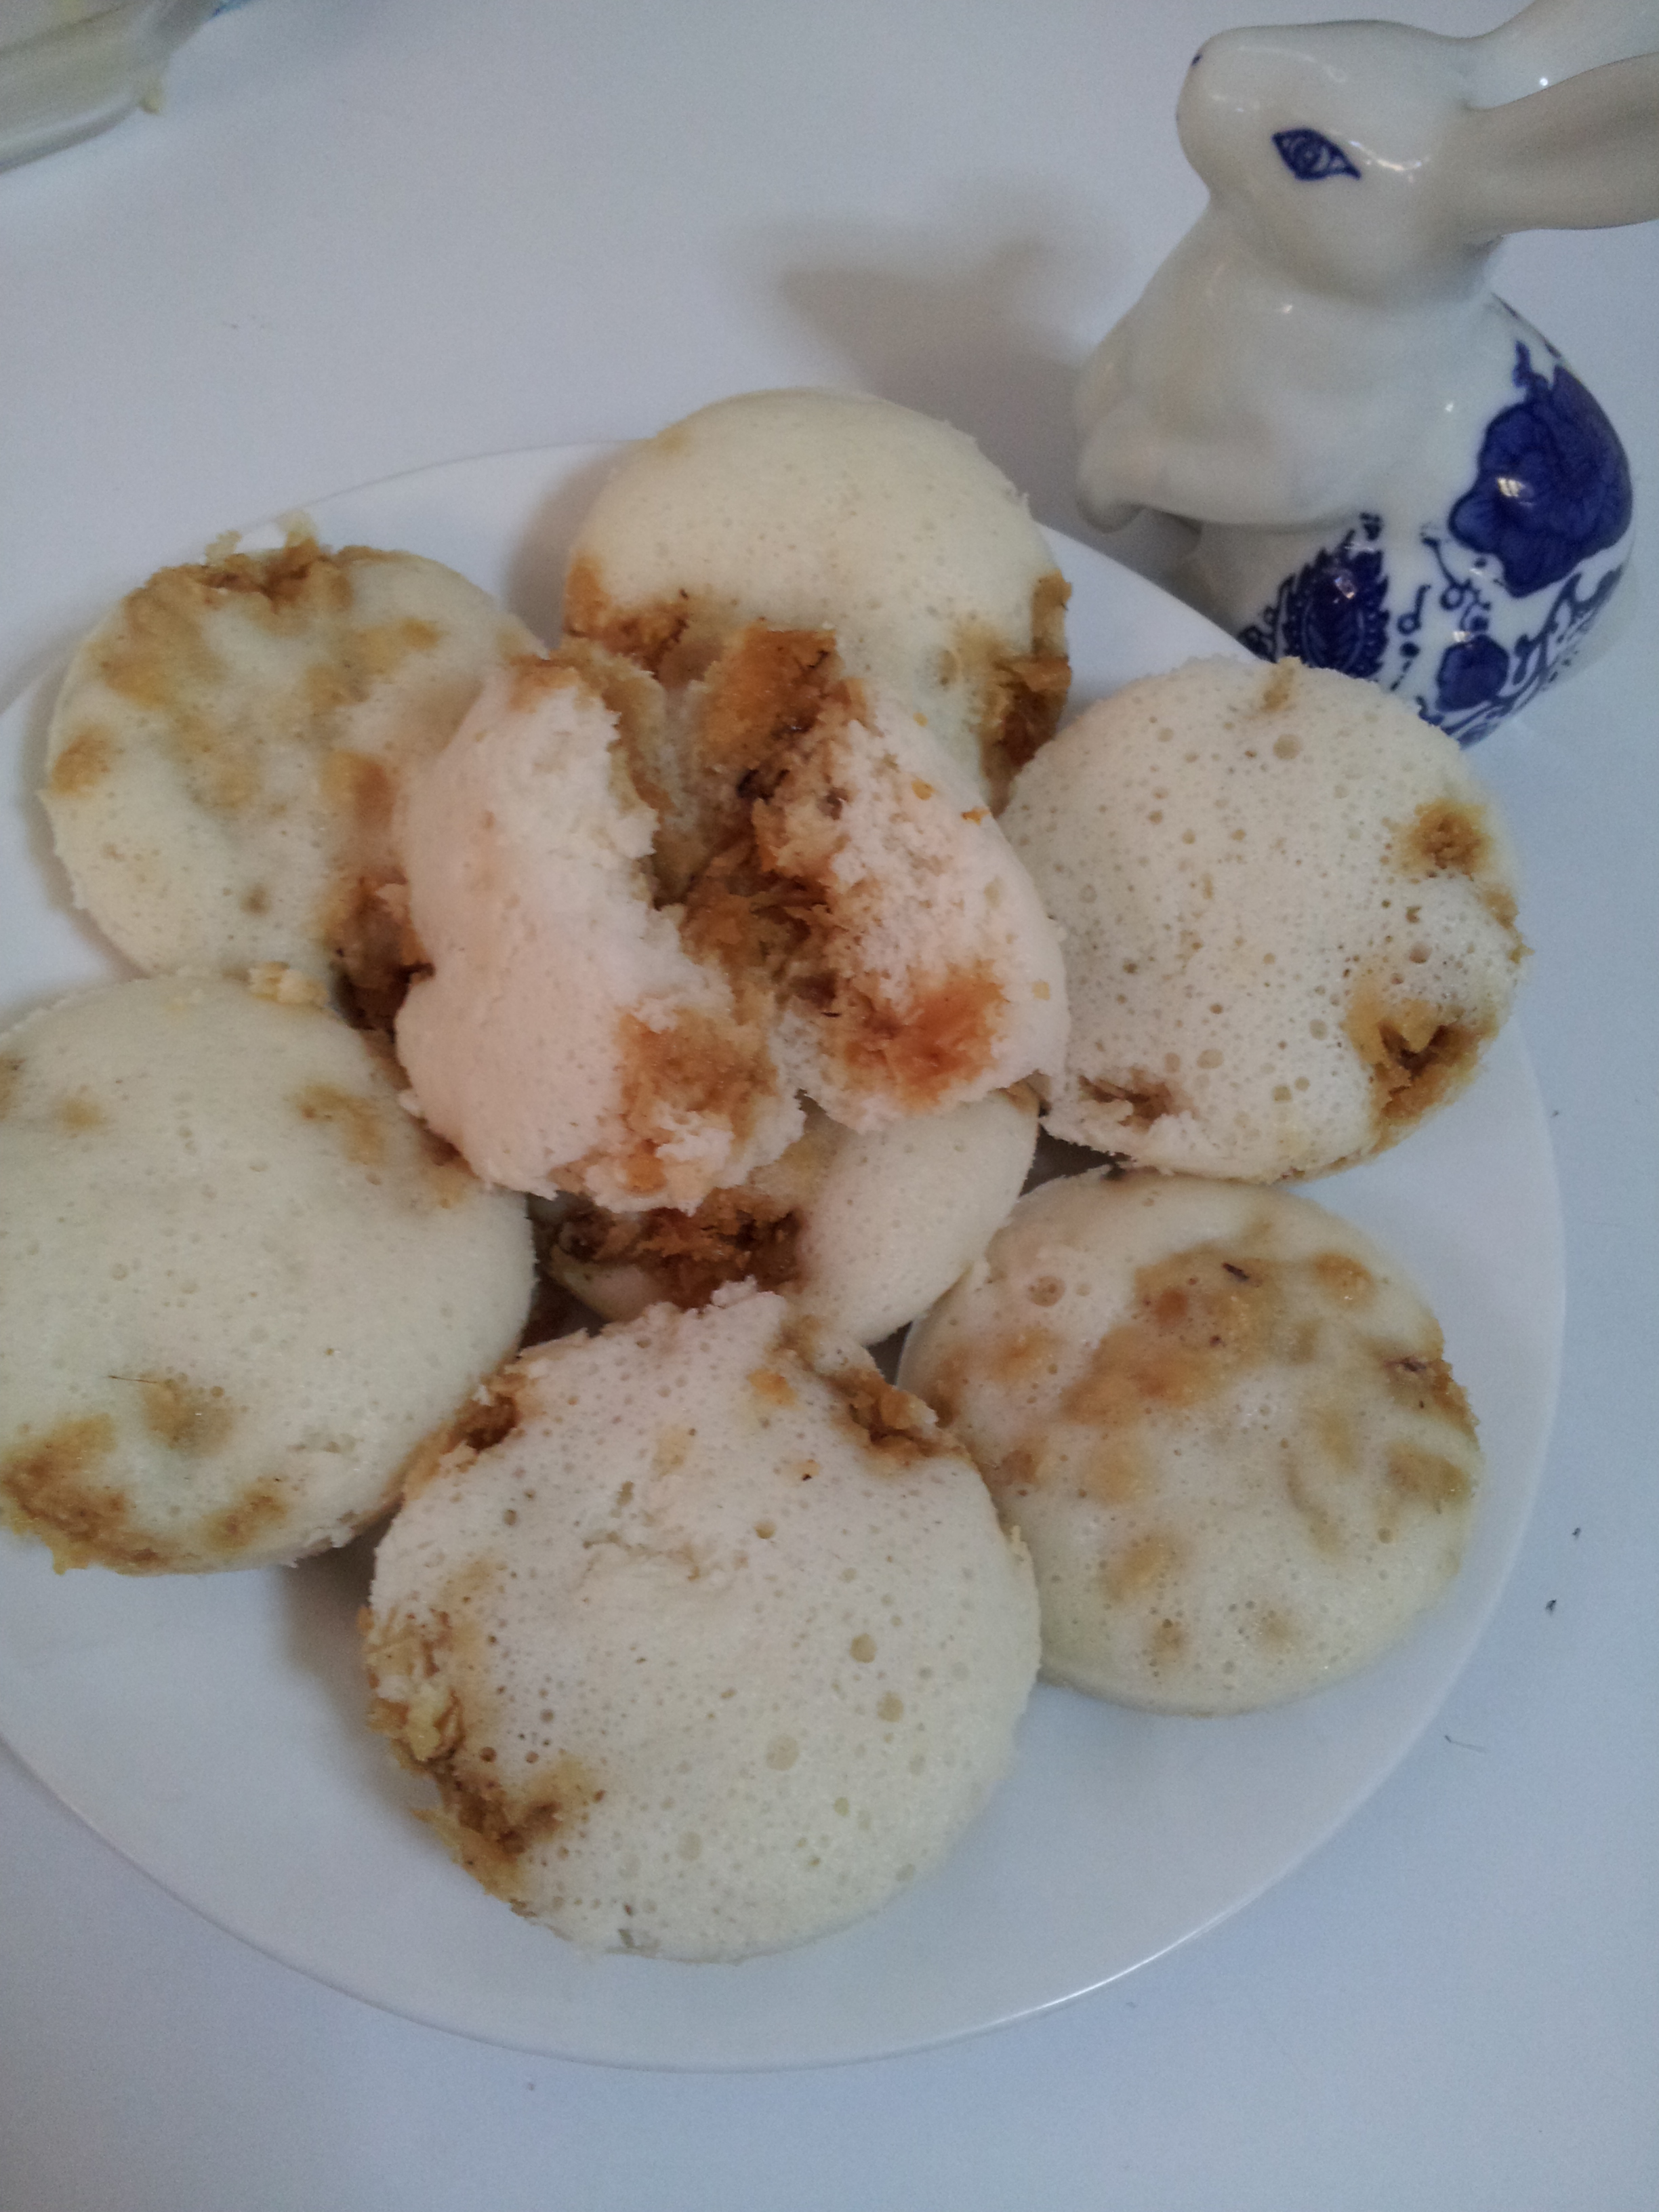
‘Pole’ for Mangaloreans and ‘Kallappam’ for Keralites, these soft spongy pancakes can be relished with chutney for breakfast or even with jam, butter or eaten just plain dipped in your tea or coffee!! These dosas are quite popular in the South of India.
For lunch or dinner serve with a chicken curry, mutton curry or vegetable stew so the dosa mops up the delicious gravy giving you a succulent morsel of food thoroughly satisfying to your tastebuds and your tummy!
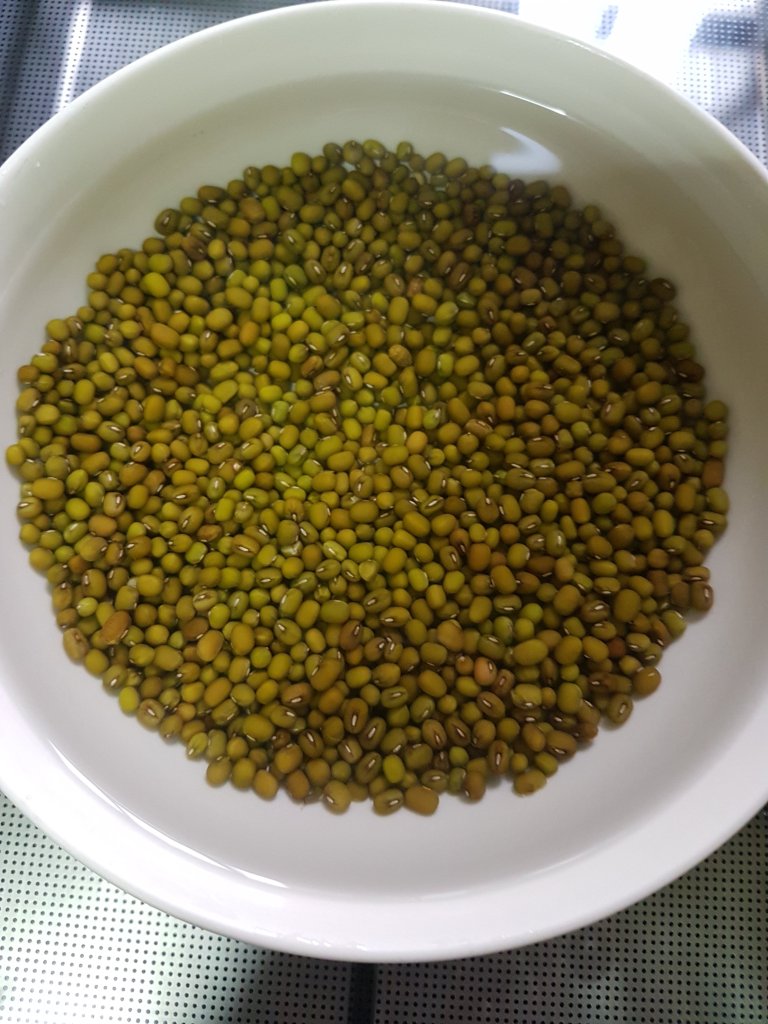
Set dosa can be made with sanna or dosa batter which uses rice and urad dal (black gram dal) as its ingredients.
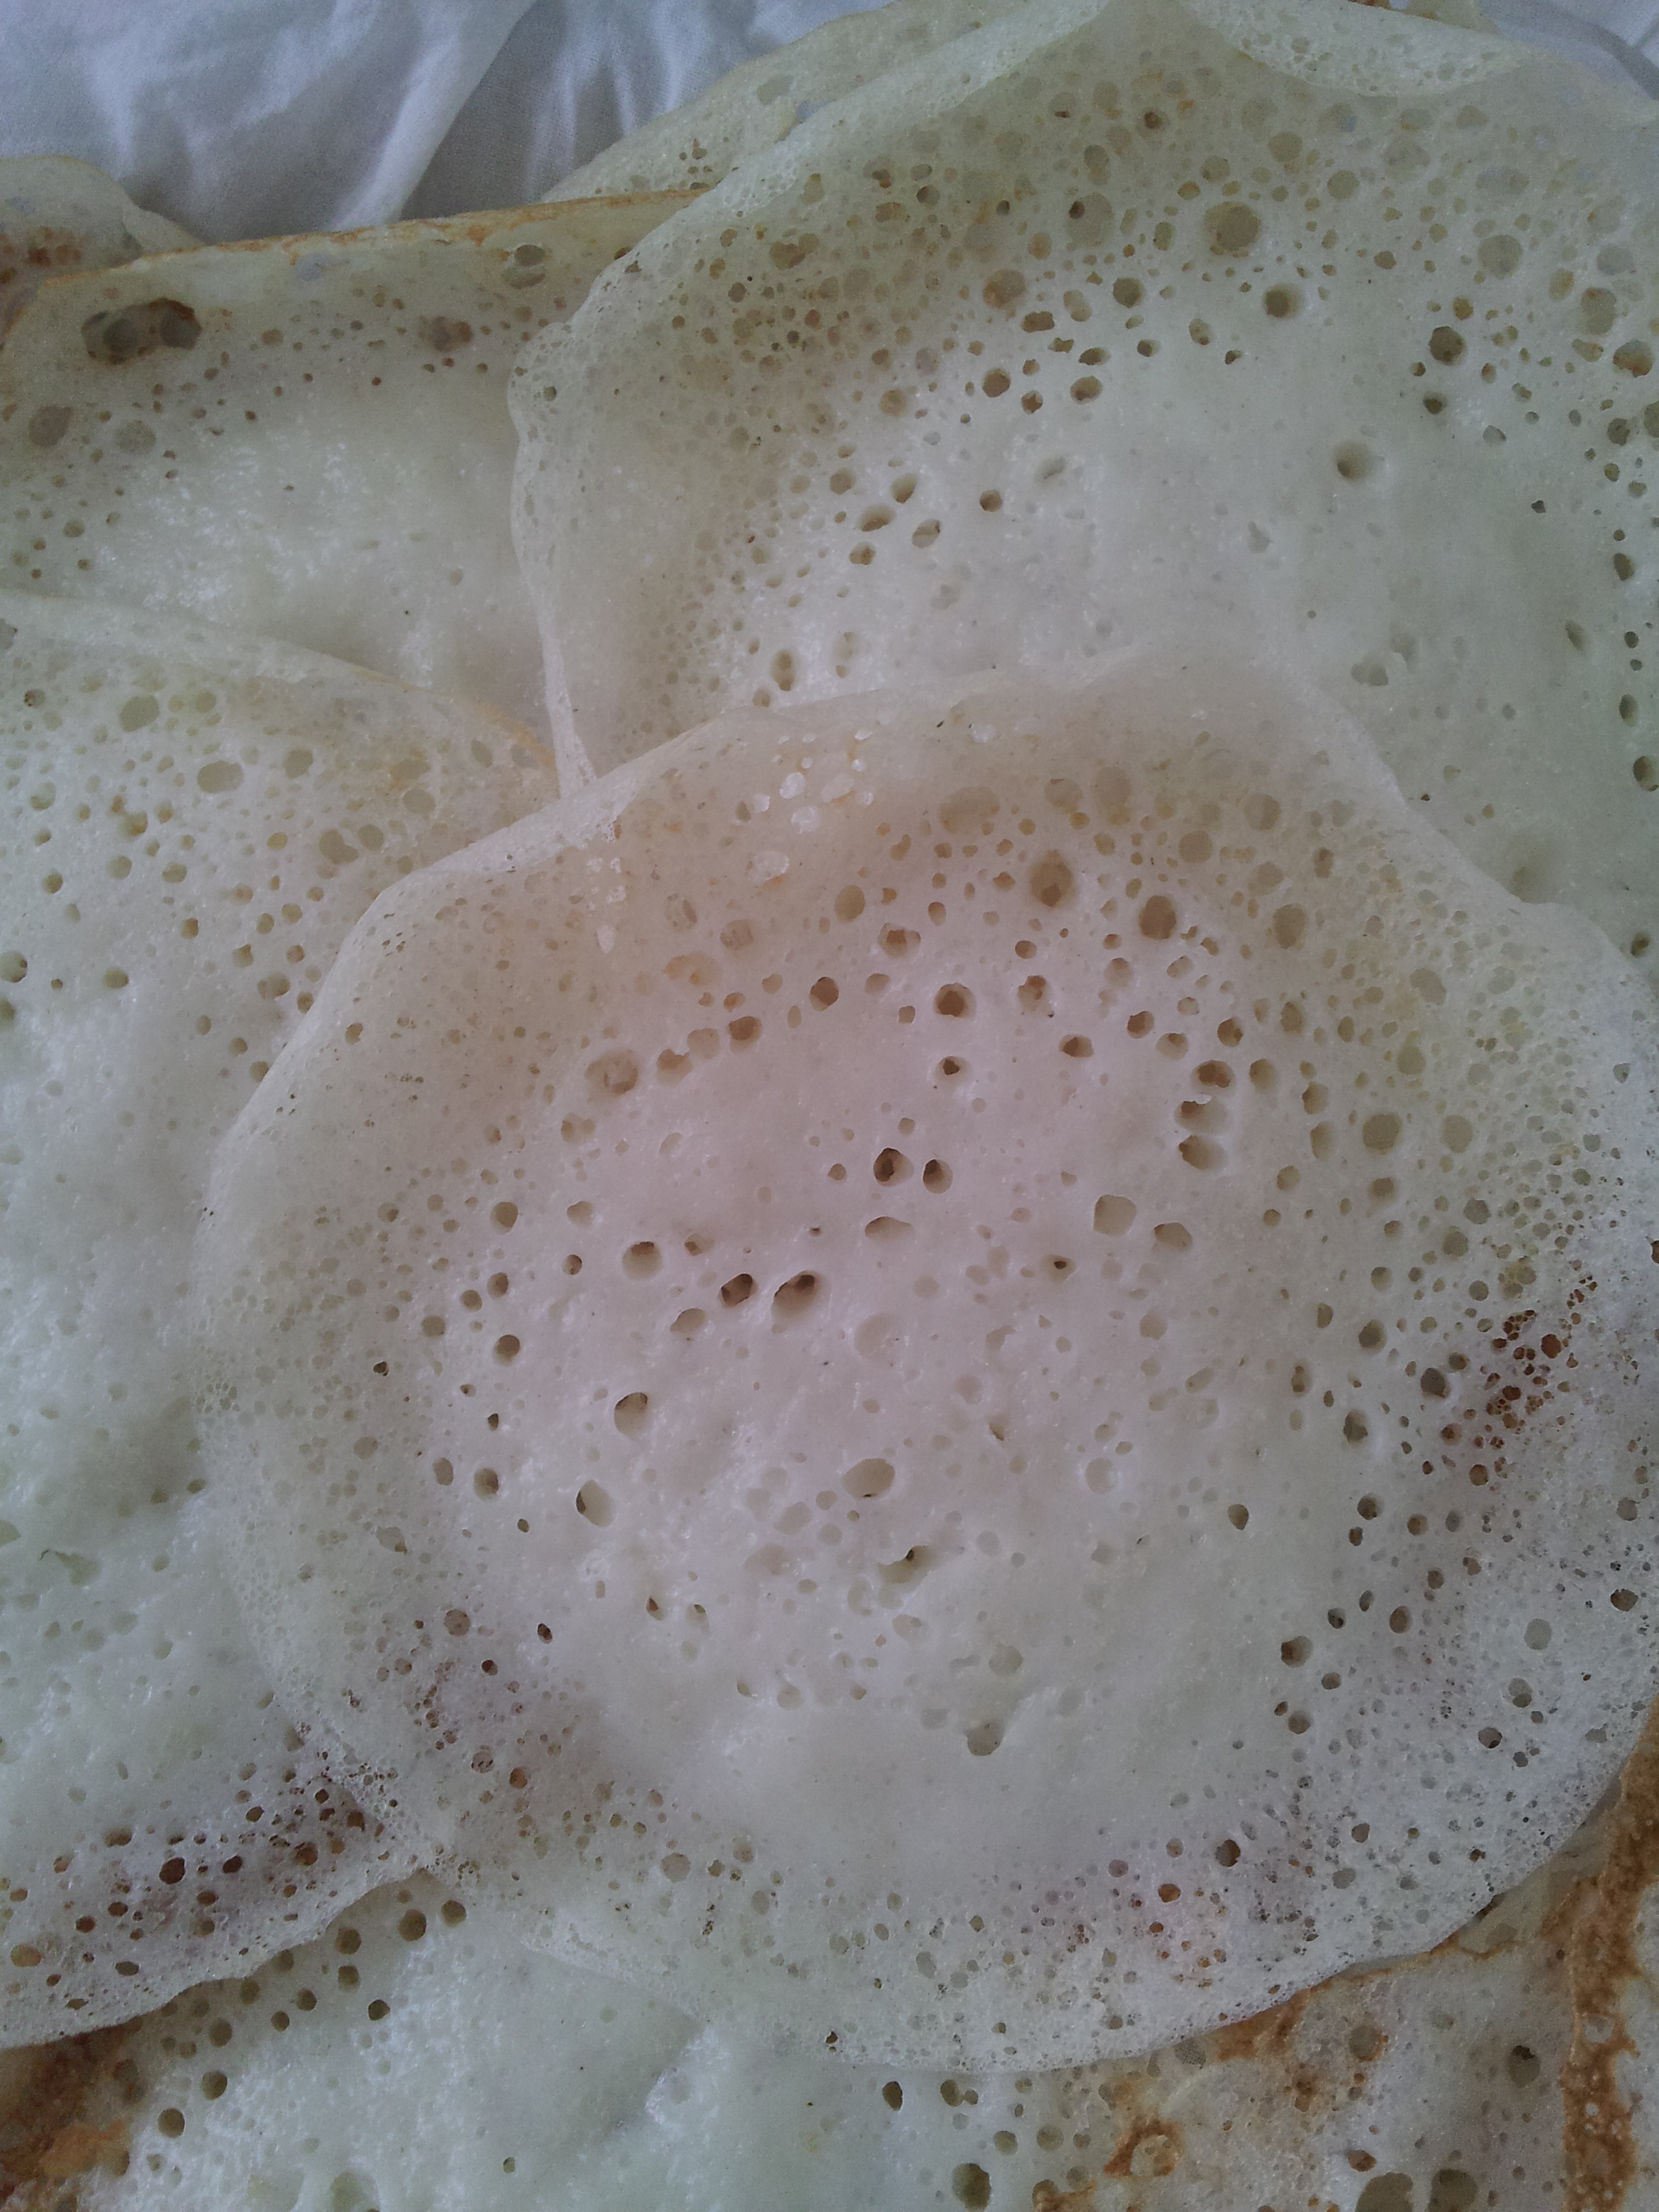
The following recipe does not use urad dal but uses coconut and rice making the dosas lighter & spongy. The recipe is similar to Appam, but the consistency of the batter should be kept slightly thicker for making Set Dosas. The size is smaller than the Udupi masala or sada dosas. You can use a dosa pan for making them but a smaller cast iron pan or frying pan would give a uniform and perfect circular shape to these dosas.


Idli rice can be used, if available, but I used basmati rice with good results. If fresh coconut is not available, use ½ cup coconut milk or ½ cup coconut milk powder. If the batter is fermenting overnight, do check on it in case you wake up in the night (to drink water or use the washroom) and if it has risen but it is too early to make the dosas, promptly put the risen batter in the fridge and make the dosas once you are ready. You don’t have to worry about having to prepare them at 4 or 5 am just because the batter is fermented. The Batter will stay fresh in the refrigerator for 2 to 3 days.
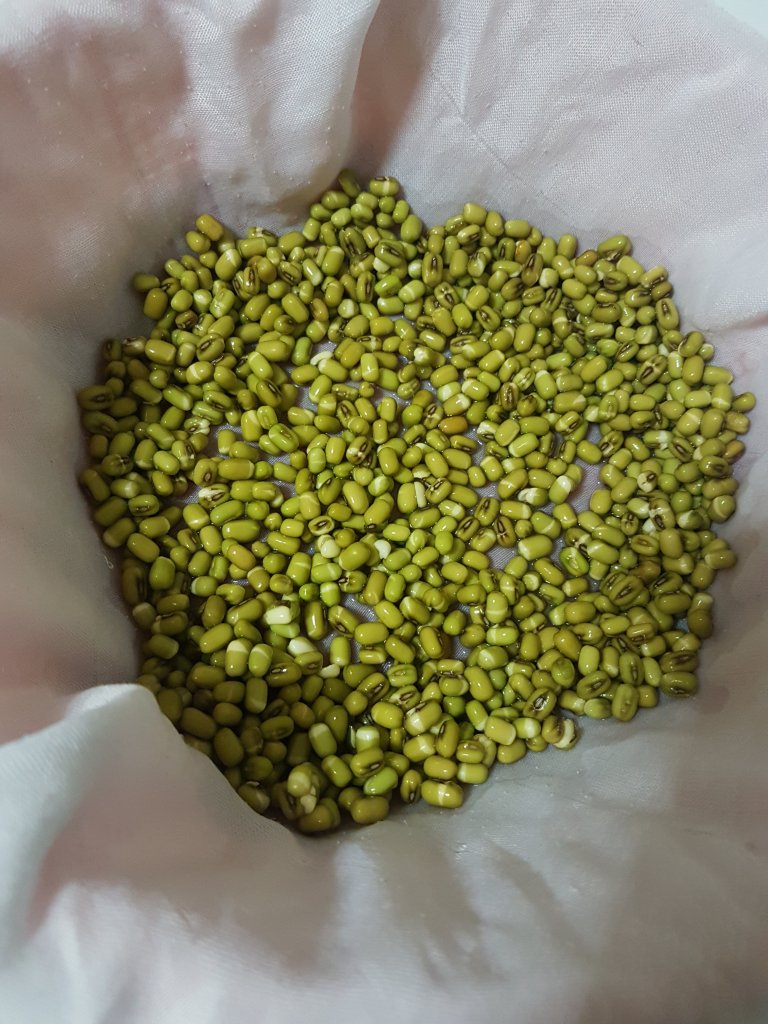
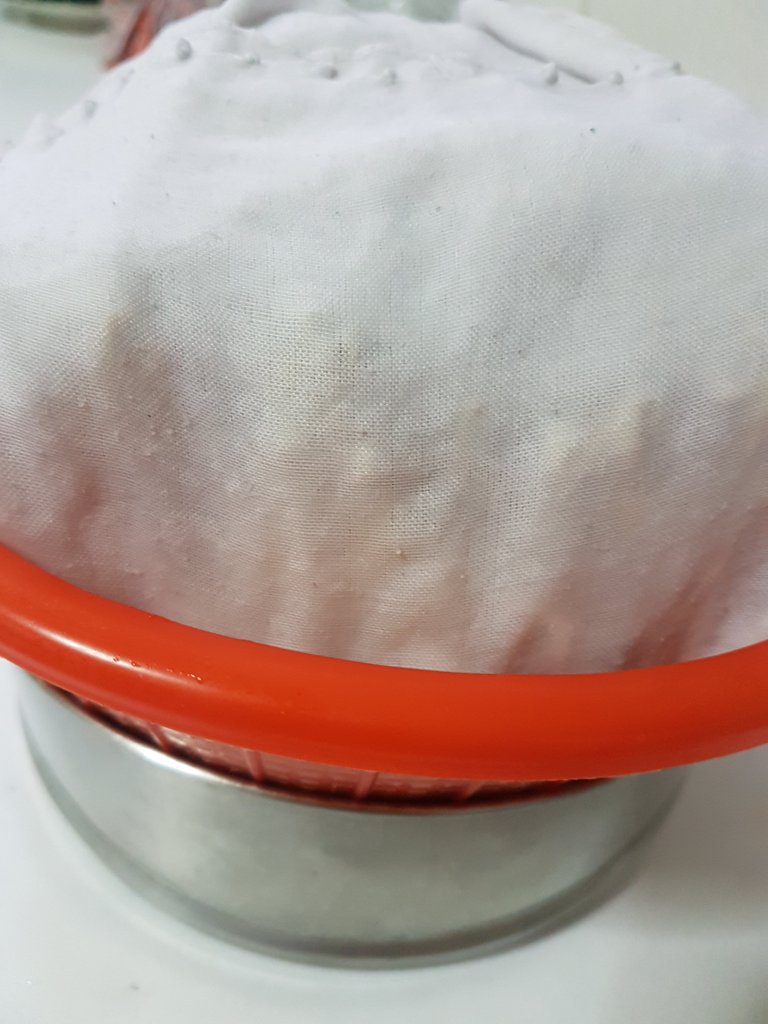
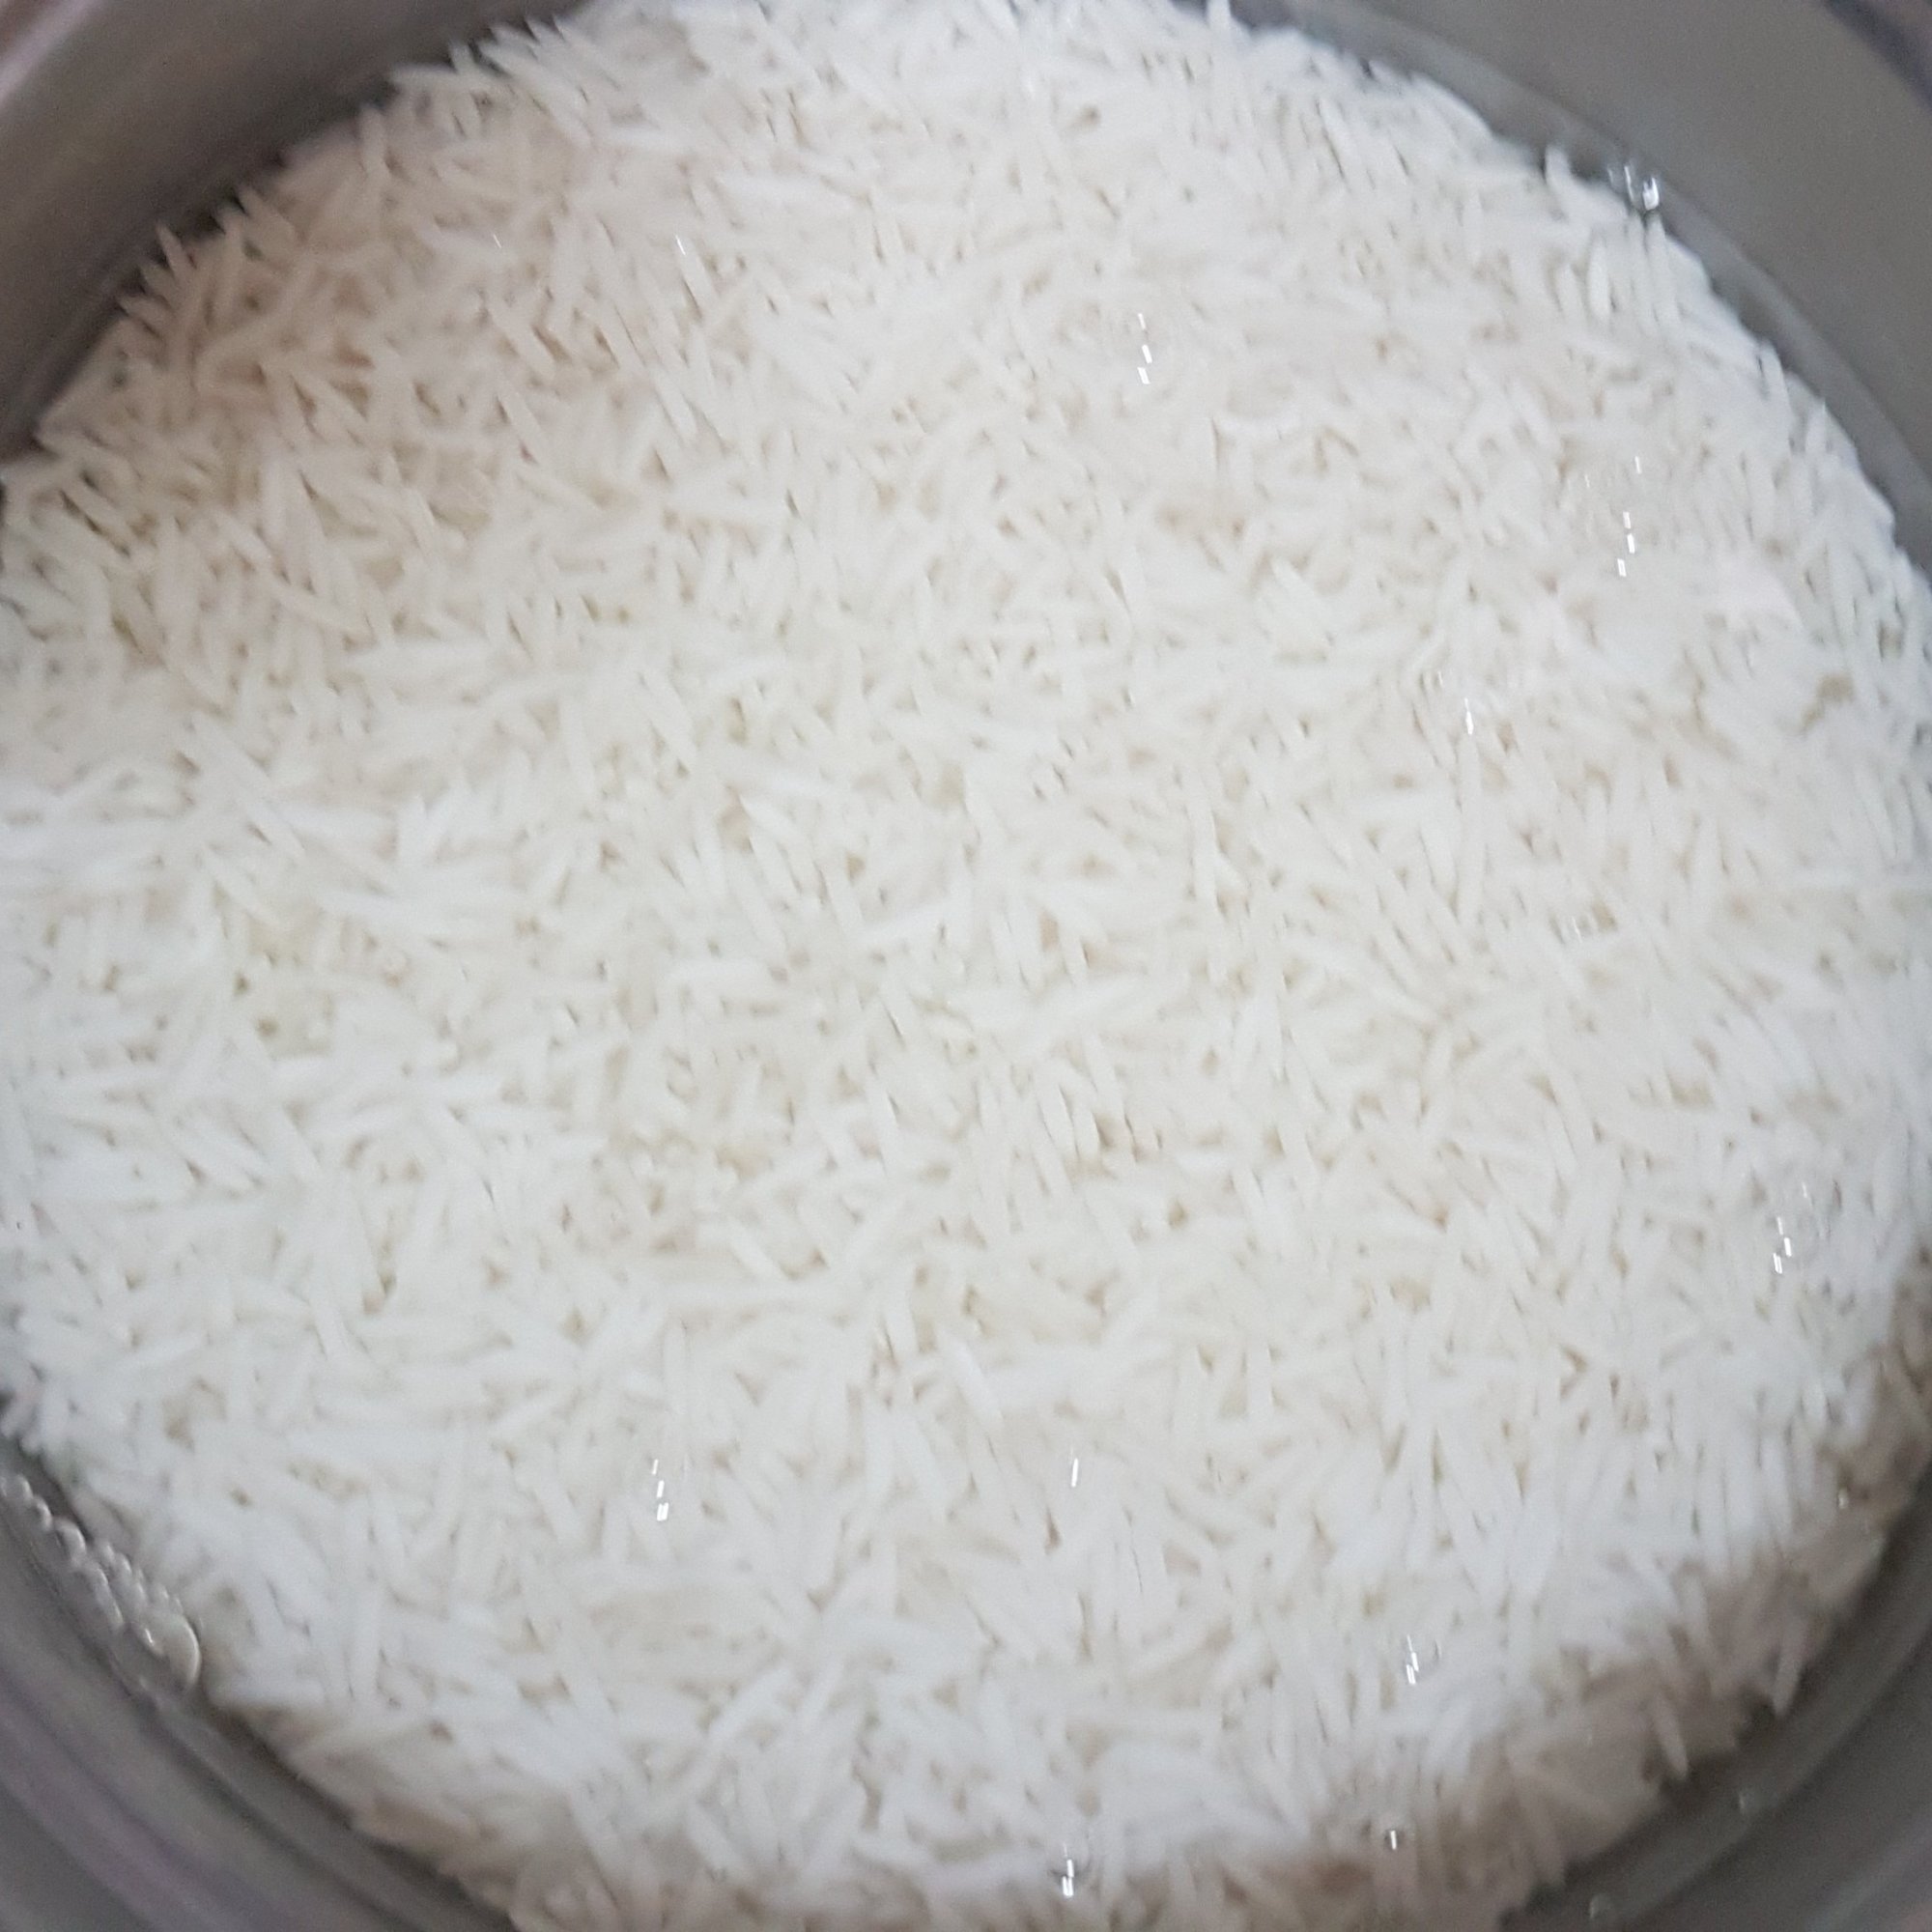
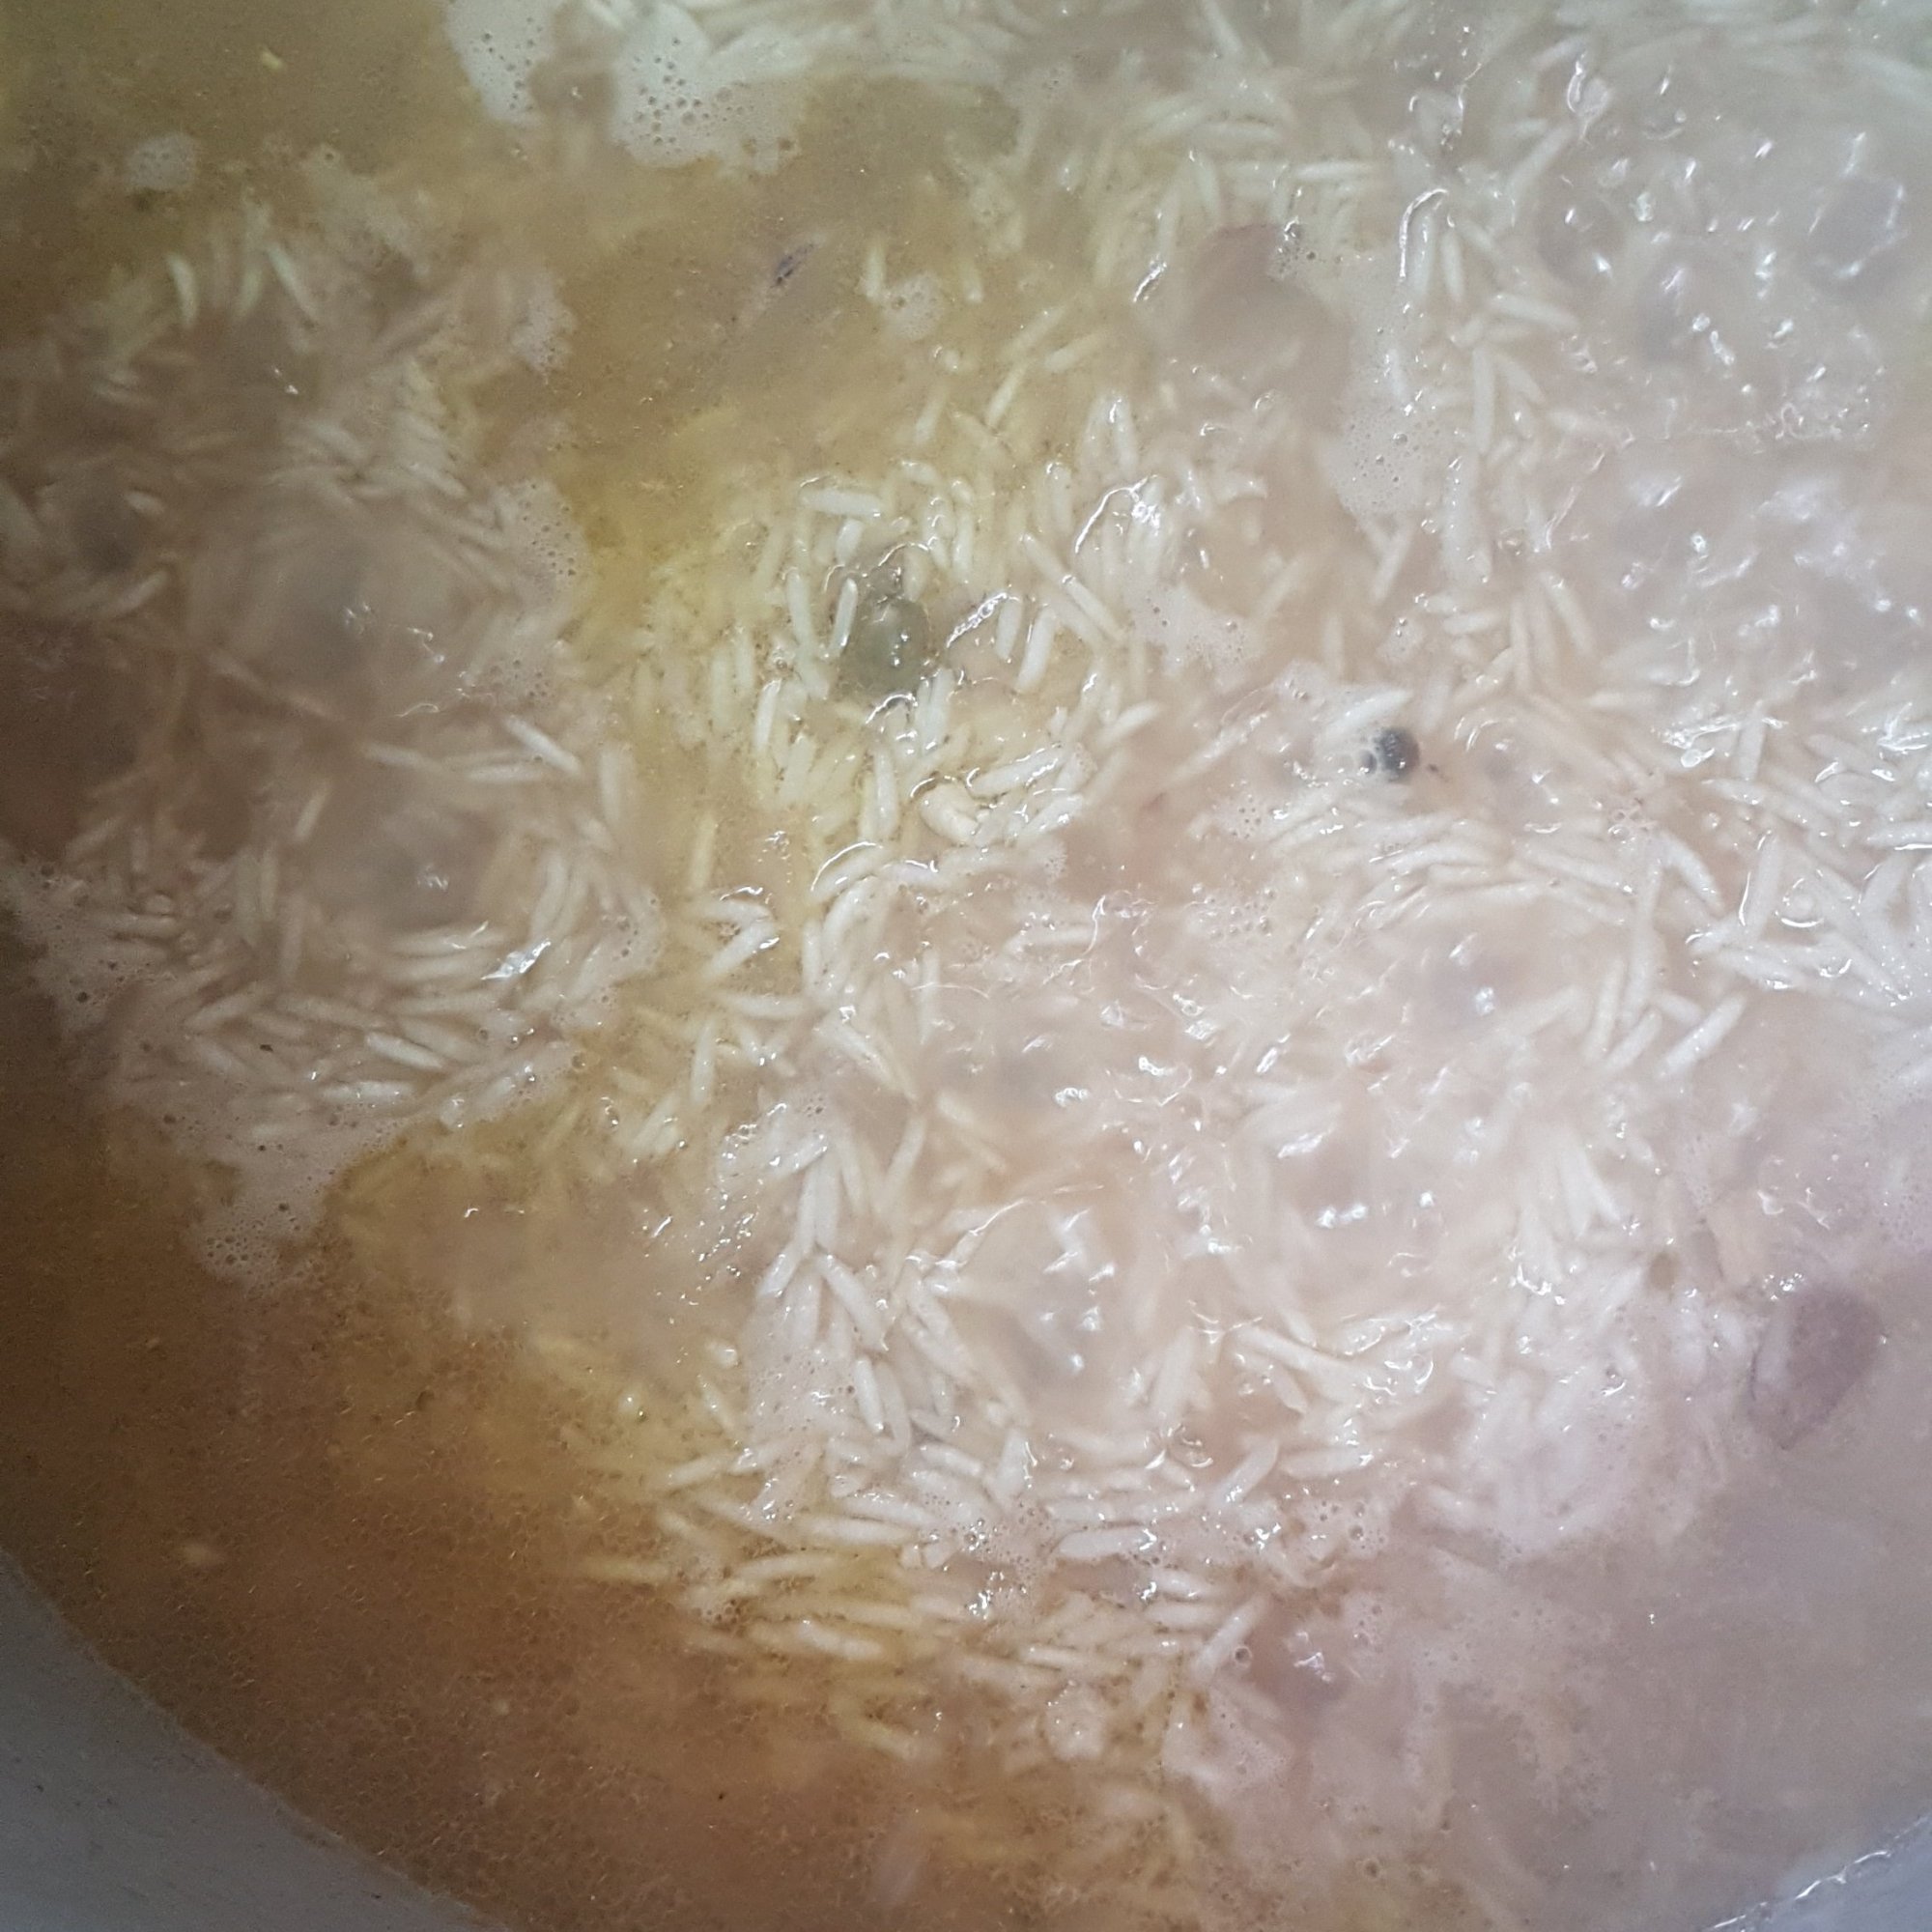
Soak the rice for 4 to 6 hours and grind to a thick paste alongwith the cooked rice and coconut. Mix the yeast with the sugar and warm water and leave to bloom for 10 minutes. Add to the rice paste, mix well and leave to ferment for 6 to 8 hours. Fermenting time will depend on room temperature. If weather is cold, use warm (not hot) water for grinding the batter. In warm weather it will ferment in 4 hours.

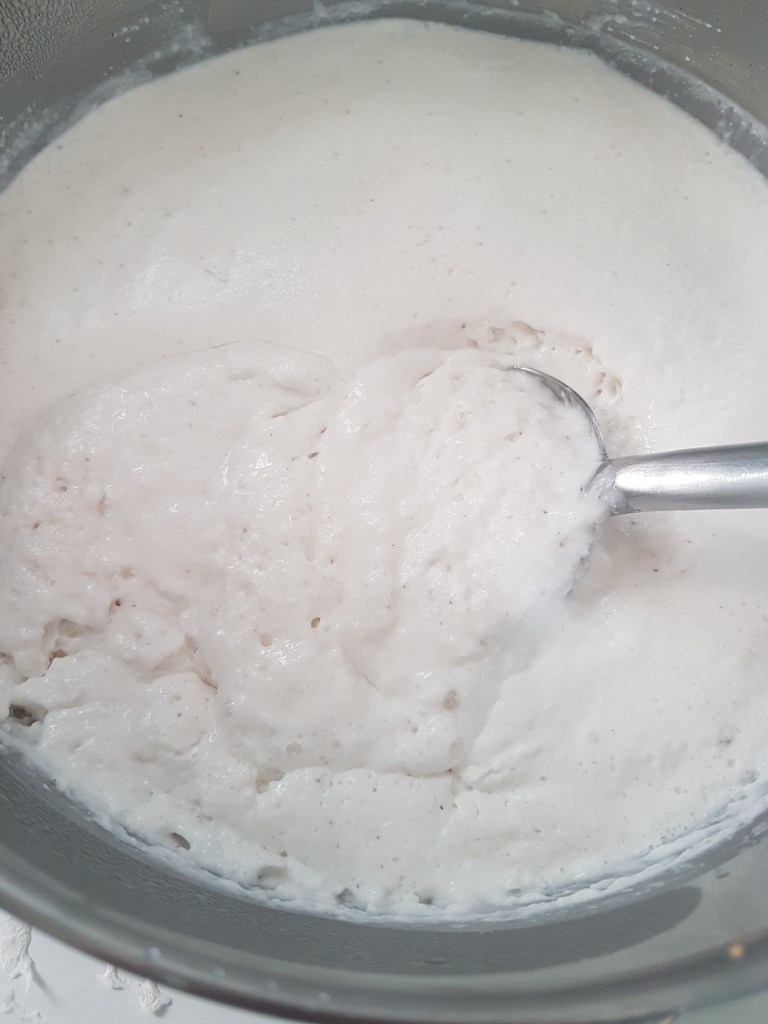
When the batter has risen, add salt and mix. Heat a cast iron pan or a frying pan on medium high heat until very hot.

Pour one ladle or 1/2 cup of batter on the hot pan. (Do not spread the batter like you would do for the Masala dosa). Leave as is, cover with lid and cook till underside turns golden and dosa gets spongy and translucent and is covered with holes.
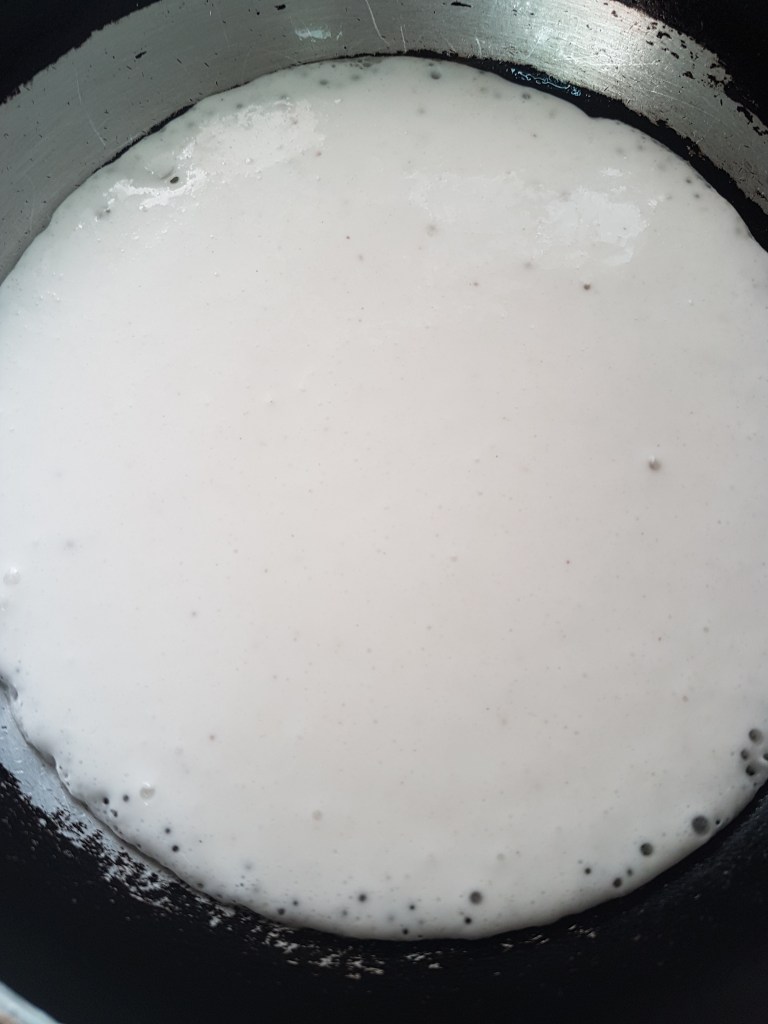

If you wish you may turn and cook the other side.
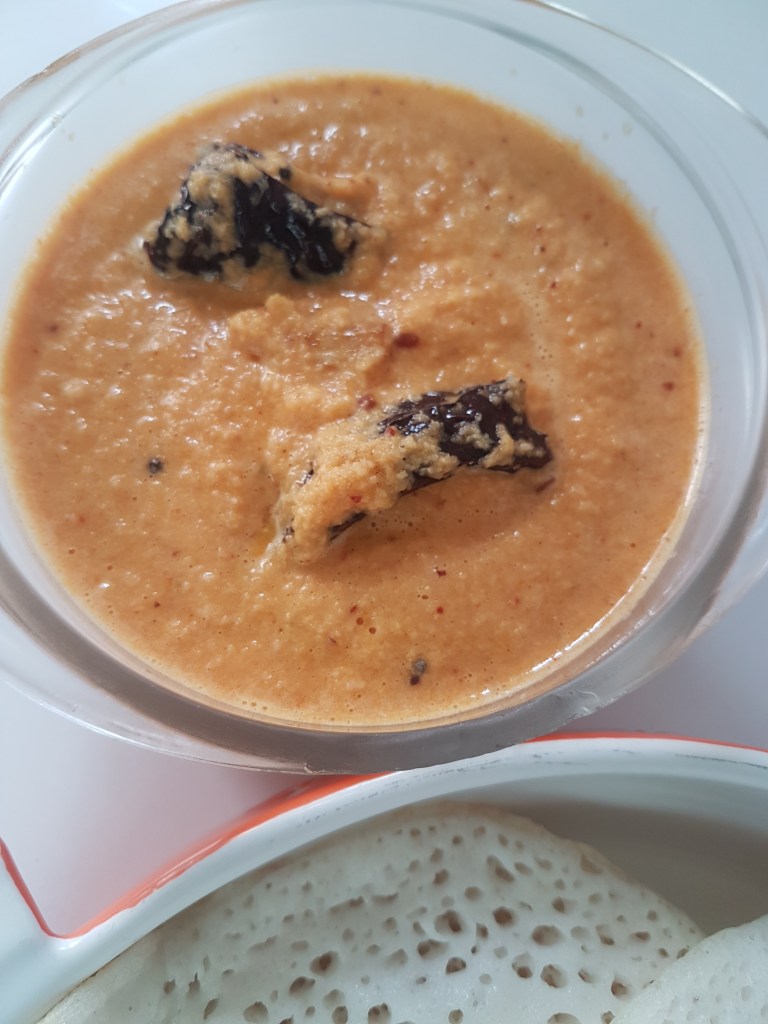
Serve with red coconut chutney.


Set Dosa
Ingredients
- 2 cups rice, preferably idli rice
- 1 cup cooked rice
- 1 cup fresh coconut
- 1 tsp salt
- ¼ tsp dry yeast
- 1 tbsp. sugar
- 2 tbsp. warm water
Method
- Soak the rice for 4 to 6 hours and grind to a thick paste alongwith the cooked rice and coconut.
- Mix the yeast with the sugar and warm water and leave to bloom for 10 minutes.
- Add to the rice paste, mix well and leave to ferment for 6 to 8 hours. Fermenting time will depend on room temperature. If weather is cold, use warm (not hot) water for grinding the batter. In warm weather it will ferment in 4 hours.
- When the batter has risen, add salt and mix. Heat a cast iron pan or a frying pan on medium high heat until very hot.
- Pour one ladle or 1/2 cup of batter on the hot pan. (Do not spread the batter like you would do for the Masala dosa). Leave as is, cover with lid and cook till underside turns golden and dosa gets spongy and translucent and is covered with holes.
- If you wish you may turn and cook the other side.
- Serve with red coconut chutney
Red coconut chutney
Same as green coconut chutney but substitute the green chilles and coriander leaves with two to three red cillies.
Rest of the recipe is the same.


")
")
")
")
")
")
")
")
")
")
")

")
")
")
")
")

")


")
")


Recent Comments